Widget 2.3.0 Update
We've updated the Widget to version 2.3.0 which makes it a lot easier for developers to perform widget calls.
To upgrade you only need to change a few lines of code.
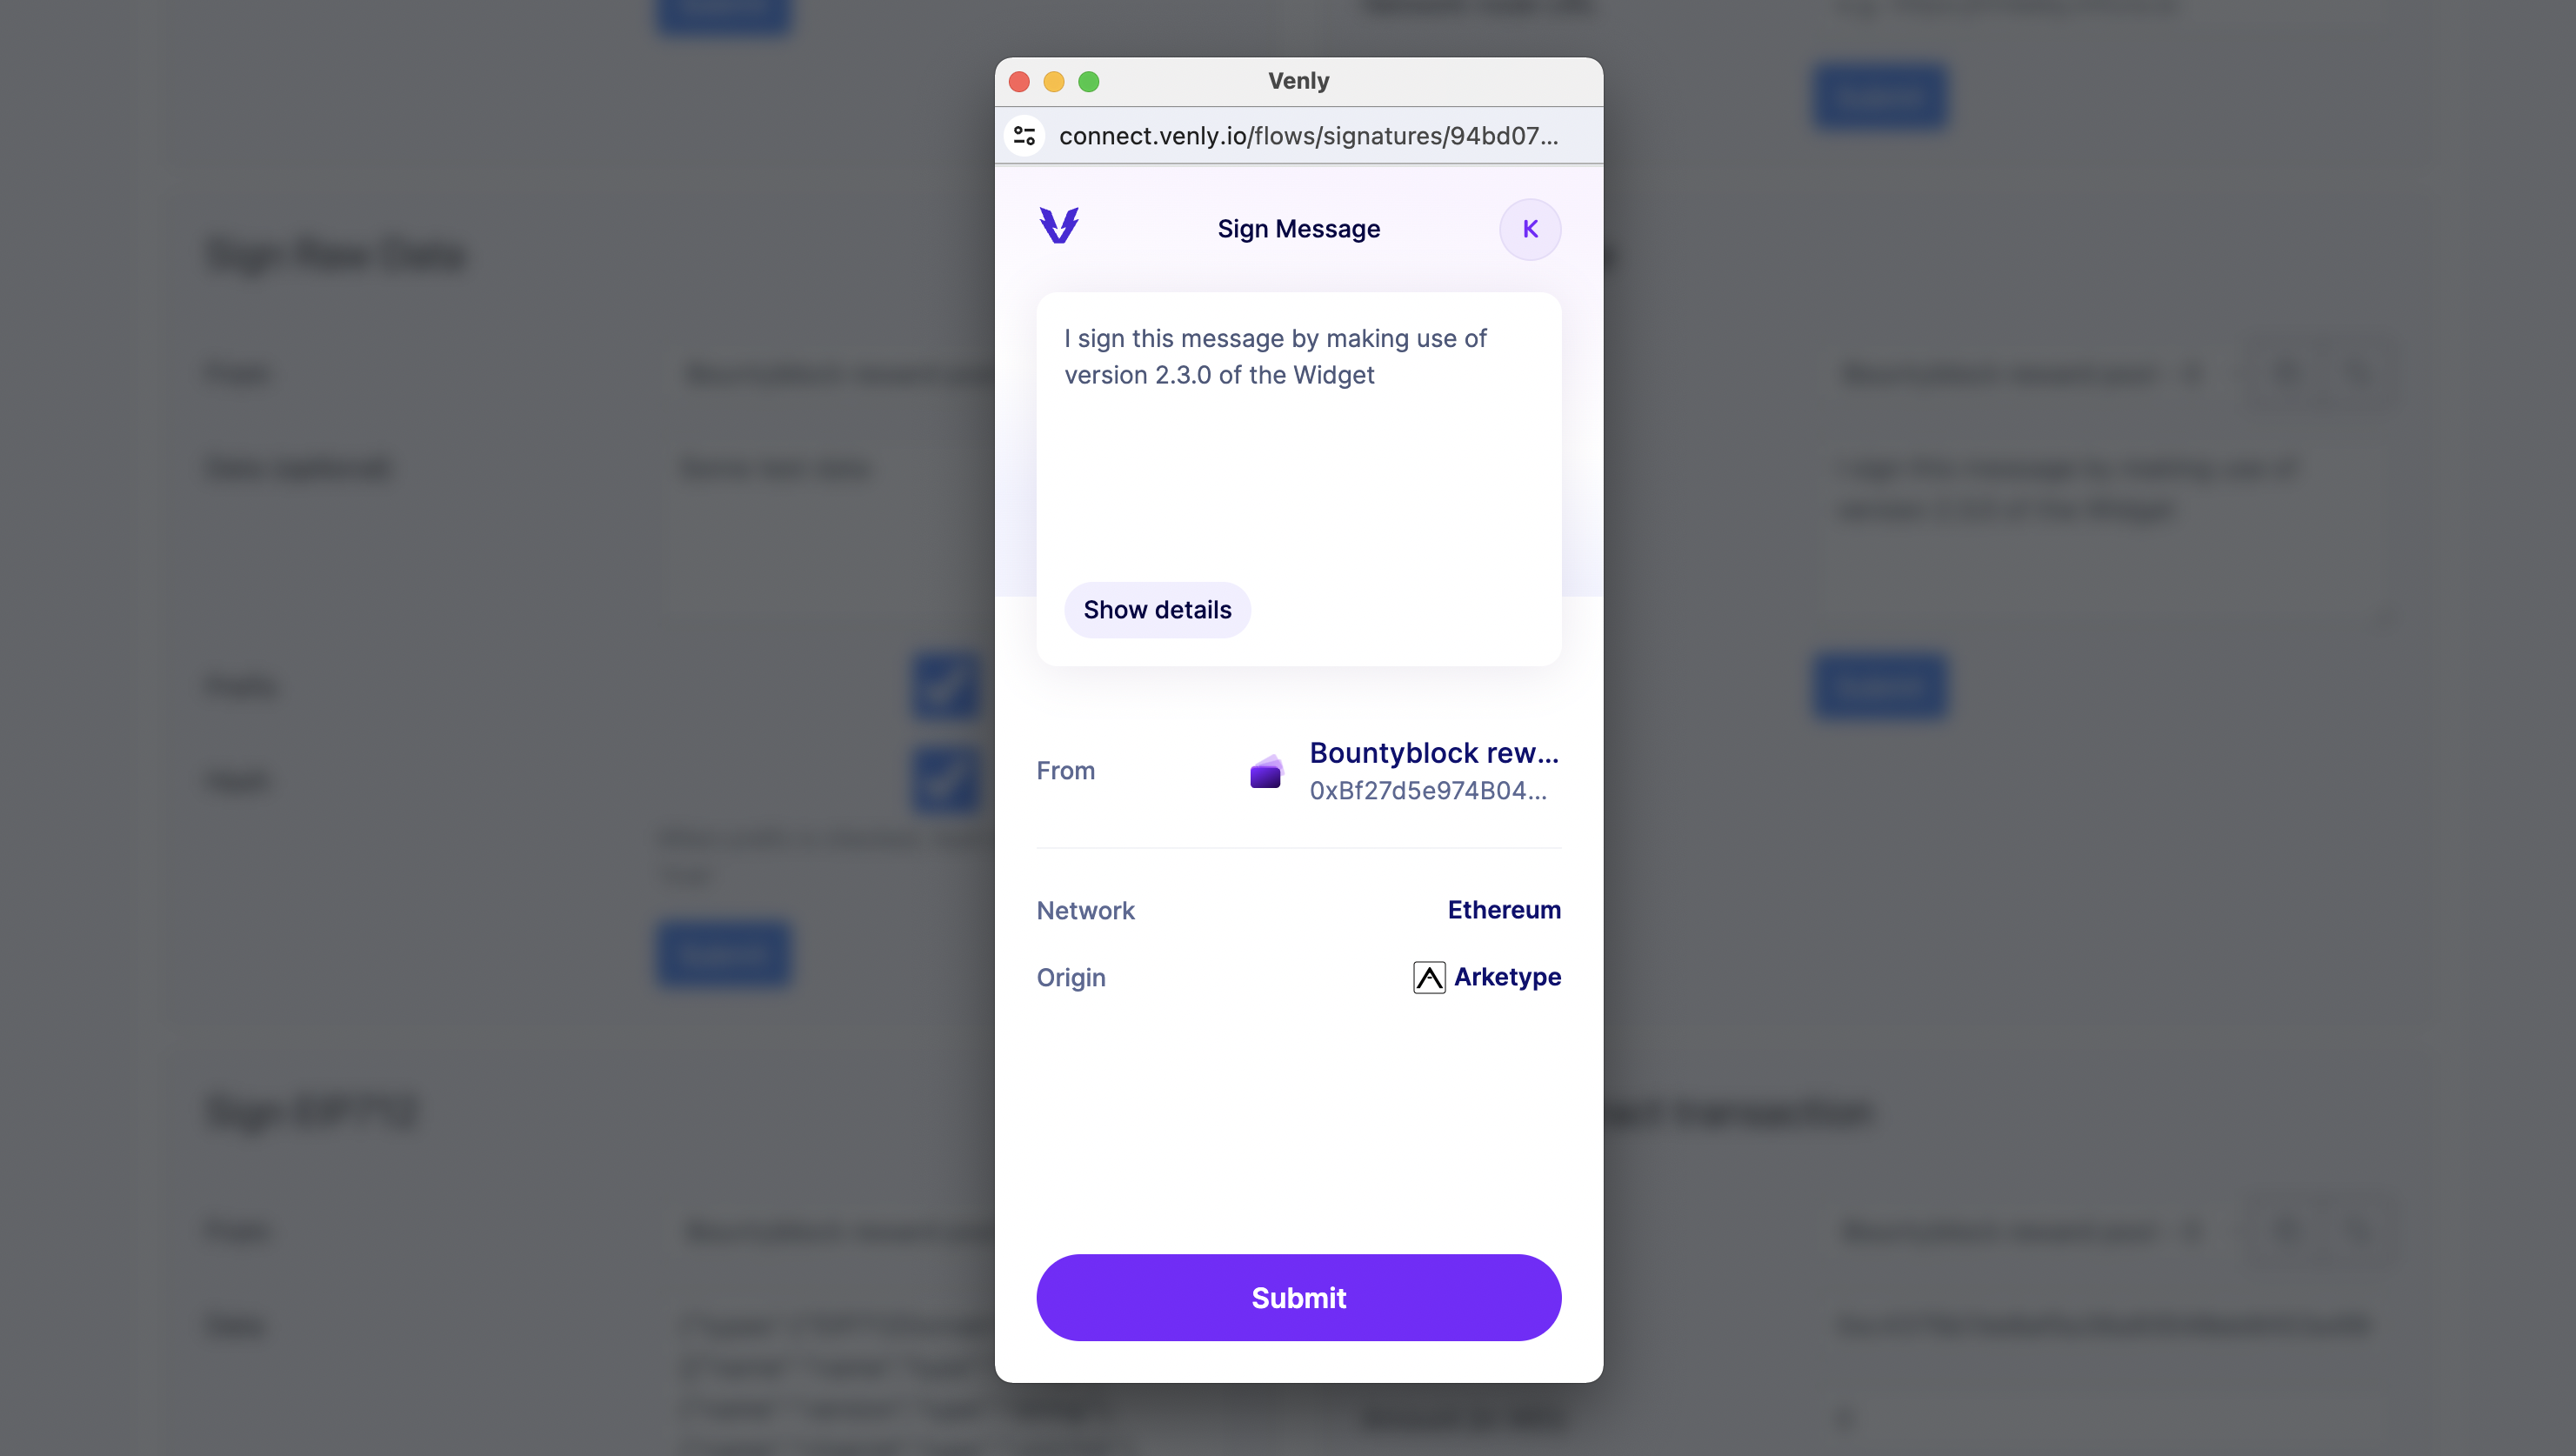
In version 2.3.0, the pop-up window also changes. When a function is executed, a modal will appear first, after which the user can start the confirmation/approval flow.
By making this change, developers don't need to deal anymore with the hassle of pop up blockers, that is automatically being taking care of by the modal that is being triggered.

New Widget modal
The modal will trigger the pop-up, allowing your end-user to execute the required function.

Signing a message in pop-up mode using version 2.3.0 of the Widget
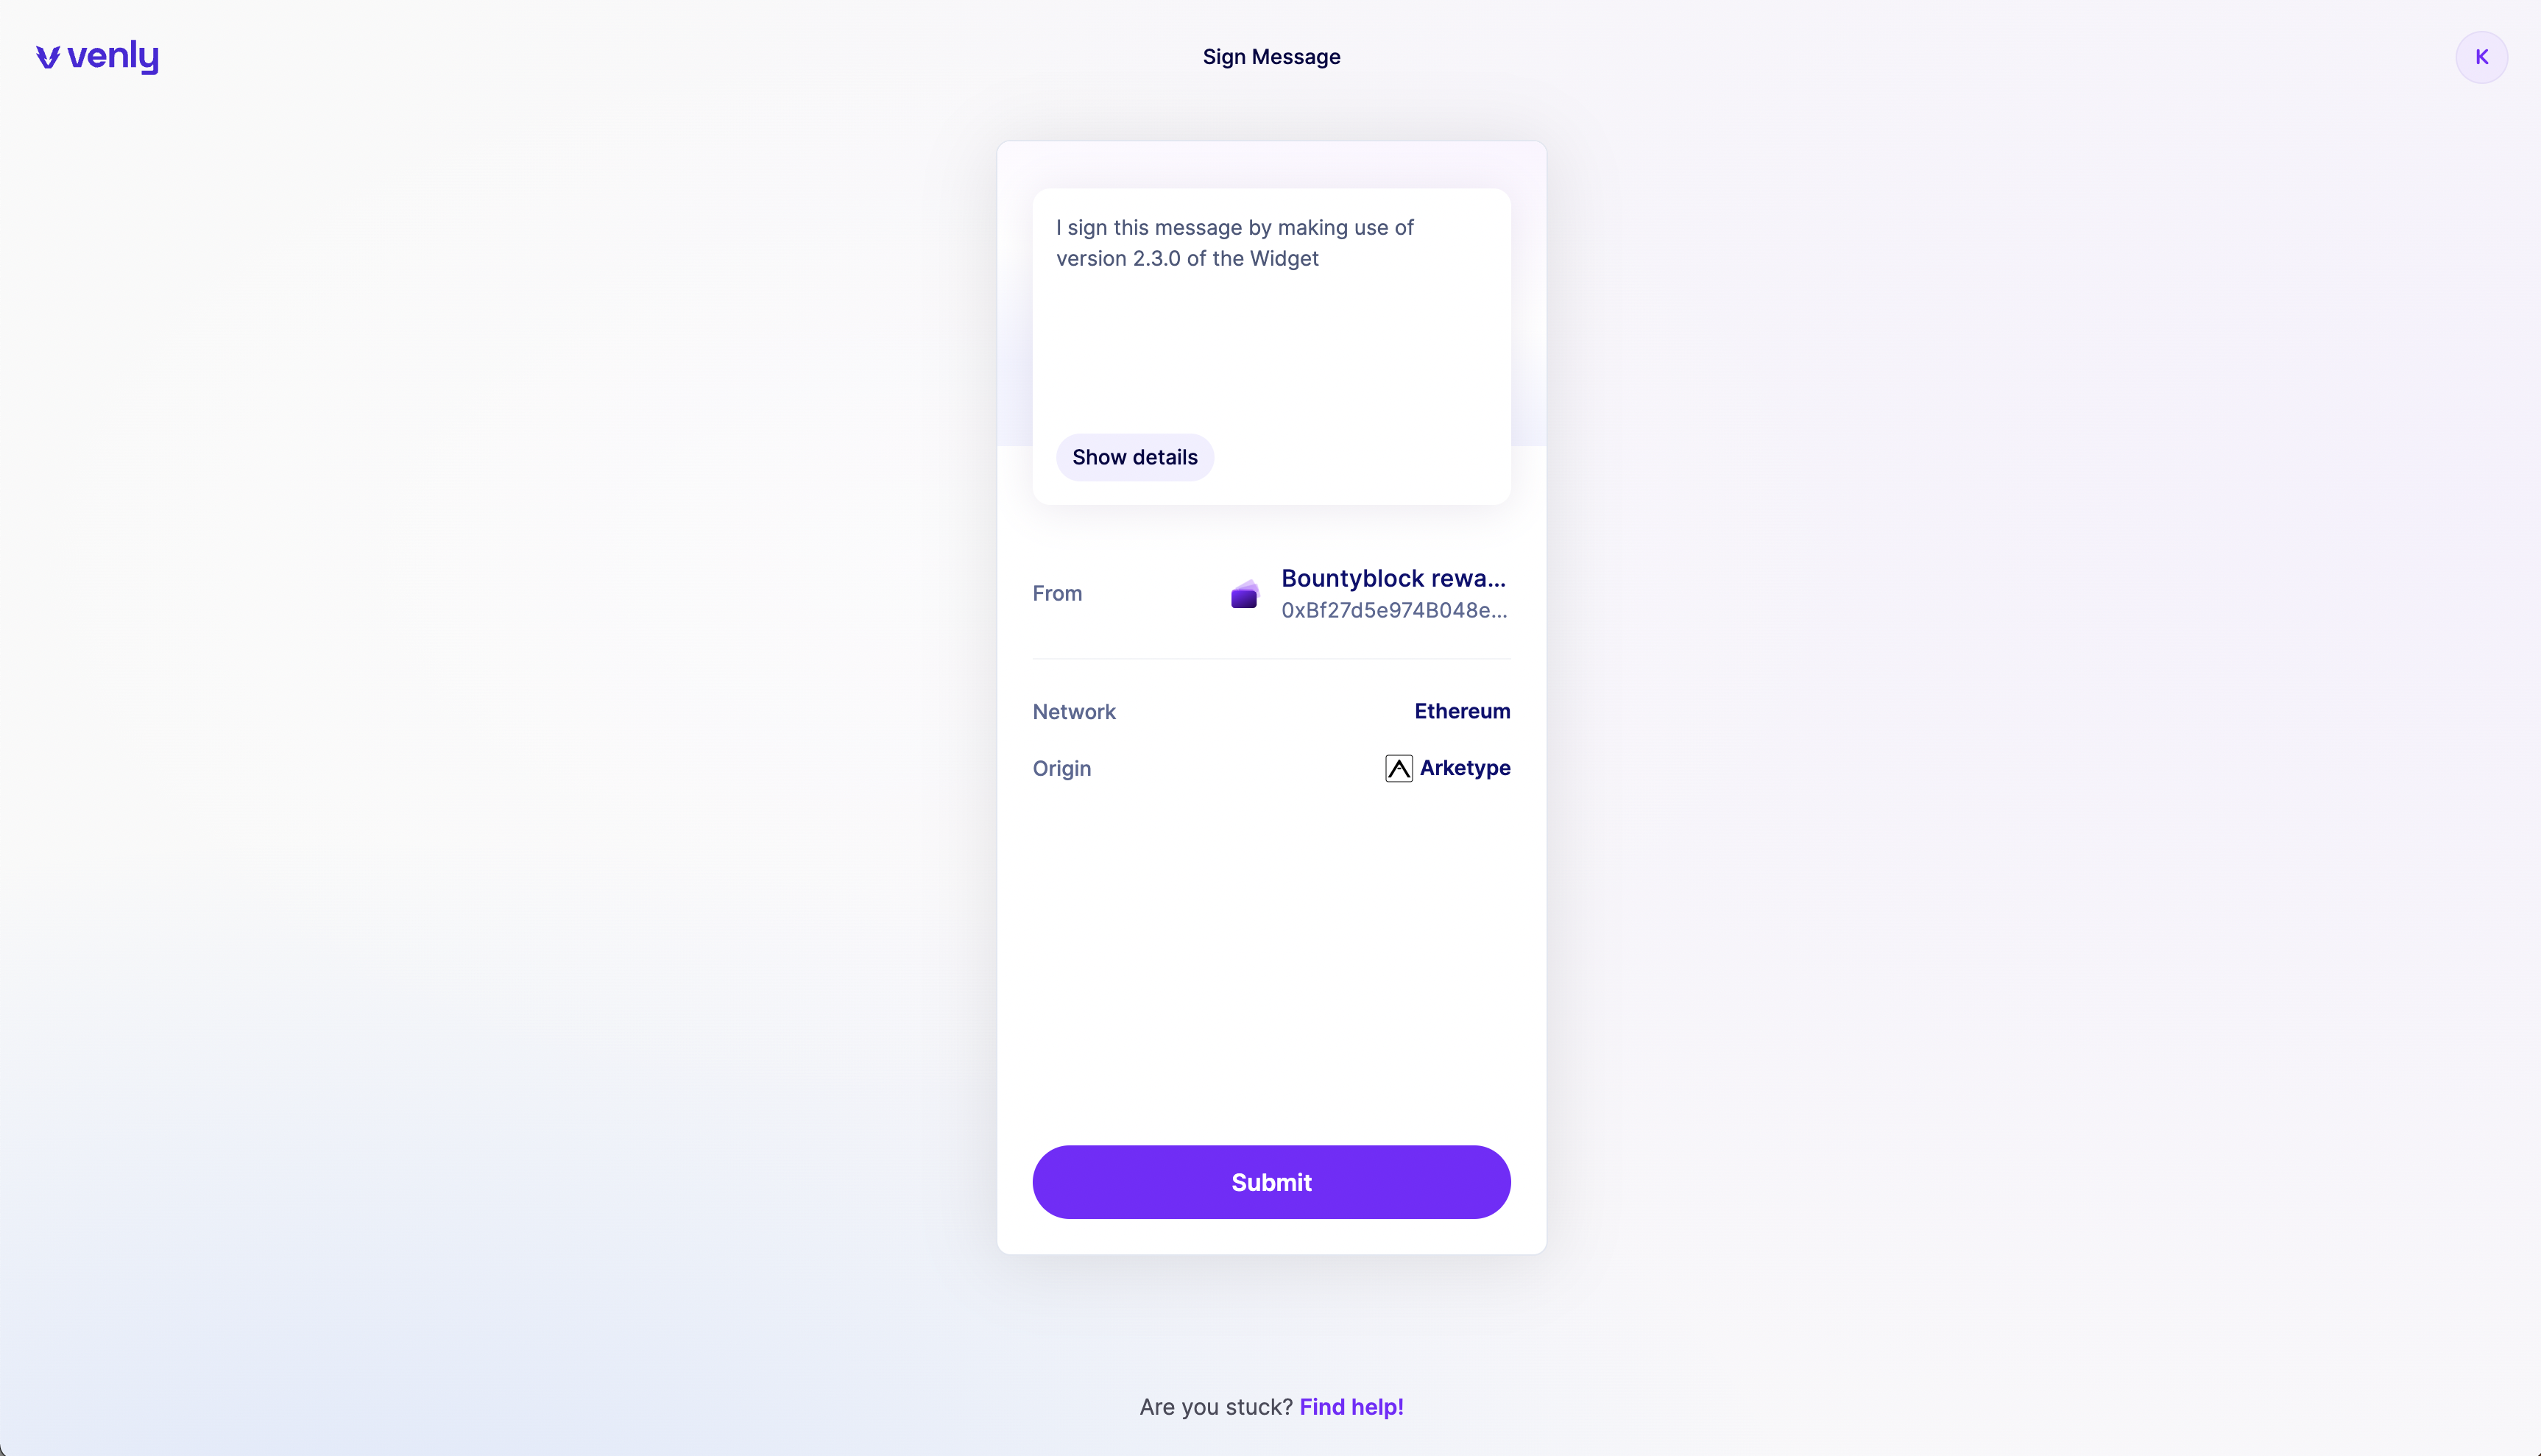
Note that version 2.3.0 also supported the redirect option where instead of triggering a pop-up window we redirect to user. As displayed in the screenshot below.

Signing a message in redirect mode using version 2.3.0 of the Widget
Old Method (Deprecated but still working)
For example, the old way requires two steps:
- First, creating a signer
- Second, executing the function call
// Step#1 Create Signer
const signer = venlyConnect.createSigner();

// Step#2 Executing the function(Signing Message)
signer.signMessage({
    walletId: 'c8ec9954-fa1a-4682-9cf8-ef5c1015d1d1',
    secretType: 'ETHEREUM',
    data : "I agree with terms and conditions"
})
New Method
With the 2.3.0 update, you can do this in just one step:
// Execute the function in a single step

venlyConnect.signer.signMessage({
    walletId: 'c8ec9954-fa1a-4682-9cf8-ef5c1015d1d1',
    secretType: 'ETHEREUM',
    data : "I agree with terms and conditions"
})This new change applies to all the function calls which previously required to create a signer as a separate step.