Create Venly Microservice
Client Authoritative
All communication with the Venly API from a Client is bridged and executed on a Beamable Microservice. The Venly Gaming Toolkit exposes a VenlyMicroservice base class that contains all the required logic. The following steps will guide you to set up such a Microservice and provide it with the necessary dependencies.
1. Set Beamable as Backend provider
Make sure that the Backend of the Venly SDK Manager is set to Beamable. (Backend Settings can be ignored for now)
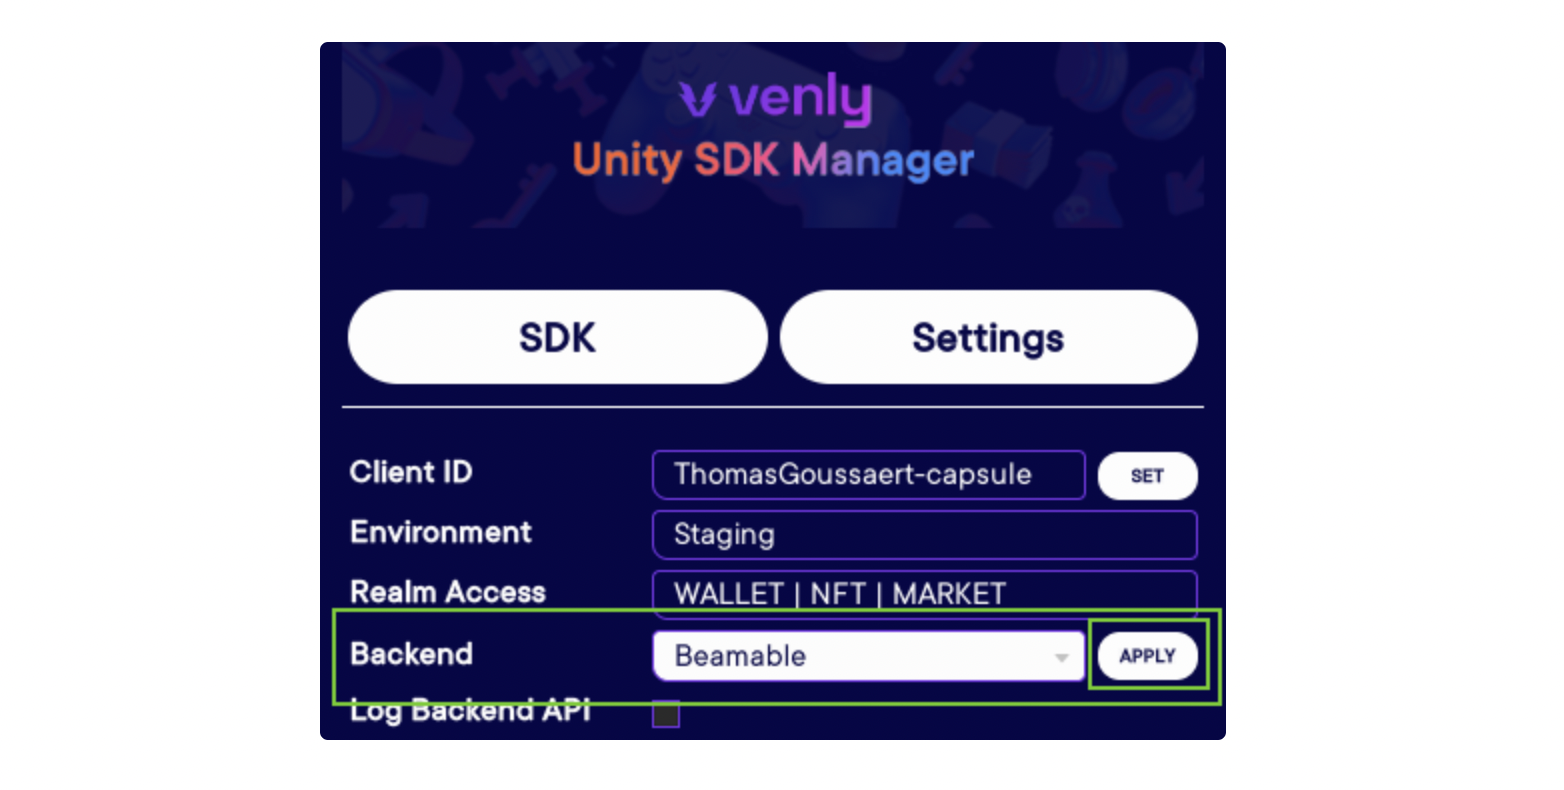
Configure Beamable as Backend provider in the Unity SDK Manager
2. Create a new Microservice
Create a new Microservice, give it a proper name, in this example we will name our new Microservice VenlyService.
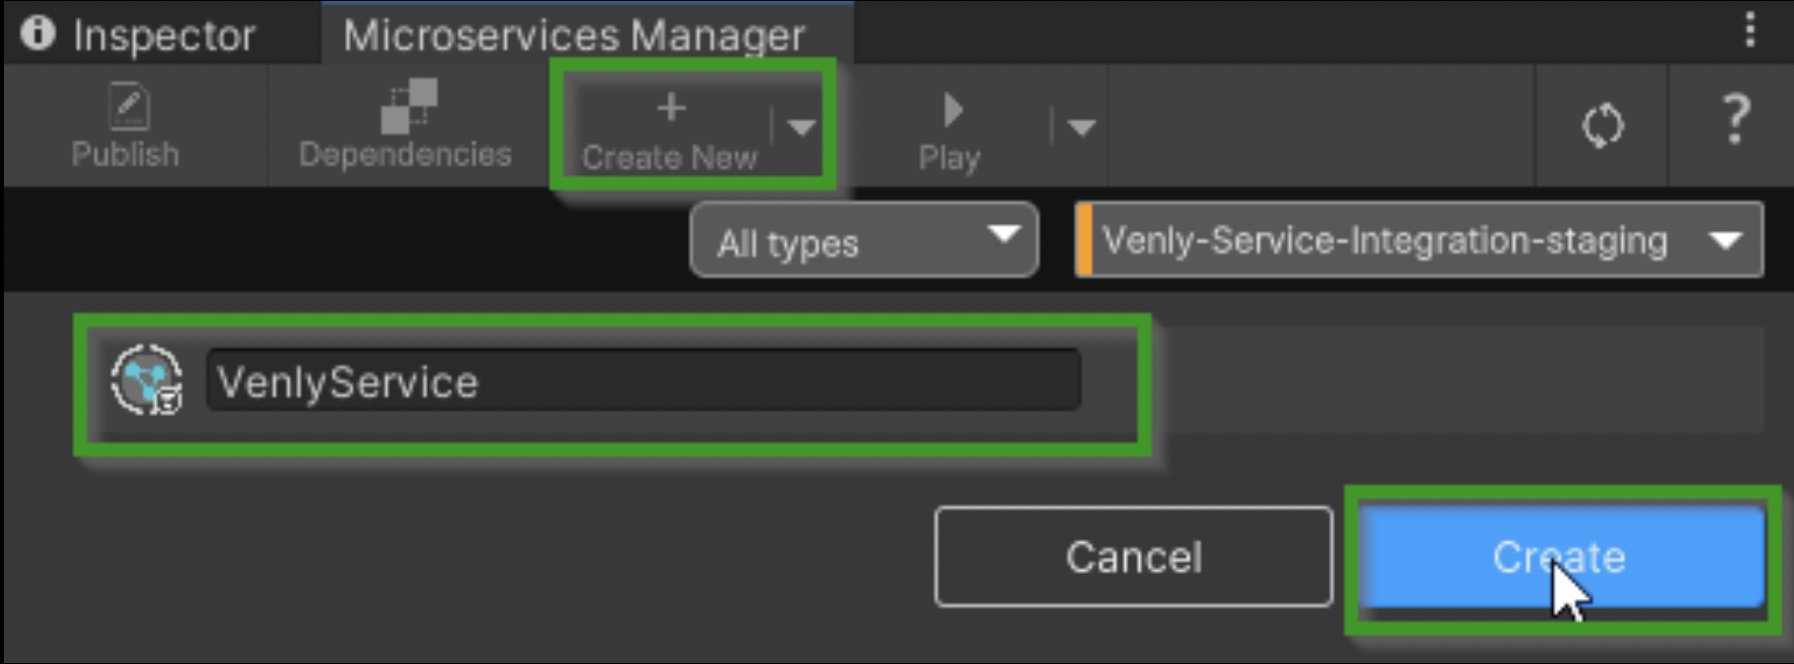
Creating a new microservice
3. Navigate to the Microservice folder
Navigate to the newly generated Microservice folder inside the Unity Project Explorer. This folder hosts two new files, a C# class containing the Microservice code, and an Assembly Definition file containing configuration settings for the Microservice Assembly.

Microservice C# class and the Assembly Definition file
4. Add references to the Assembly Definition
We must add some references to the assembly to access the required Venly API features inside the Microservice. Select the Assembly definition and head over to the Inspector Panel.
Make sure to set the Backend to 'Beamable' inside the Venly SDK Manager (and press 'Apply') to expose the required references.
- Add the '
venly.beamable.microservice' to the Assembly Definition References list - Activate the 'Override References' toggle (this should expose the Assembly References list)
- Add 'Newtonsoft.Json.dll' to the Assembly References list
- Add 'VenlyAPI.Core.dll' to the Assembly Reference list
- Press Apply
Make sure to add 'VenlyAPI.Core.dll' and not 'VenlyAPI.Core.Unity.dll'
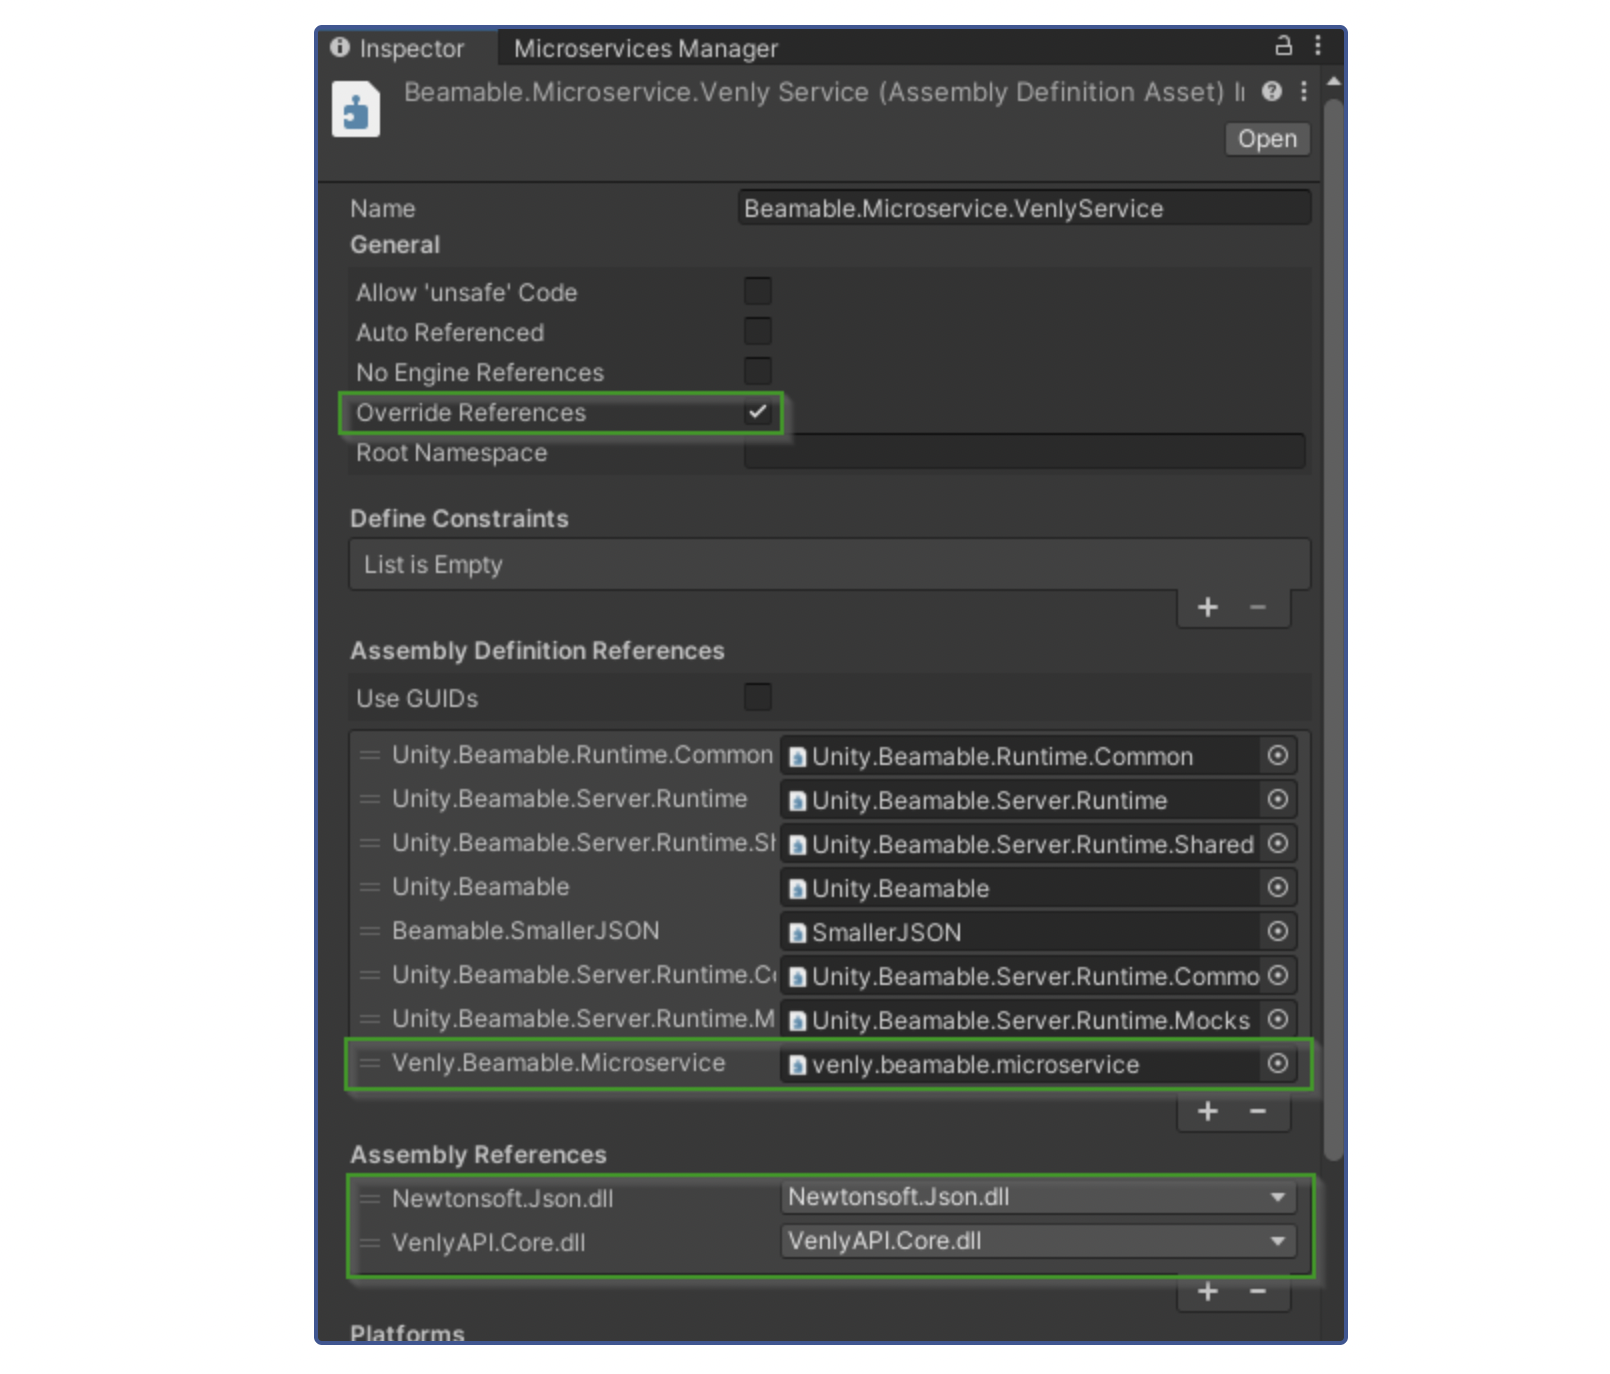
Adding references to the Assembly Definition
5. Update generated Microservice class
Your code solution should contain a separate project for your Microservice. The next step is altering the code inside the generated Microservice class. (VenlySevice.cs in our example)
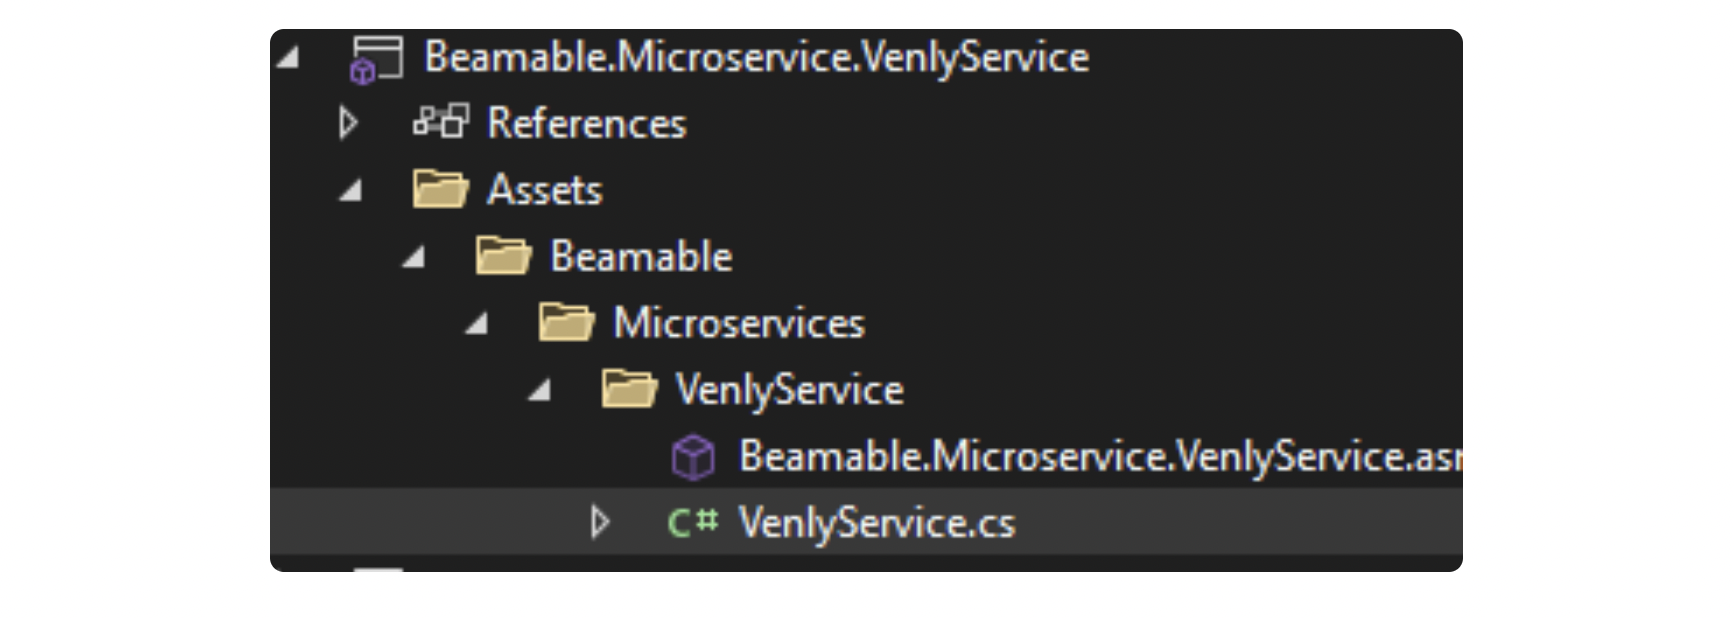
The generated Microservice class
We should have access to the entire Venly API and a collection of helper classes because we previously added some references to this Microservice assembly. When opening the Microservice class, the initial code should look like this:
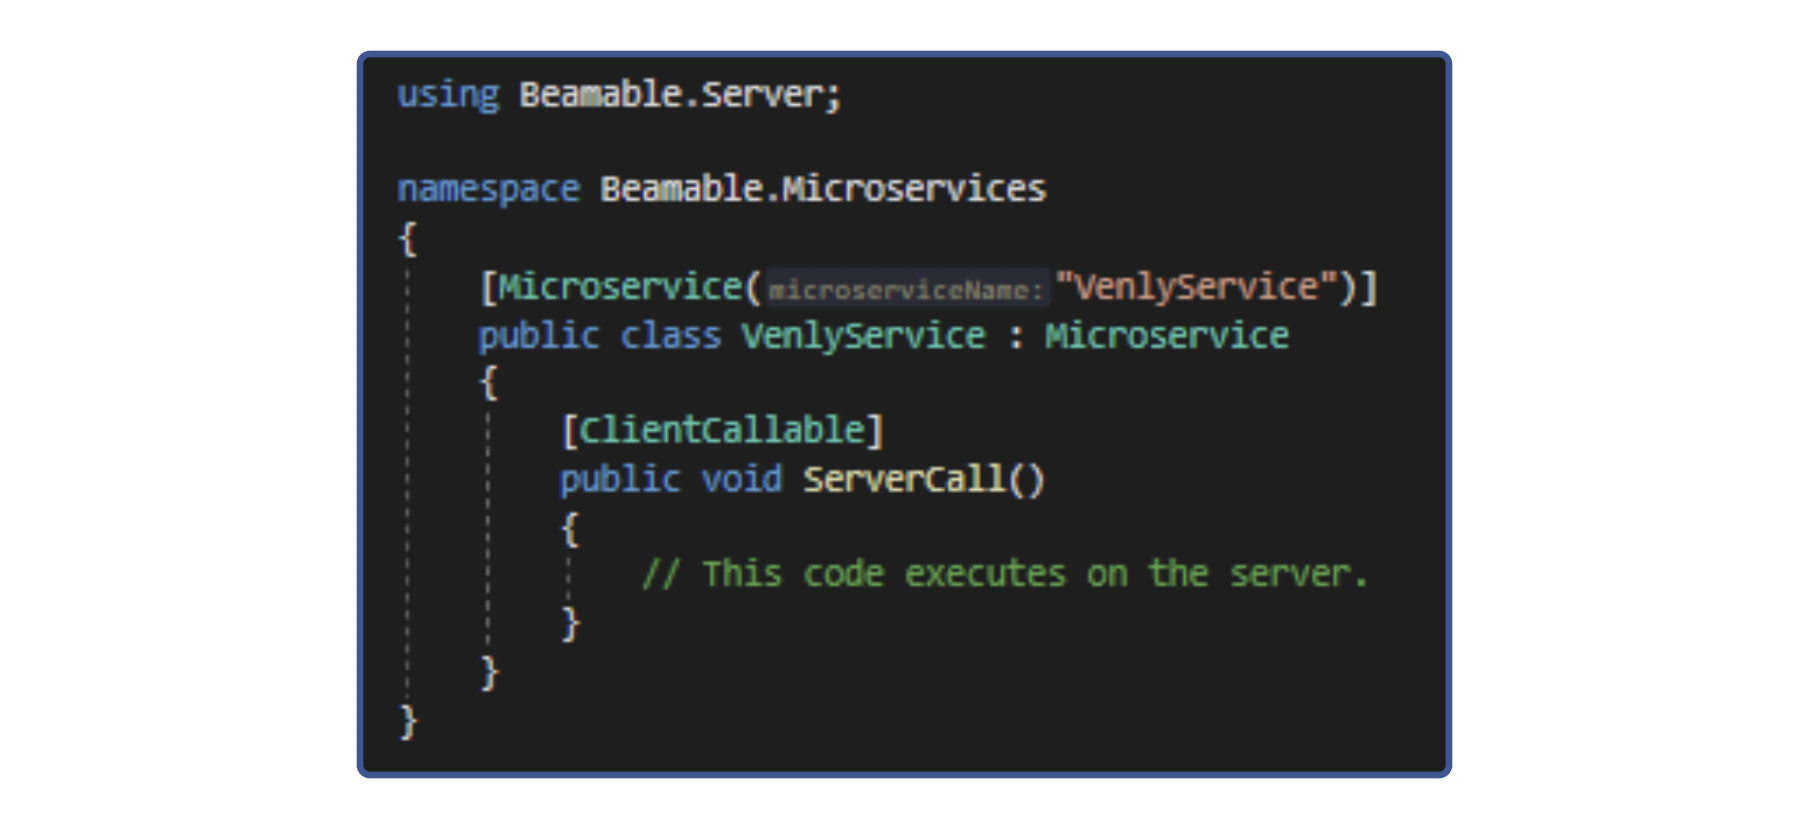
Default generated code of the Microservice class
We must modify the code so that our class derives from VenlyMicroservice, and gives us access to a helper method (HandleRequest) that automatically processes incoming requests and produces a fitting answer. The Entry Function, the function that is invoked by the client, requires a specific signature (async Task<string> FunctionName(string)). The following snippet shows us the edited content for our Microservice class:
using System.Threading.Tasks;
using Beamable.Server;
using Venly.Backends.Beamable;

namespace Beamable.Microservices
{
	[Microservice("VenlyService")] //Microservice Name
	public class VenlyService: VenlyMicroservice //VenlyMicroservice base class
	{
		[ClientCallable]
		public async Task<string> Execute(string request) //Entry Function
	        {
		    //(optional) Here you can also configure the Endpoint Guard
		    //Changing the default behavior of what endpoints are allowed/denied
		    VenlyAPI.Backend.AllowEndpoint(VenlyAPI.Wallet.IDs.ExecuteCryptoTokenTransfer);
            	    VenlyAPI.Backend.AllowEndpoint(VenlyAPI.Wallet.IDs.ExecuteMultiTokenTransfer);
            	    VenlyAPI.Backend.AllowEndpoint(VenlyAPI.Wallet.IDs.ExecuteNativeTokenTransfer);
	            //...

		    return await HandleRequest(request); //Handles requests
	        }
	}
}This concludes the work required to set up our Microservice. You are now ready to build and run the Microservice (deploy to the cloud or run locally with Docker).
More info on running or debugging Microservices in Beamable can be found here.
It's of course important that this service is running before trying to invoke any calls from the Venly SDK
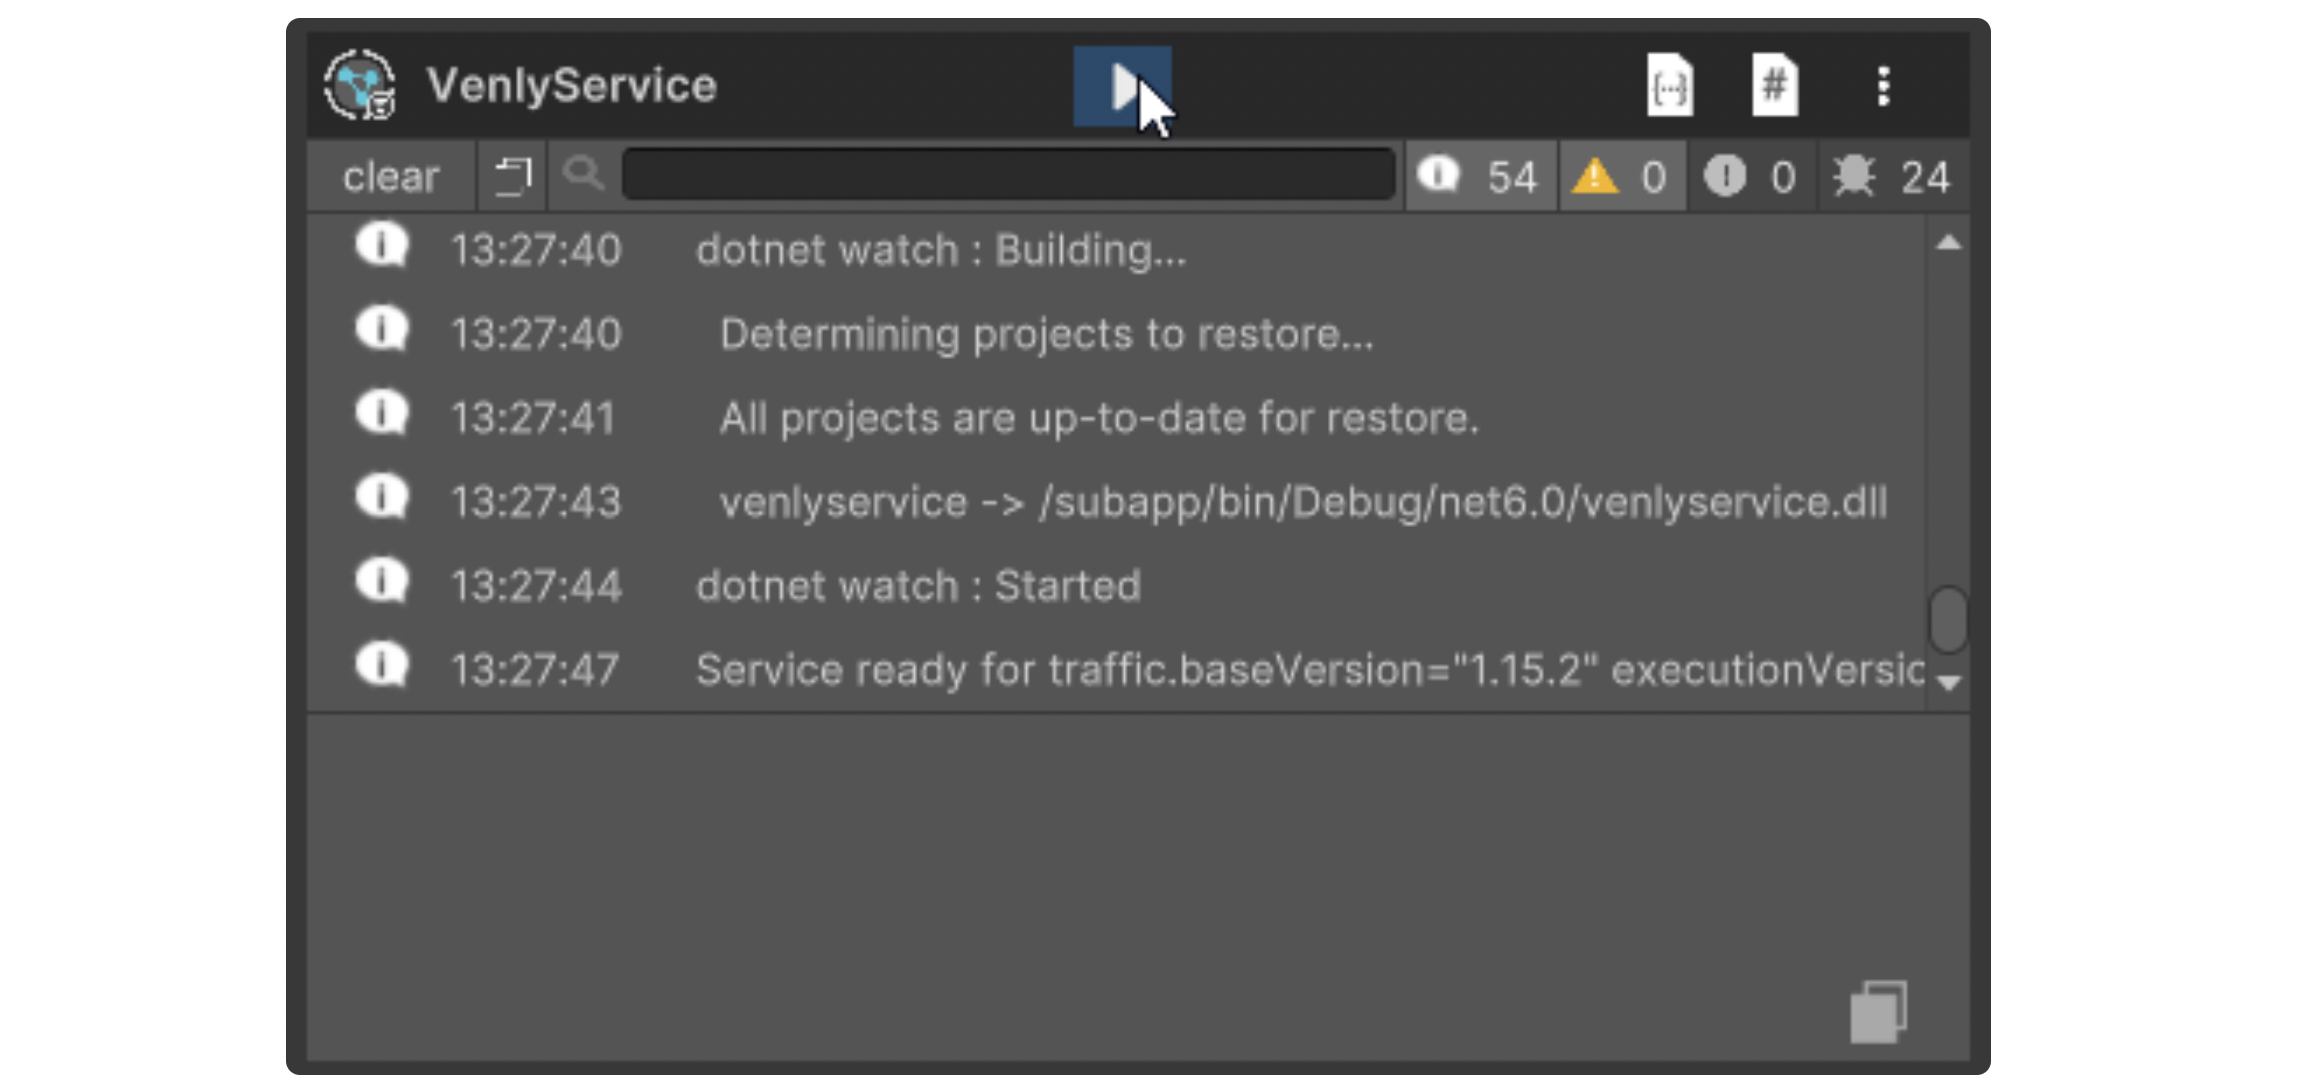
Venly Service
Updated 3 months ago