Create an Azure Cloud Function
Explanation on how to create an Azure Cloud Function to relay the Venly API calls
Azure Cloud Functions can be used in combination with PlayFab to manage Server Authoritative calls, so in this guide we will explain how to create an Azure Cloud Function to relay the Venly API calls. We will walk you through the different install and configuration steps.
There are multiple ways to create an Azure Cloud Function, the explanation below is using Visual Studio 2022 (but other IDEs or flow can be used and should be very similar).
Make sure to use our C# PlayFab-Azure Companion Nuget package to set up your Azure Cloud Function. This package will automatically handle the communication with Venly Services and provide access to the full Venly API functions.
1. Create a new Azure Cloud Function
The resulting function should be a HttpTrigger function (.NET6), with the 'Function' authorization level.

New Azure Cloud Function in Visual Studio 2022
2. Create a default Azure Function
Create a new default Azure Function, and remove any template code inside this function if needed. Make sure to give your function a decent name, this name should be defined with the FunctionName attribute. In this case, our Function is called VenlyRelayFunction.

A new default function called VenlyRelayFunction
3. Install the Venly Companion package
If you haven't done so yet, install the Venly Companion package for PlayFab-Azure. This package will automatically handle the communication with Venly Services and provide access to the full Venly API functions. The easiest way to set up it up is by using our VenlyAPI.Companion.PlayFab-Azure nuget package. Install the nuget package into your project.
dotnet add package VenlyAPI.Companion.PlayFab-Azure --prerelease4. Update the default Azure Function
After installing the package, you should be able to add the following line of code inside your cloud function. In our example VenlyRelayFunction.
return await VenlyAPI.Companion.VenlyAzure.HandleRequest(req);Making the resulting function app code look like this:

Update Azure Function
And that is all! You can now Publish your function to the Azure Cloud! After publishing we still need to provide our function with some authentication information such as our Client Credentials, and PlayFab Developer Keys.
5. Azure Cloud Function Configuration
Head over to the Azure Portal, and select your Azure Function App from the portal. Here you should be able to configure some Key-Value pairs (Settings > Configuration).

Settings > Configuration menu
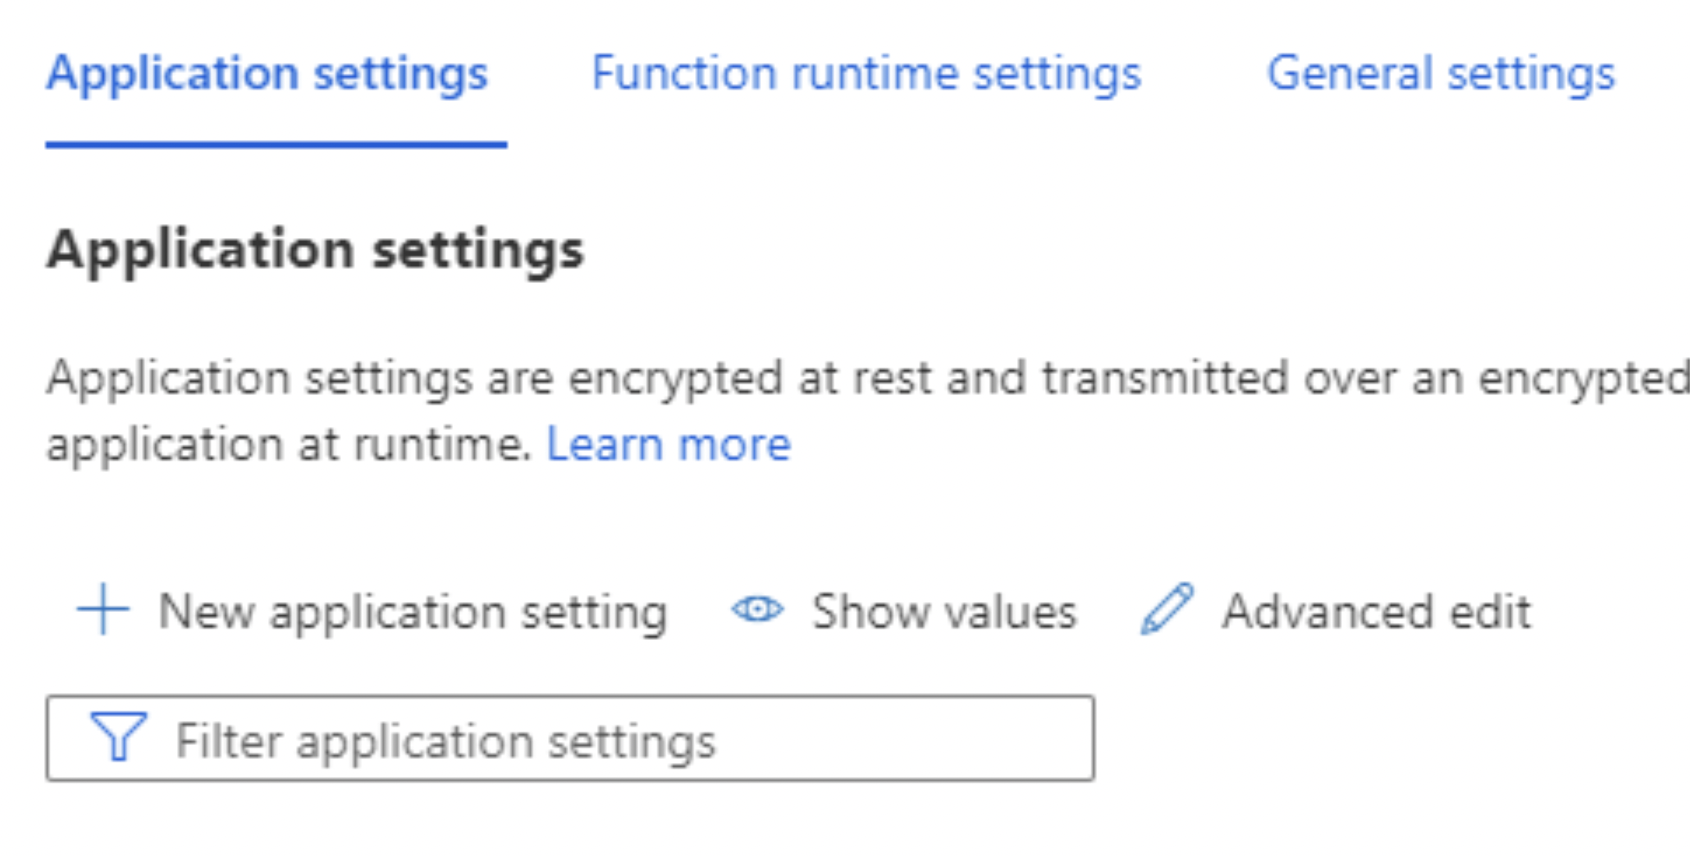
Here we have to create a few additional settings that will provide our Function app with some required information to function properly. The following keys should be added:
Make sure to use the exact same name for the keys!
| KEY | VALUE |
|---|---|
| VENLY_CLIENT_ID | Your Venly Client ID |
| VENLY_CLIENT_SECRET_STAGING | Your Staging Client Secret |
| VENLY_CLIENT_SECRET_PRODUCTION | Your Production Client Secret |
| VENLY_ENVIRONMENT | Either STAGING or PRODUCTION |
| PLAYFAB_TITLE_ID | Your PlayFab Title ID |
| PLAYFAB_DEV_SECRET_KEY | Your PlayFab Developer Secret Key |
During development it is sufficient to only provide the Staging Client Secret - this means you also have to make sure that the Environment is set to
STAGING.

Azure Function - Application Settings
Updated 3 months ago