How to set up NFT project
This guide describes how to set up your NFT project with the SiteManager integration.
Setting up your NFT project
Venly Mint option allows you to set up an NFT website allowing your end-users to mint NFTs directly from your website by connecting their Venly Wallets. You can add a custom price for minting using Venly Payor keep the minting free.
For this example, we will set up our project with the Venly Mint option and create an NFT website that allows your end-users to mint NFTs for free.
Access the Venly Mint Template
Currently, the Venly Mint template can only be accessed via this link. The template will be added to the list of SiteManager templates later.
Click on START FROM TEMPLATE to continue. On the next screen, enter the name of your project and click CREATE PROJECT.
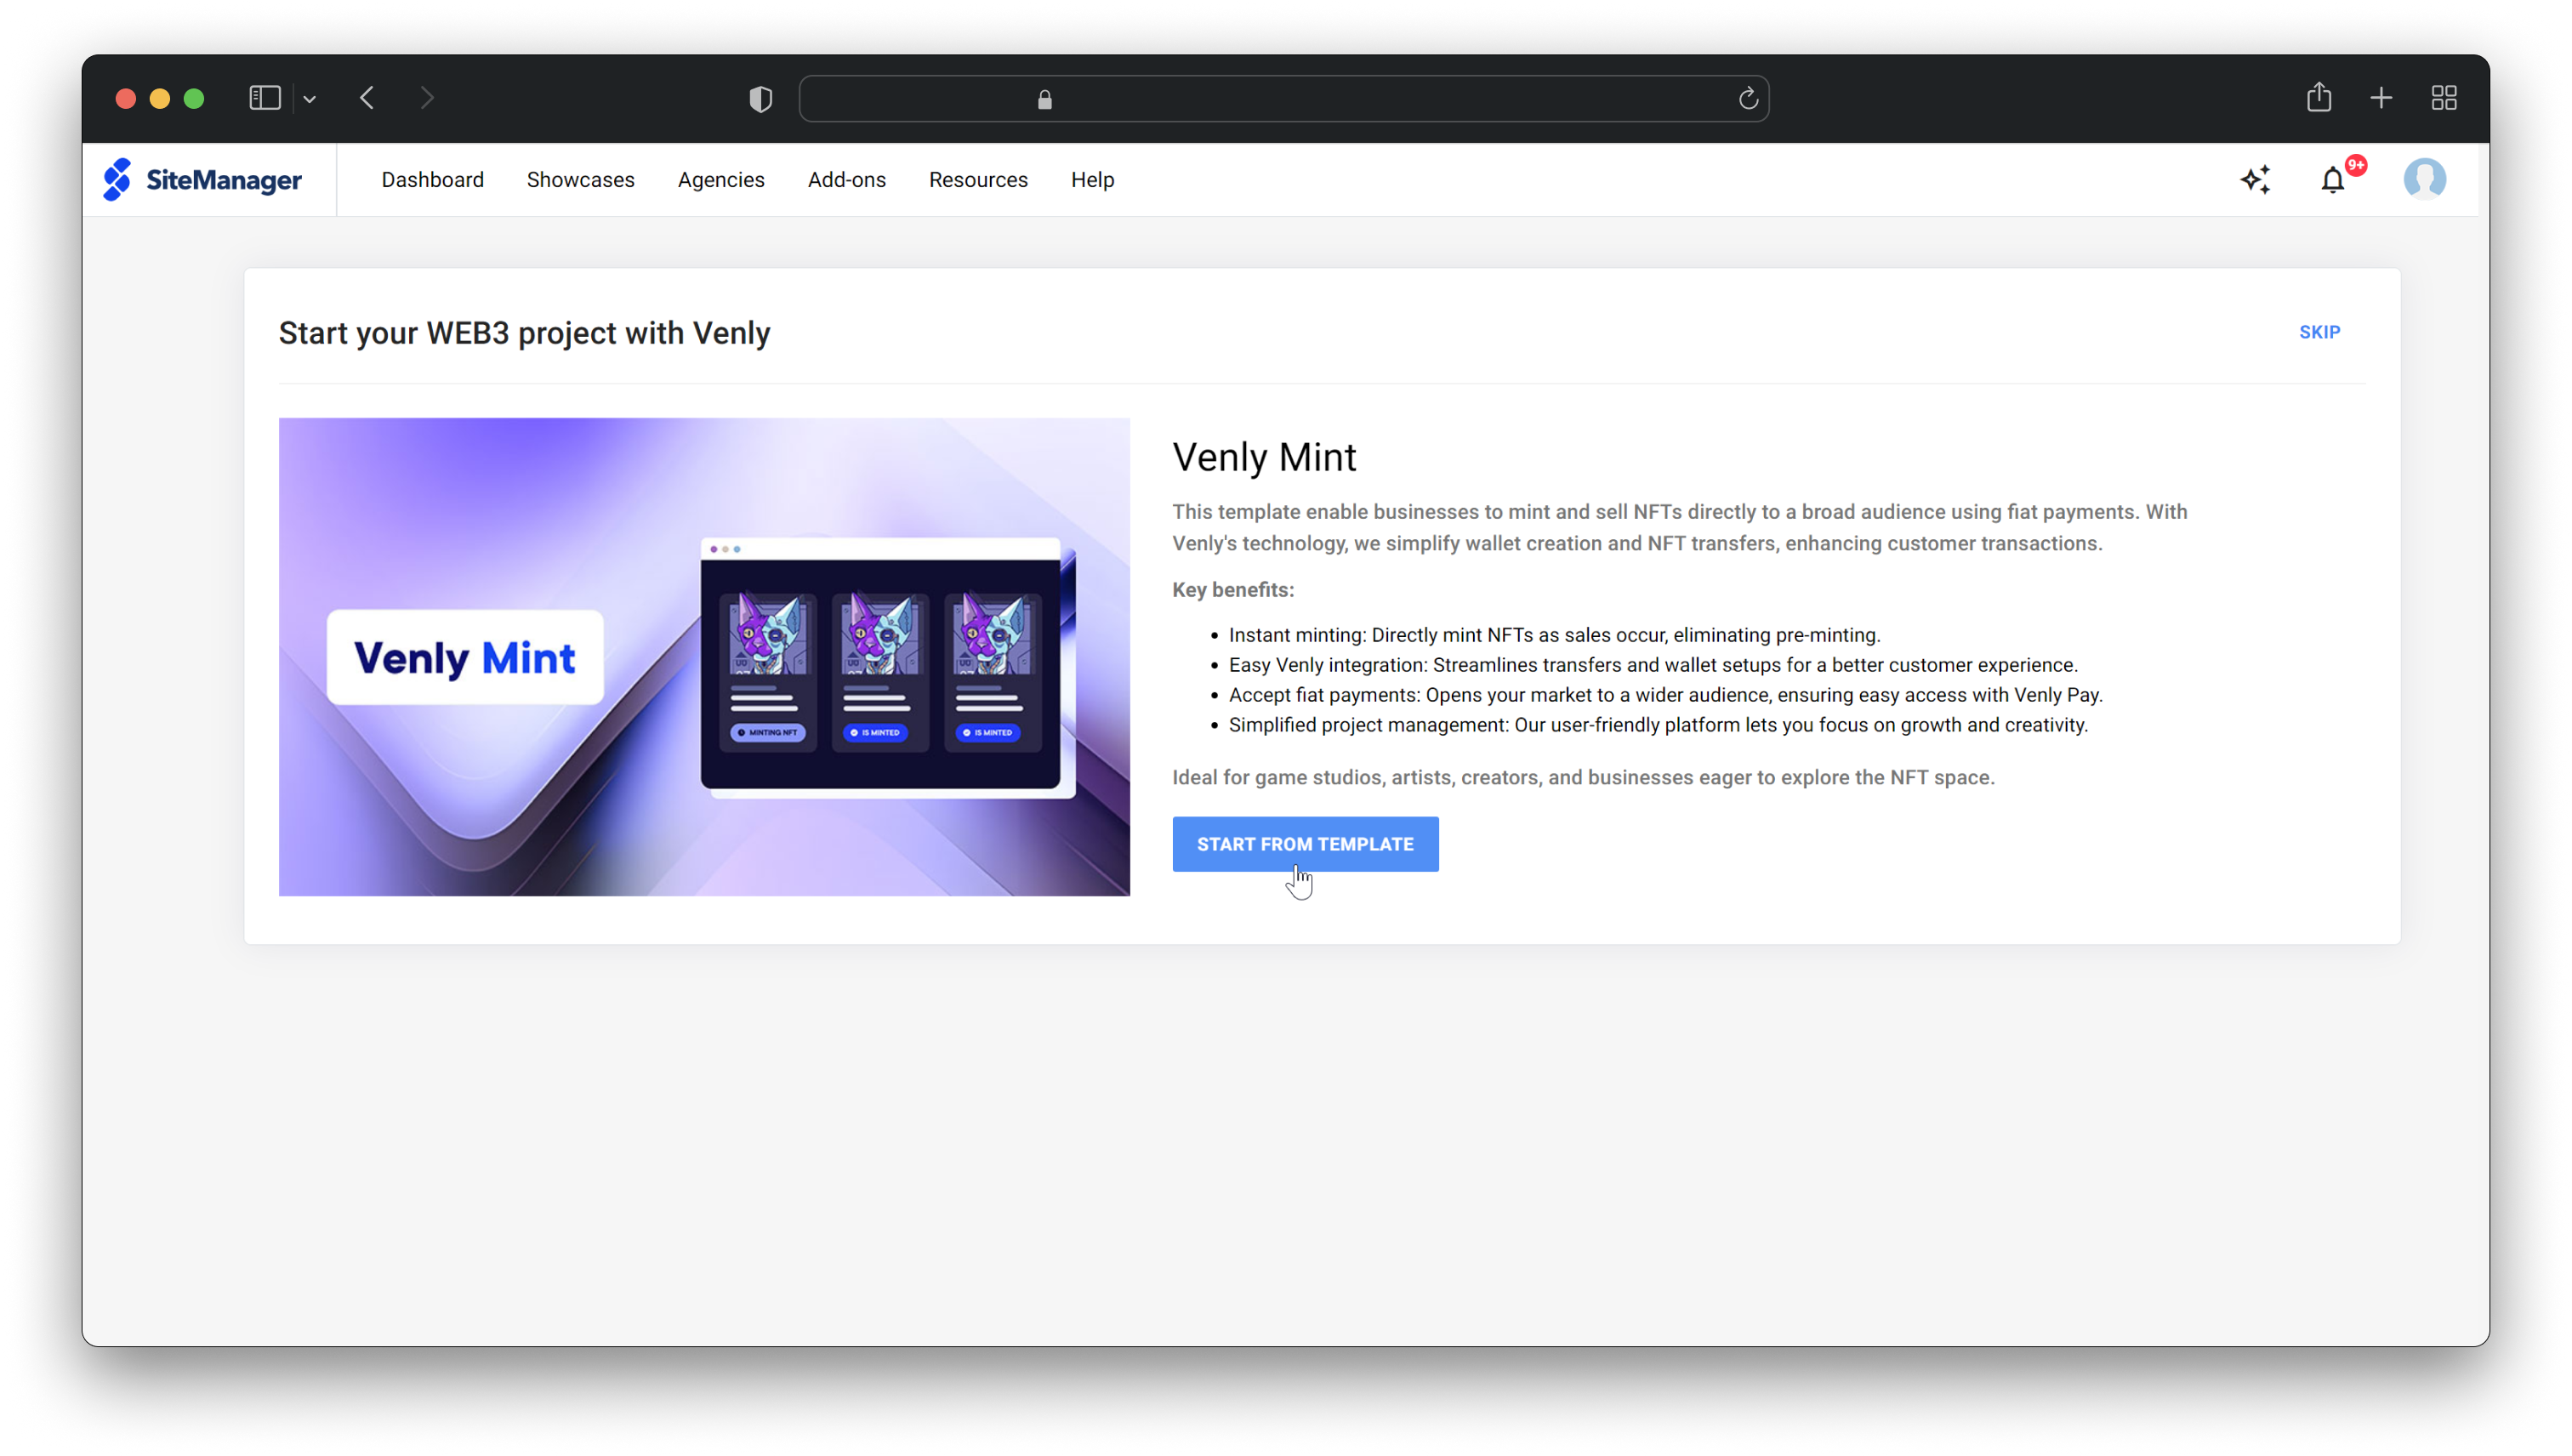
Set up your first web3 project
Pre-requisites
This guide assumes you have the client credentials (Client ID & Client Secret) from the developer portal.
Learn how to sign up with Venly.
1. Connect Venly
Next, you need to authenticate your Venly access credentials with SiteManager. First, select the Environment as sandbox or production. For this example, we will choose sandbox as the environment for testing purposes.
You must also enter your Client ID, Client Secret, and the Widget Client ID, which can be obtained from the Portal.
Finally, you need to enter your Company ID, which can be retrieved from the Portal by clicking the❔icon on the top right. Use the Company ID for the production environment, and use the Sandbox Company ID for the sandbox environment.
Click Connect to continue.
- Learn how to retreive Client ID and Client Secret from the Developer Portal.* Environment:
- Sandbox: Used when experimenting and trying out the integration on testnets.
- Production: Used when deploying on mainnets.
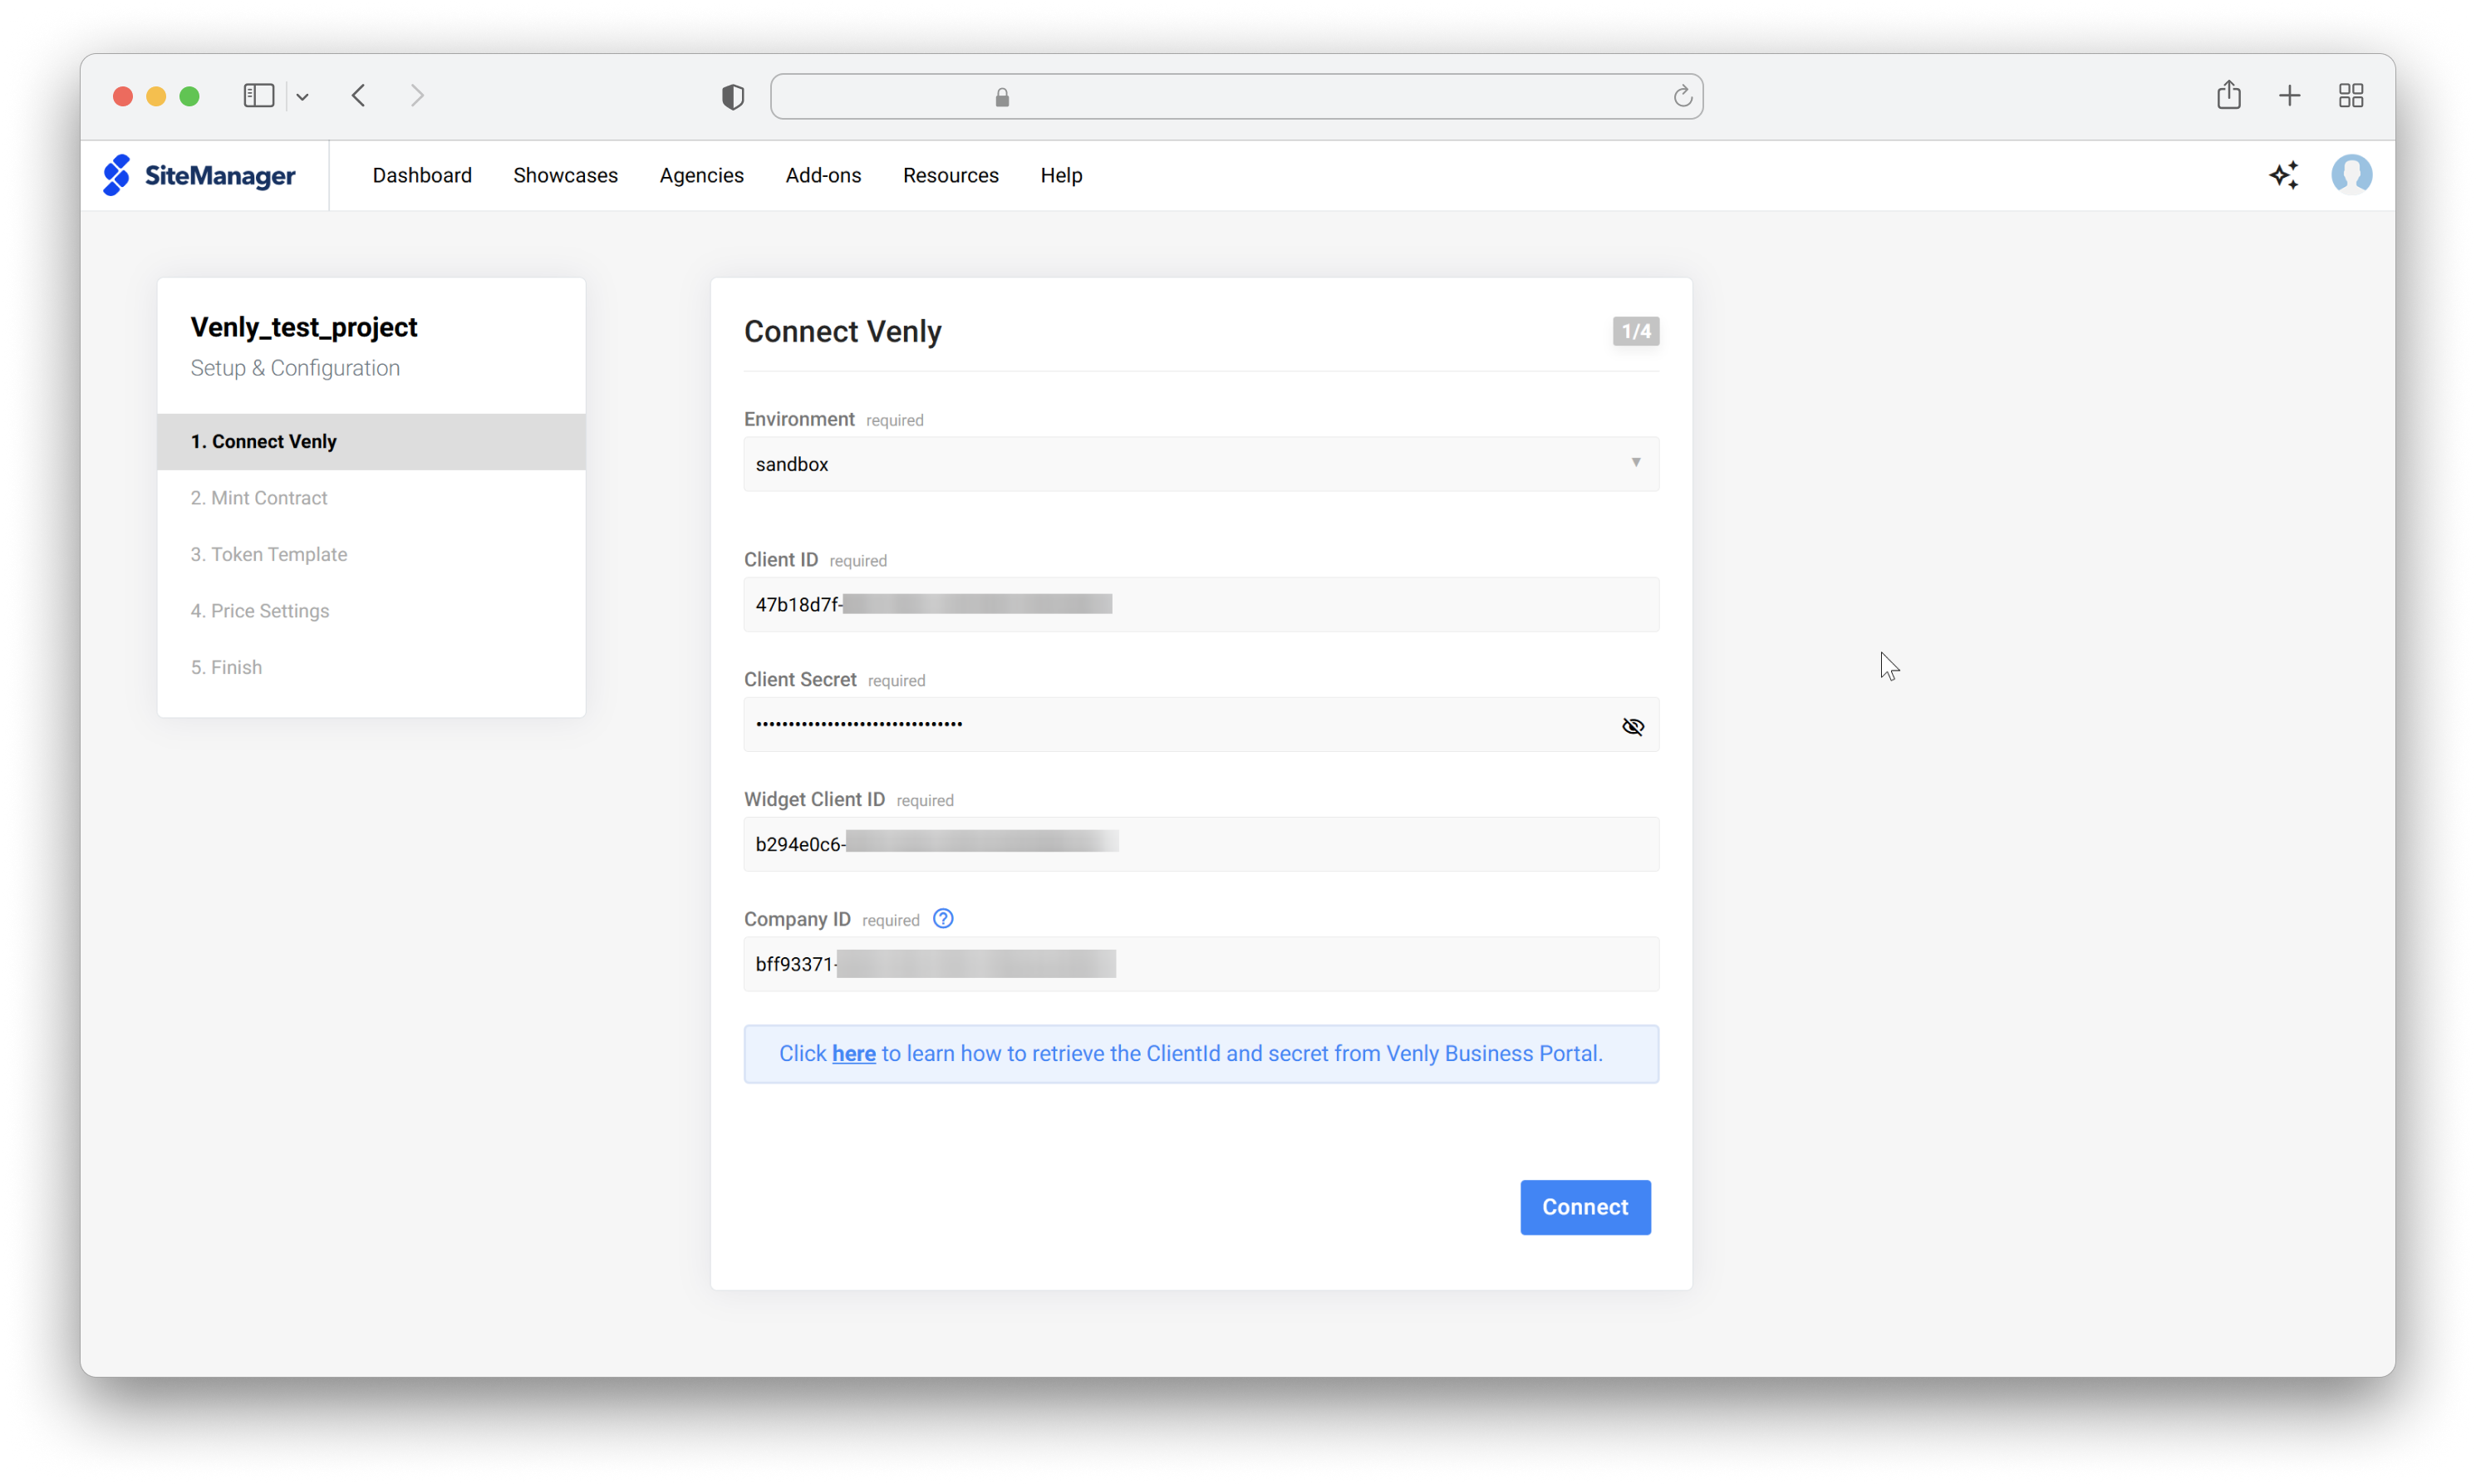
Connect Venly with SiteManager
2. Mint Contract
Next, select one of your already created NFT contracts from the drop-down menu or click on Create New to create a new NFT contract. This integration allows you to create an NFT contract through text boxes.
To create a new contract, you have to define the following properties of the NFT collection:
- Name: The name of your NFT collection.
- Description: The description of your NFT collection.
- Website: Any valid URL to redirect your end-users to a landing page, website, etc.
- Chain: The blockchain to create the NFT collection on.
- Collection profile image: The profile image for the NFT collection.
Fill in the details and click Create to proceed. Wait for the contract to deploy. Once deployed you will get the confirmation. Click Ok to proceed and then select your newly created NFT contract from the menu and click Next to proceed.
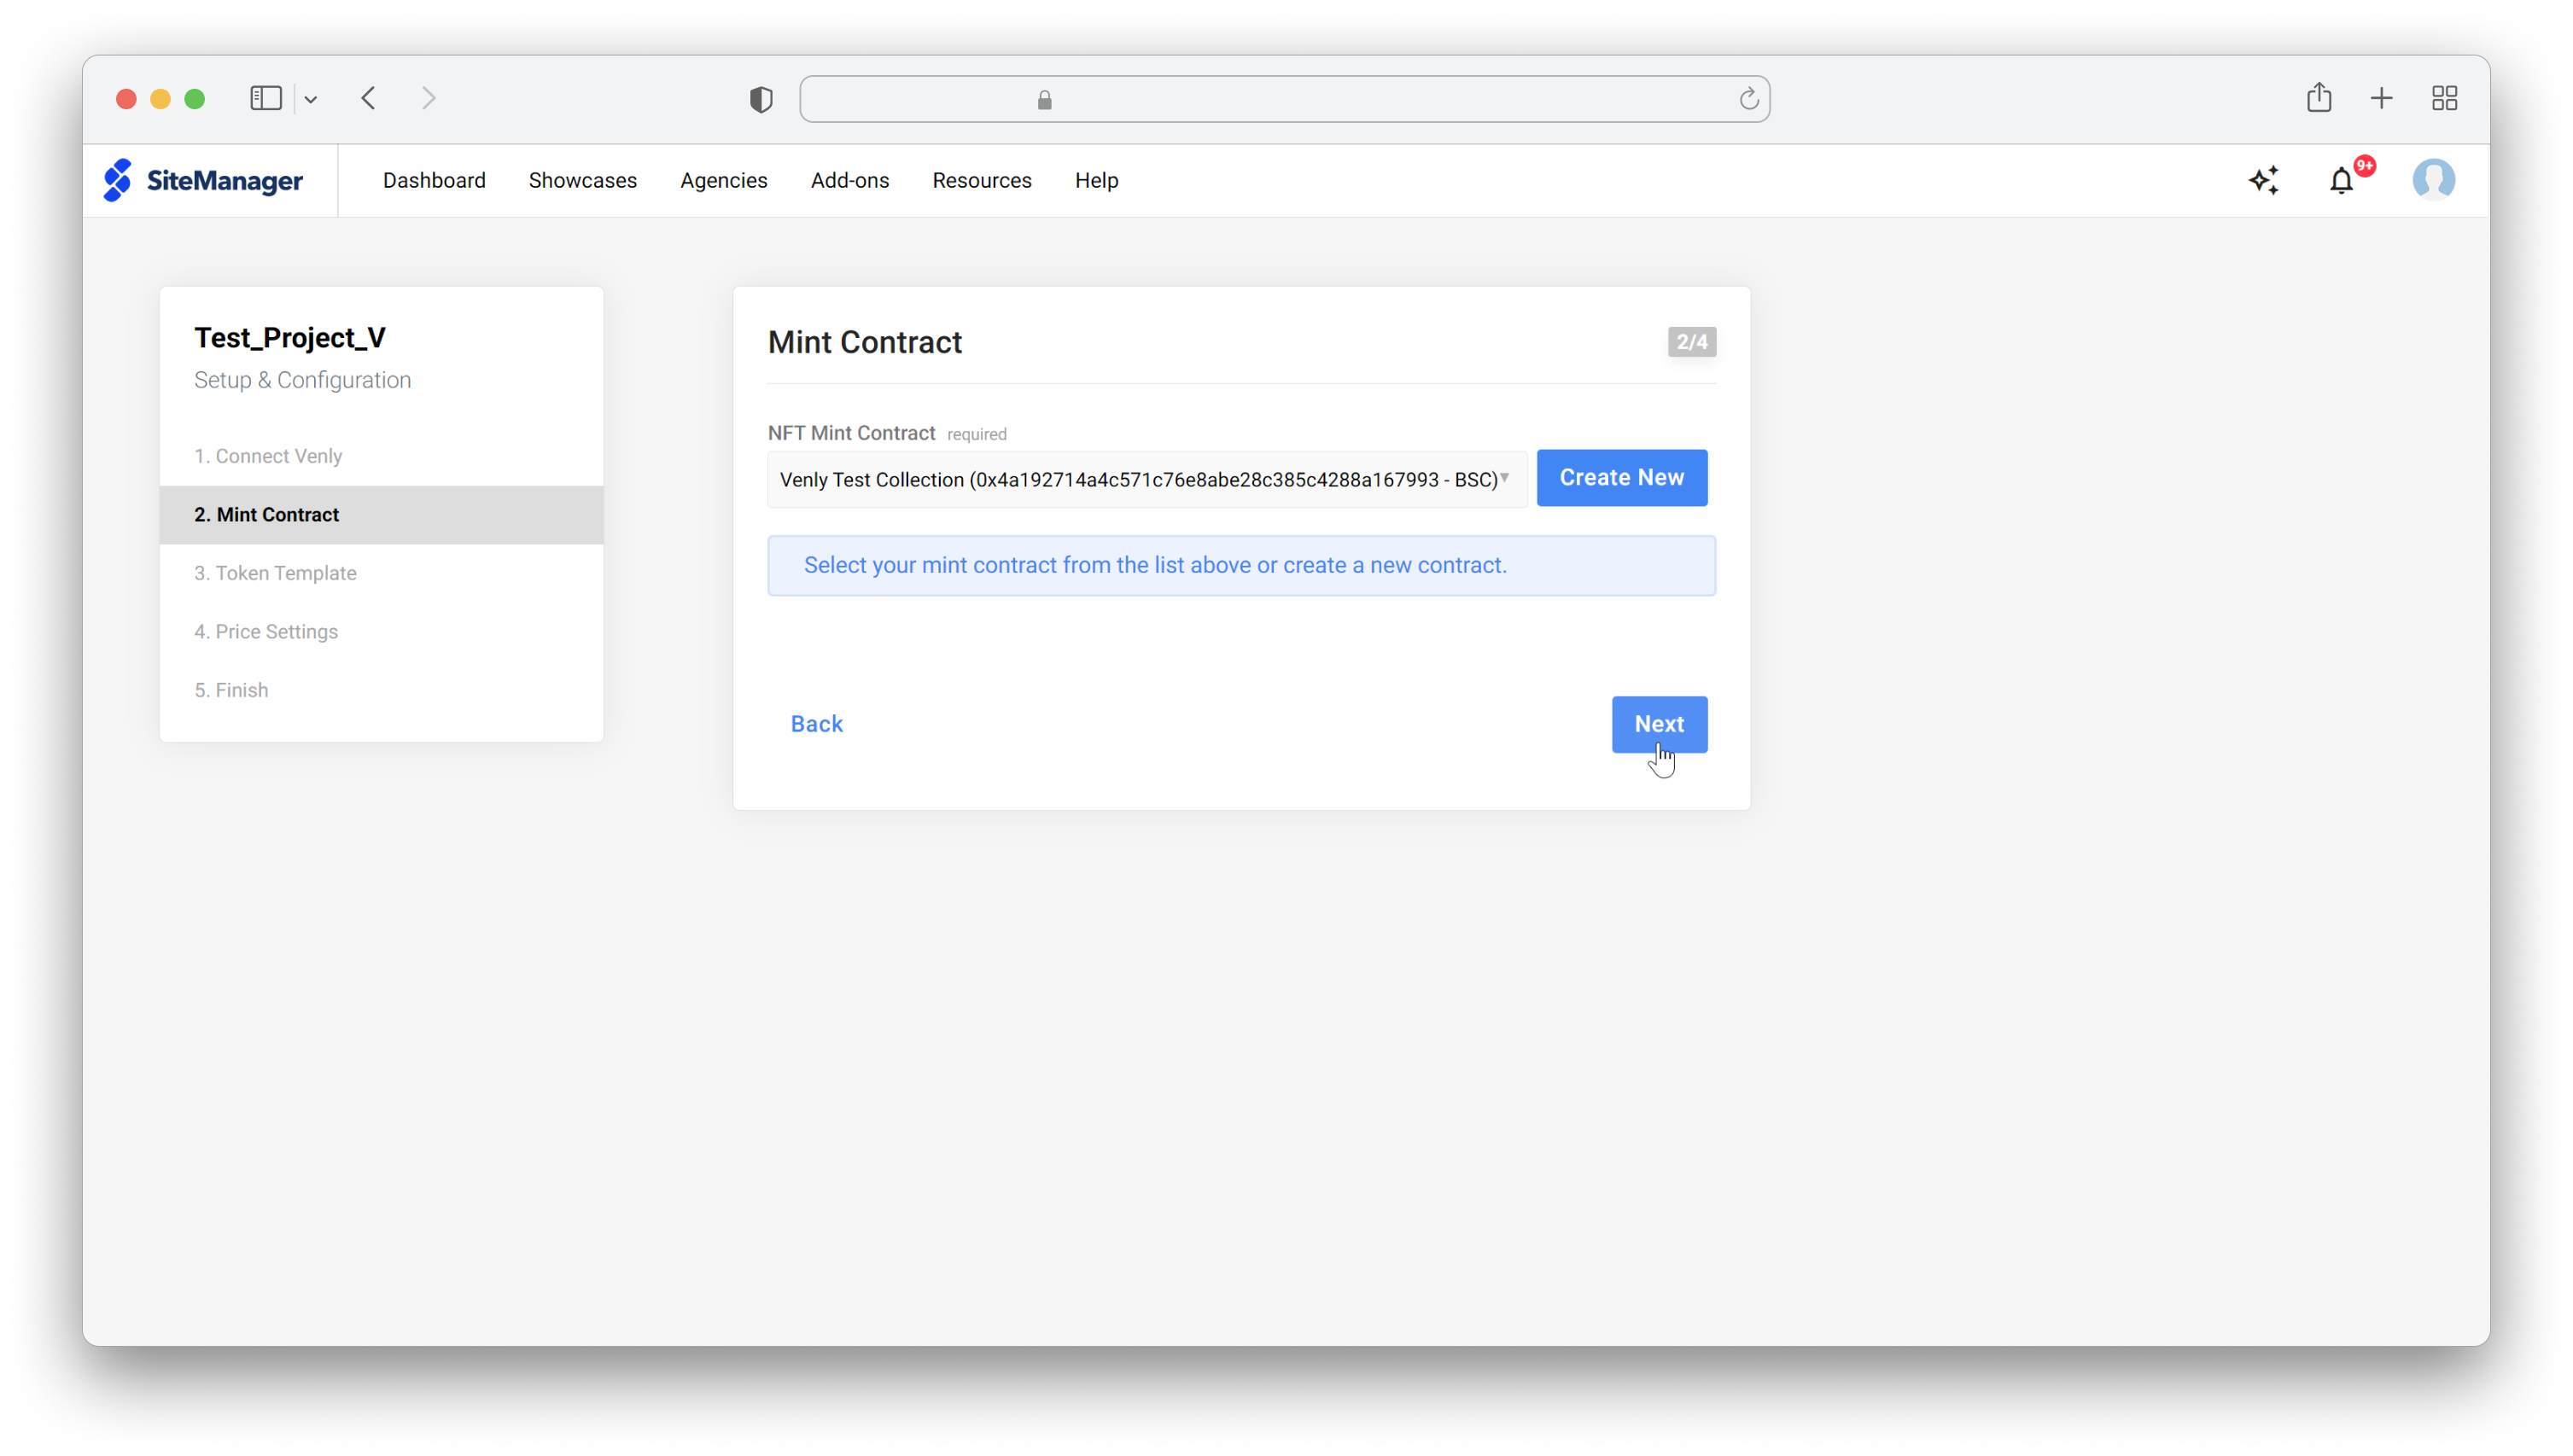
Select newly created NFT contract/collection
3. Token Template
The token template or token-type serves as a template for minting NFTs. You just have to define the NFT template once with parameters like it's name, image, and description and using this token-type you can mint multiple NFTs. Defining token types helps structure the NFT template information.
Next, select a token-type from the drop-down menu or create a new one.
Configure the following properties for the token template:
- Name: Name of the NFTs that will be created from this token template.
- Description: Description of the NFT.
- NFT image: Image of the NFTs.
- Other media: Add video, audio, or images to the NFTs.
- Supported images: jpeg, jpg, png, gif, bmp, webp, svg
- Supported video: mp4, webm, ogg, m4v
- Supported audio: mpeg, wav, ogg
- NFT Properties: Add properties for the NFT such as property, stat, and boost. Read more about NFT properties.
- Supply Quantity: Maximum number of NFTs that will be minted under the token template.
Define the properties and click Create to proceed. Now select your token template from the menu and define how many NFTs can be minted for each of your end-users. Click Next to proceed.
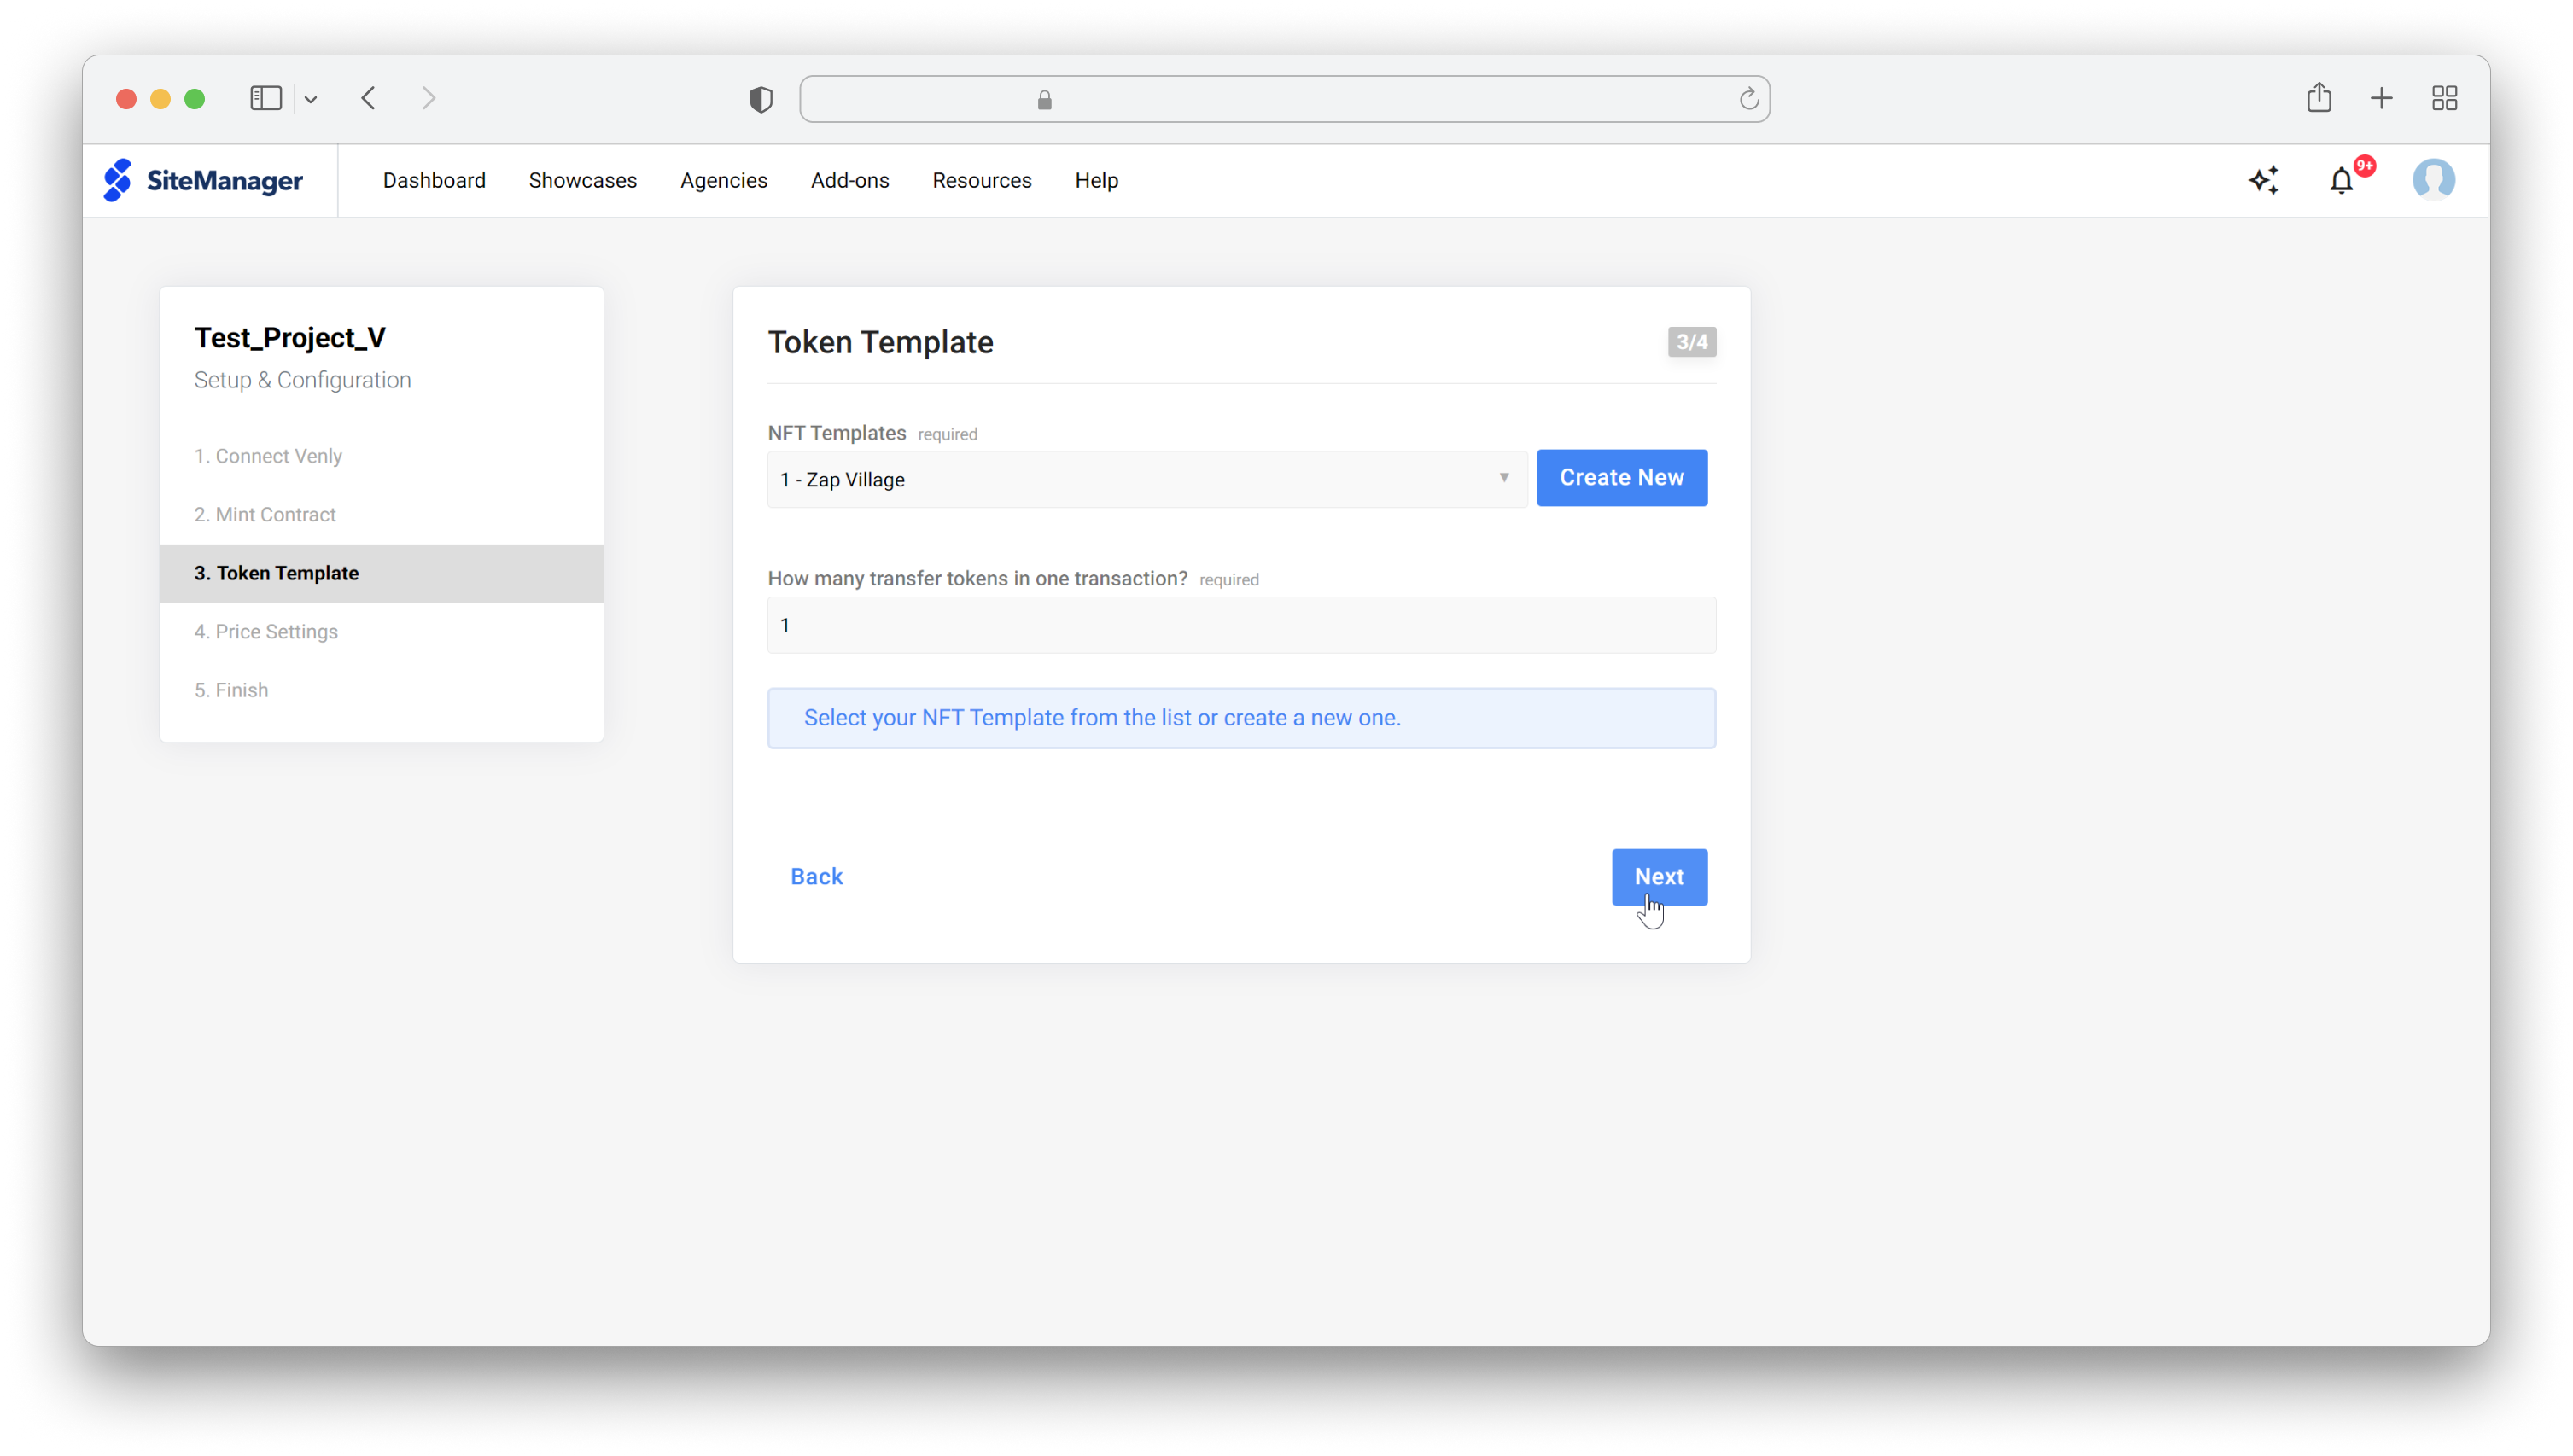
Select the token template
4. Price Settings
Next are the price settings. Here, you can configure a Free Transfer or Venly Pay (for fiat payment). With Venly Pay, you can configure a price for your NFT in euros or US dollars.
In order to use Venly Pay to configure a price for your NFT, you must have PAY configured from the Portal.
For this example, we will go with Free Transfer. Click Save to continue.
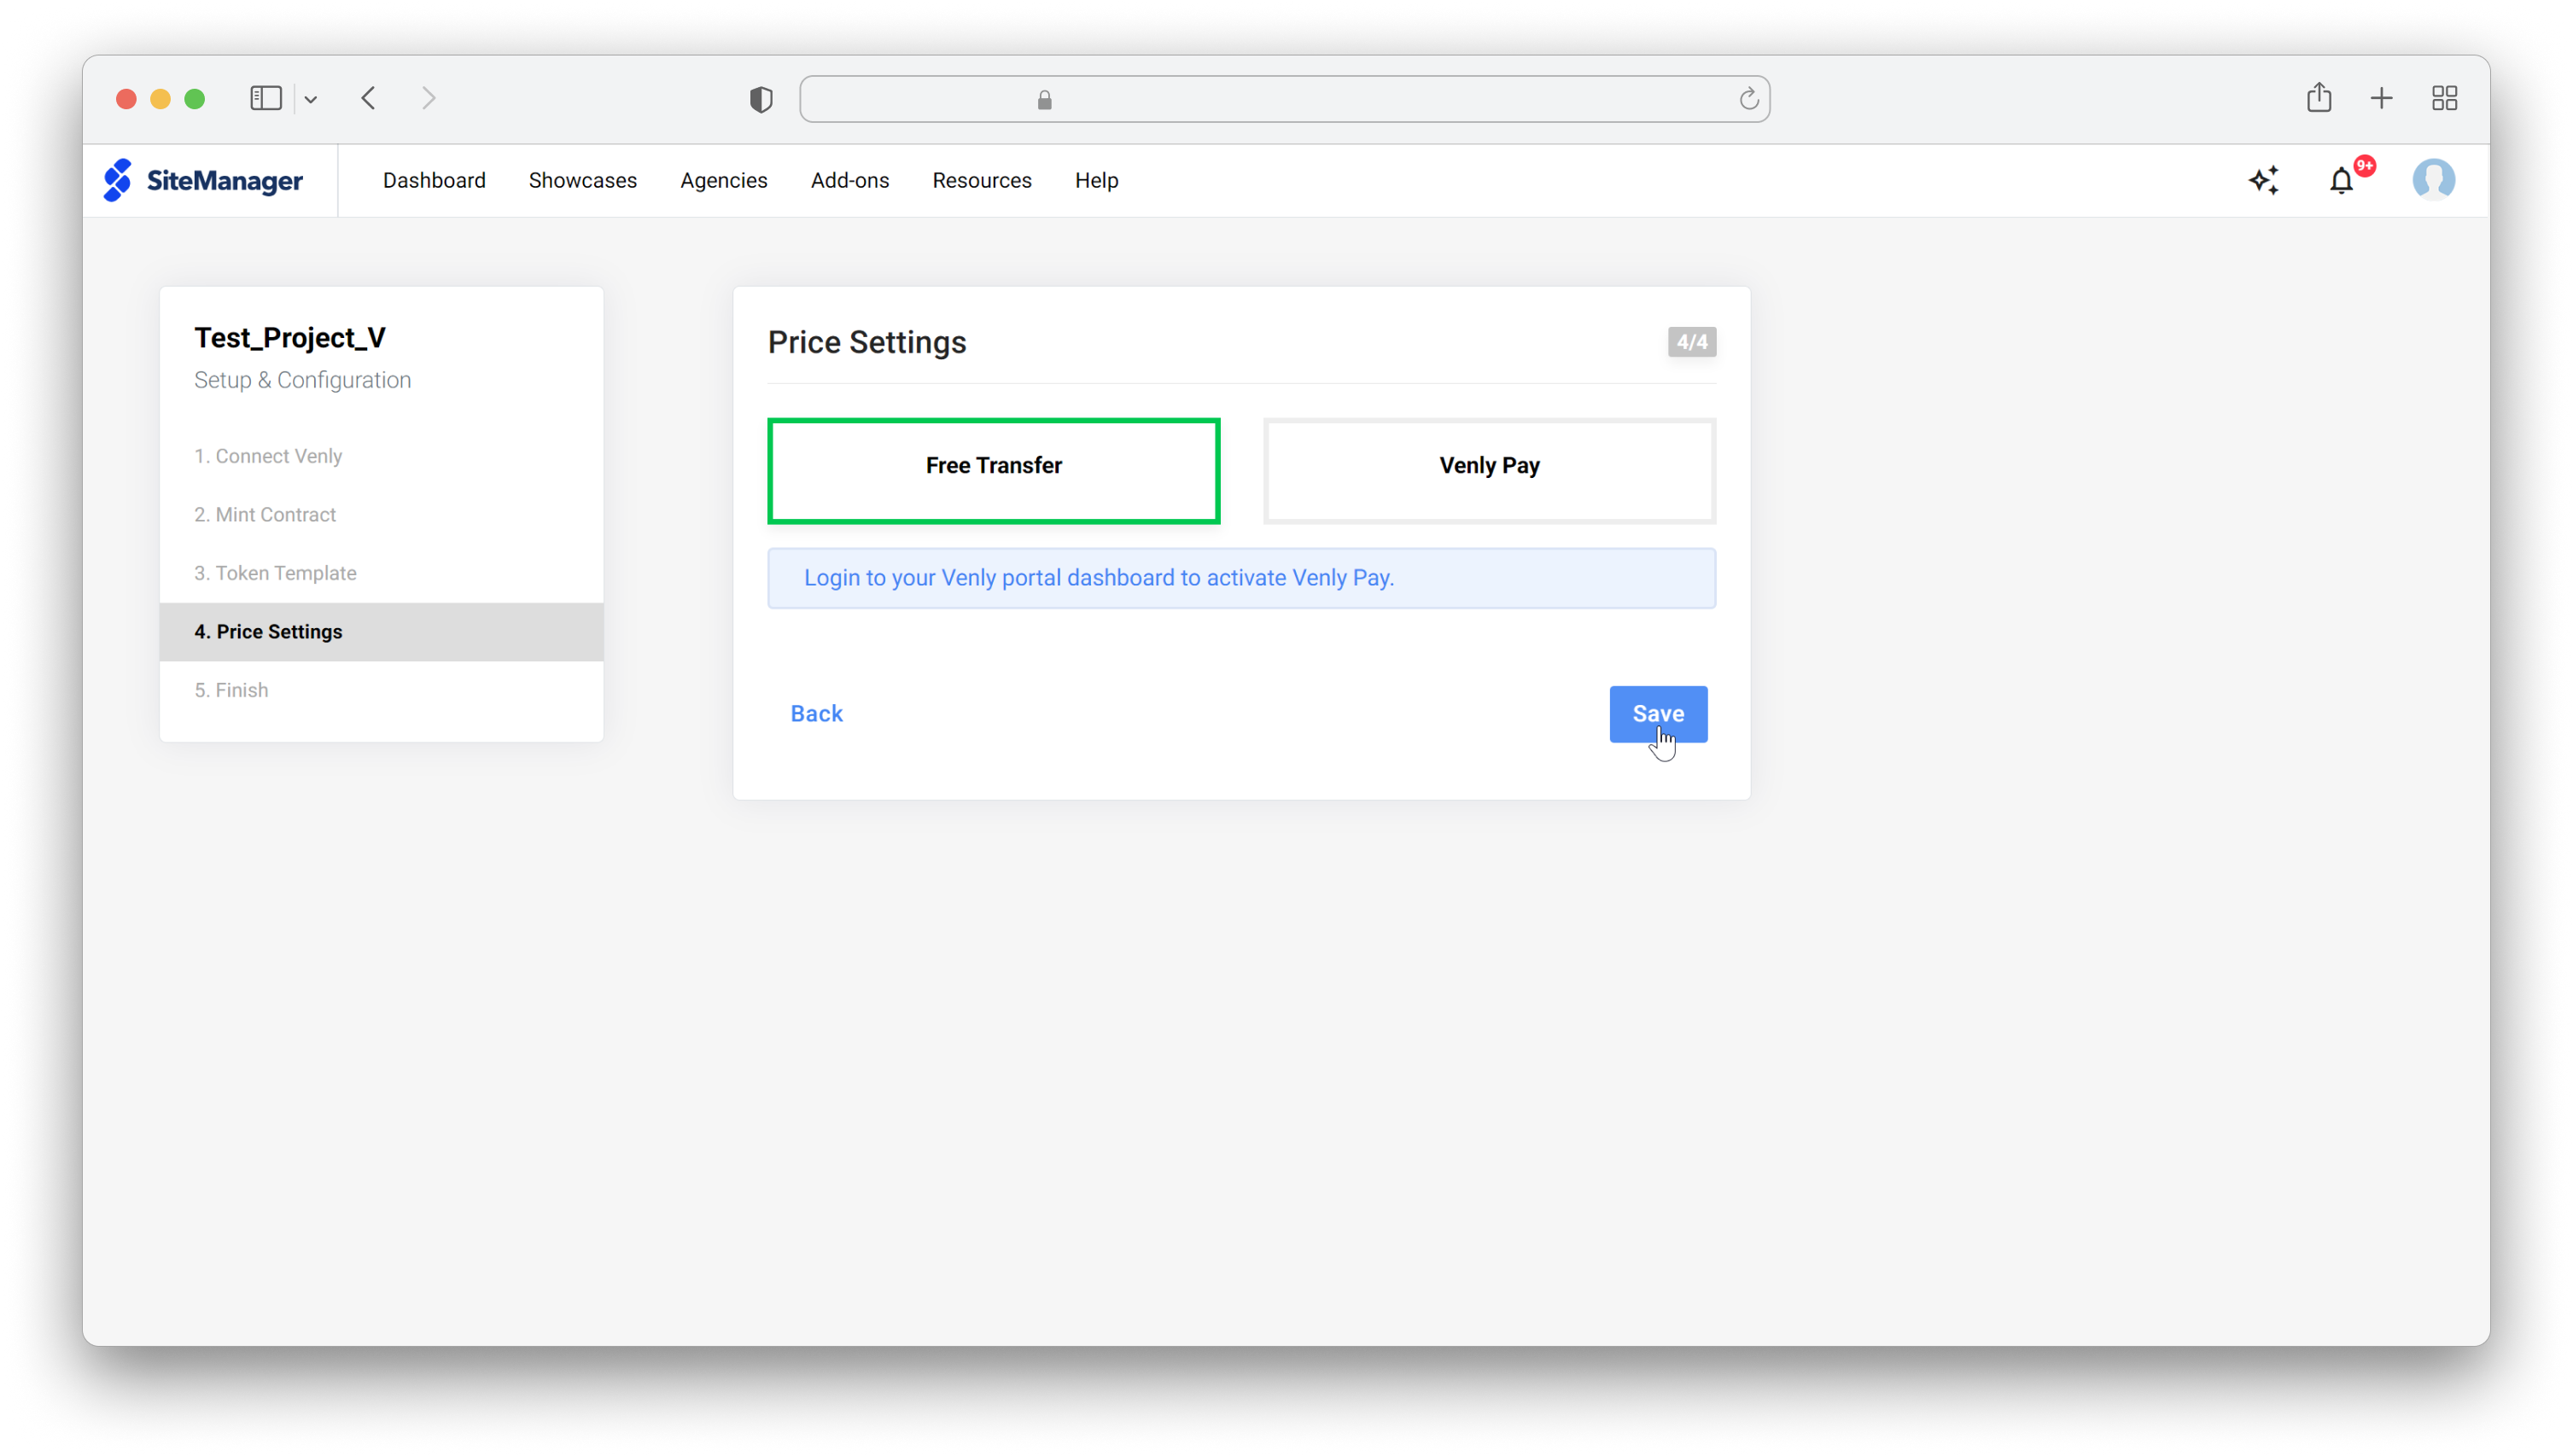
Configure NFT payment options
5. Project Setup Complete
Congratulations, you have successfully completed the setup for Venly Mint.
Click on Edit Project to continue to edit the website and make changes accordingly.
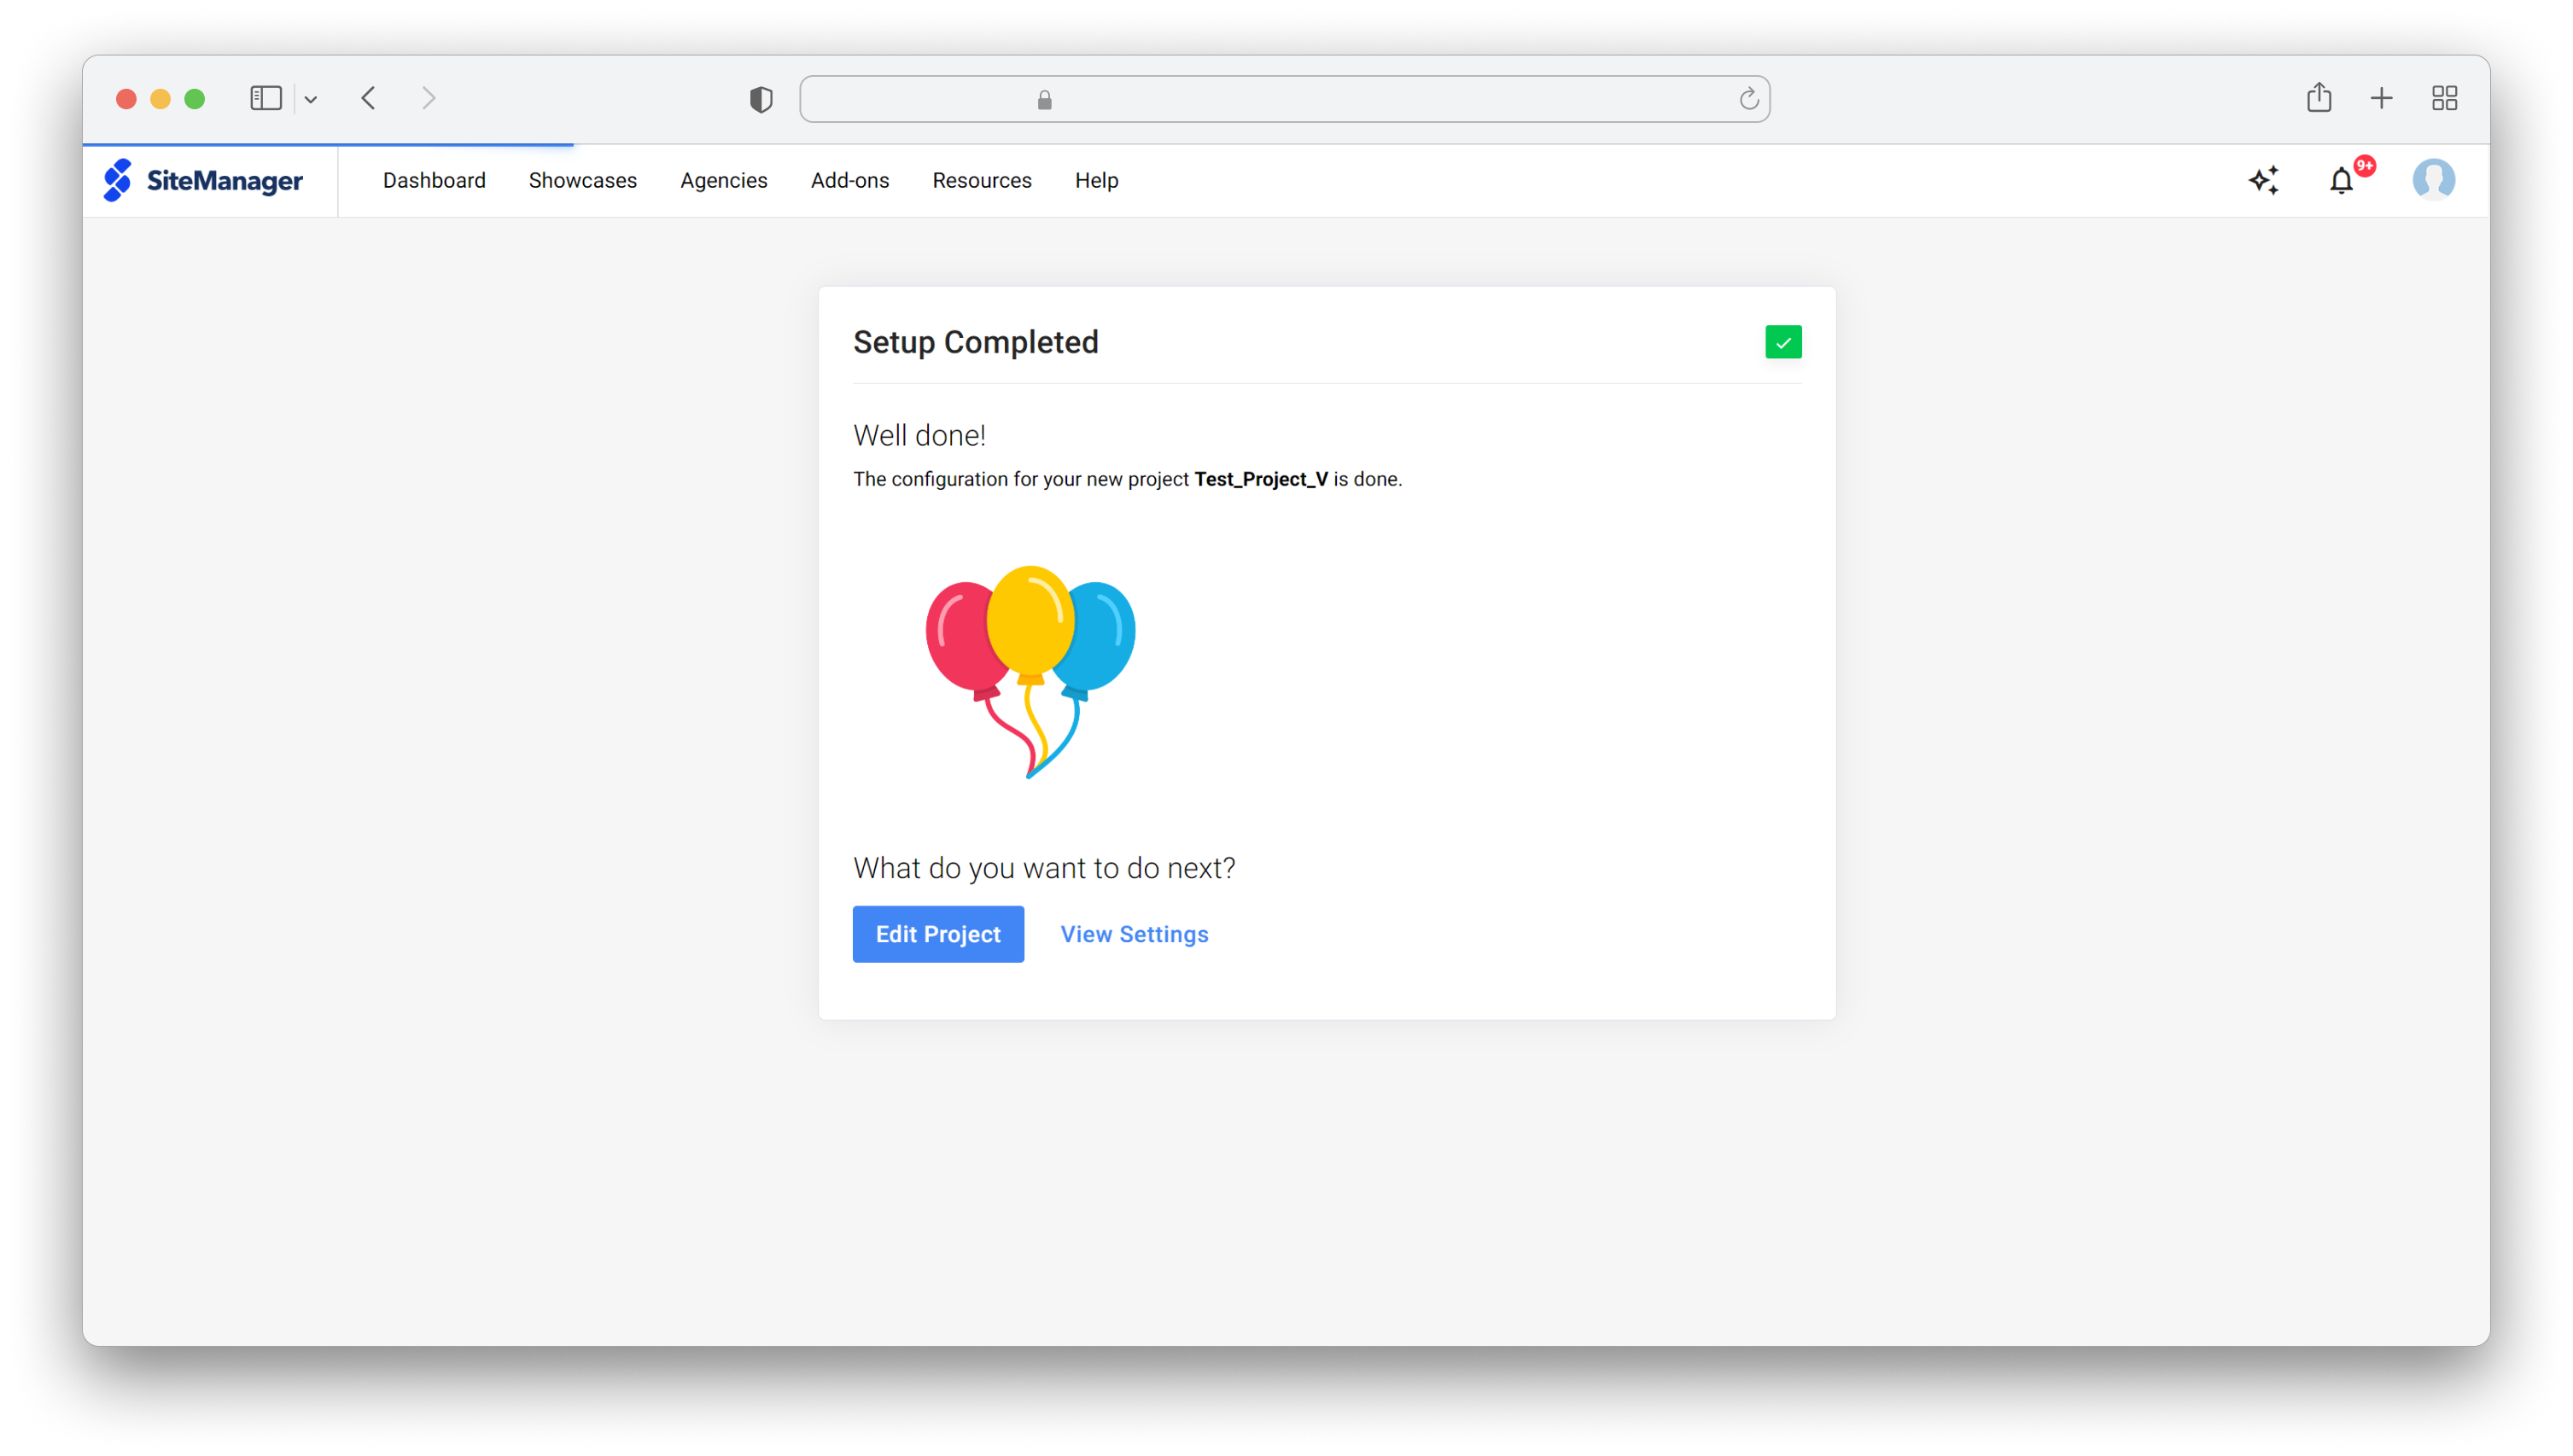
Venly Mint set up complete with SiteManager
Updated 3 months ago