
How to create a collection
Describes how to create an NFT collection with Venly minter app on Shopify.
Creating an NFT Collection on Shopify
The first step in selling NFTs is creating an NFT collection. A new collection is easily created by clicking on the NFT Collections menu item, followed by pressing the Create NFT Collection button.
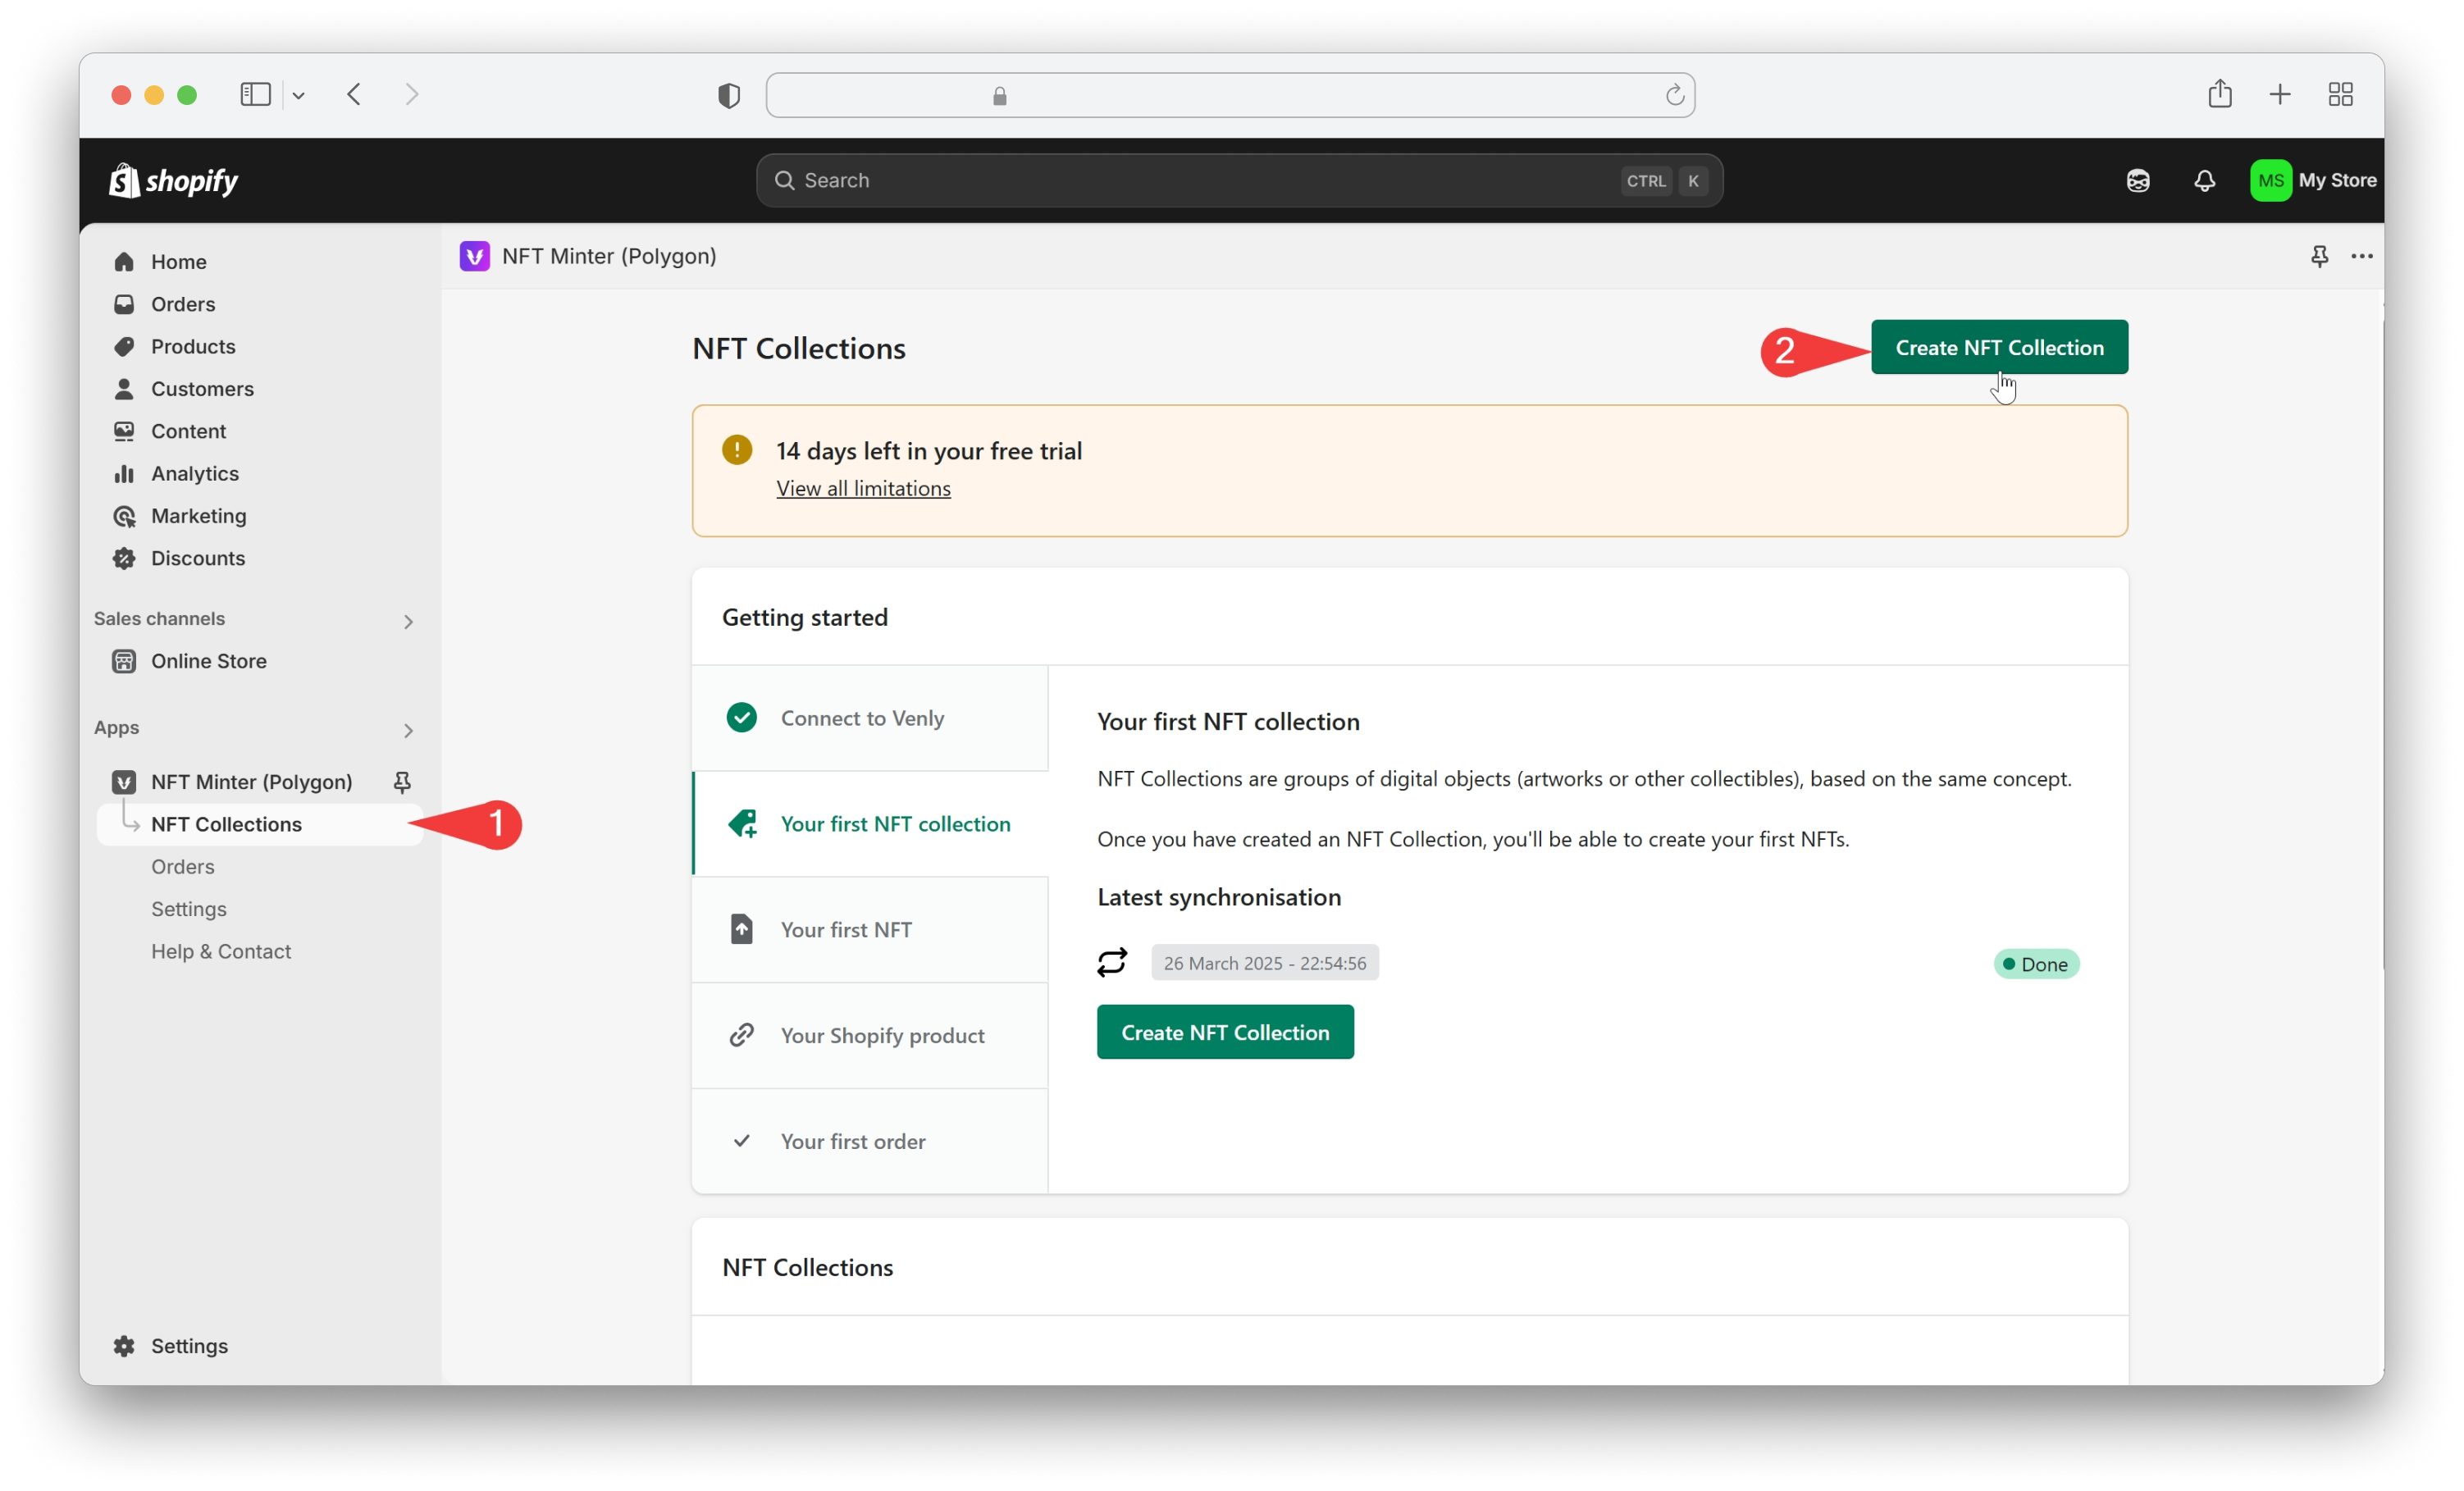
This will open up a form where you can fill in the name of the collection, a description, a website link to more information about your new collection, a visually appealing logo, royalties, and collection owner.
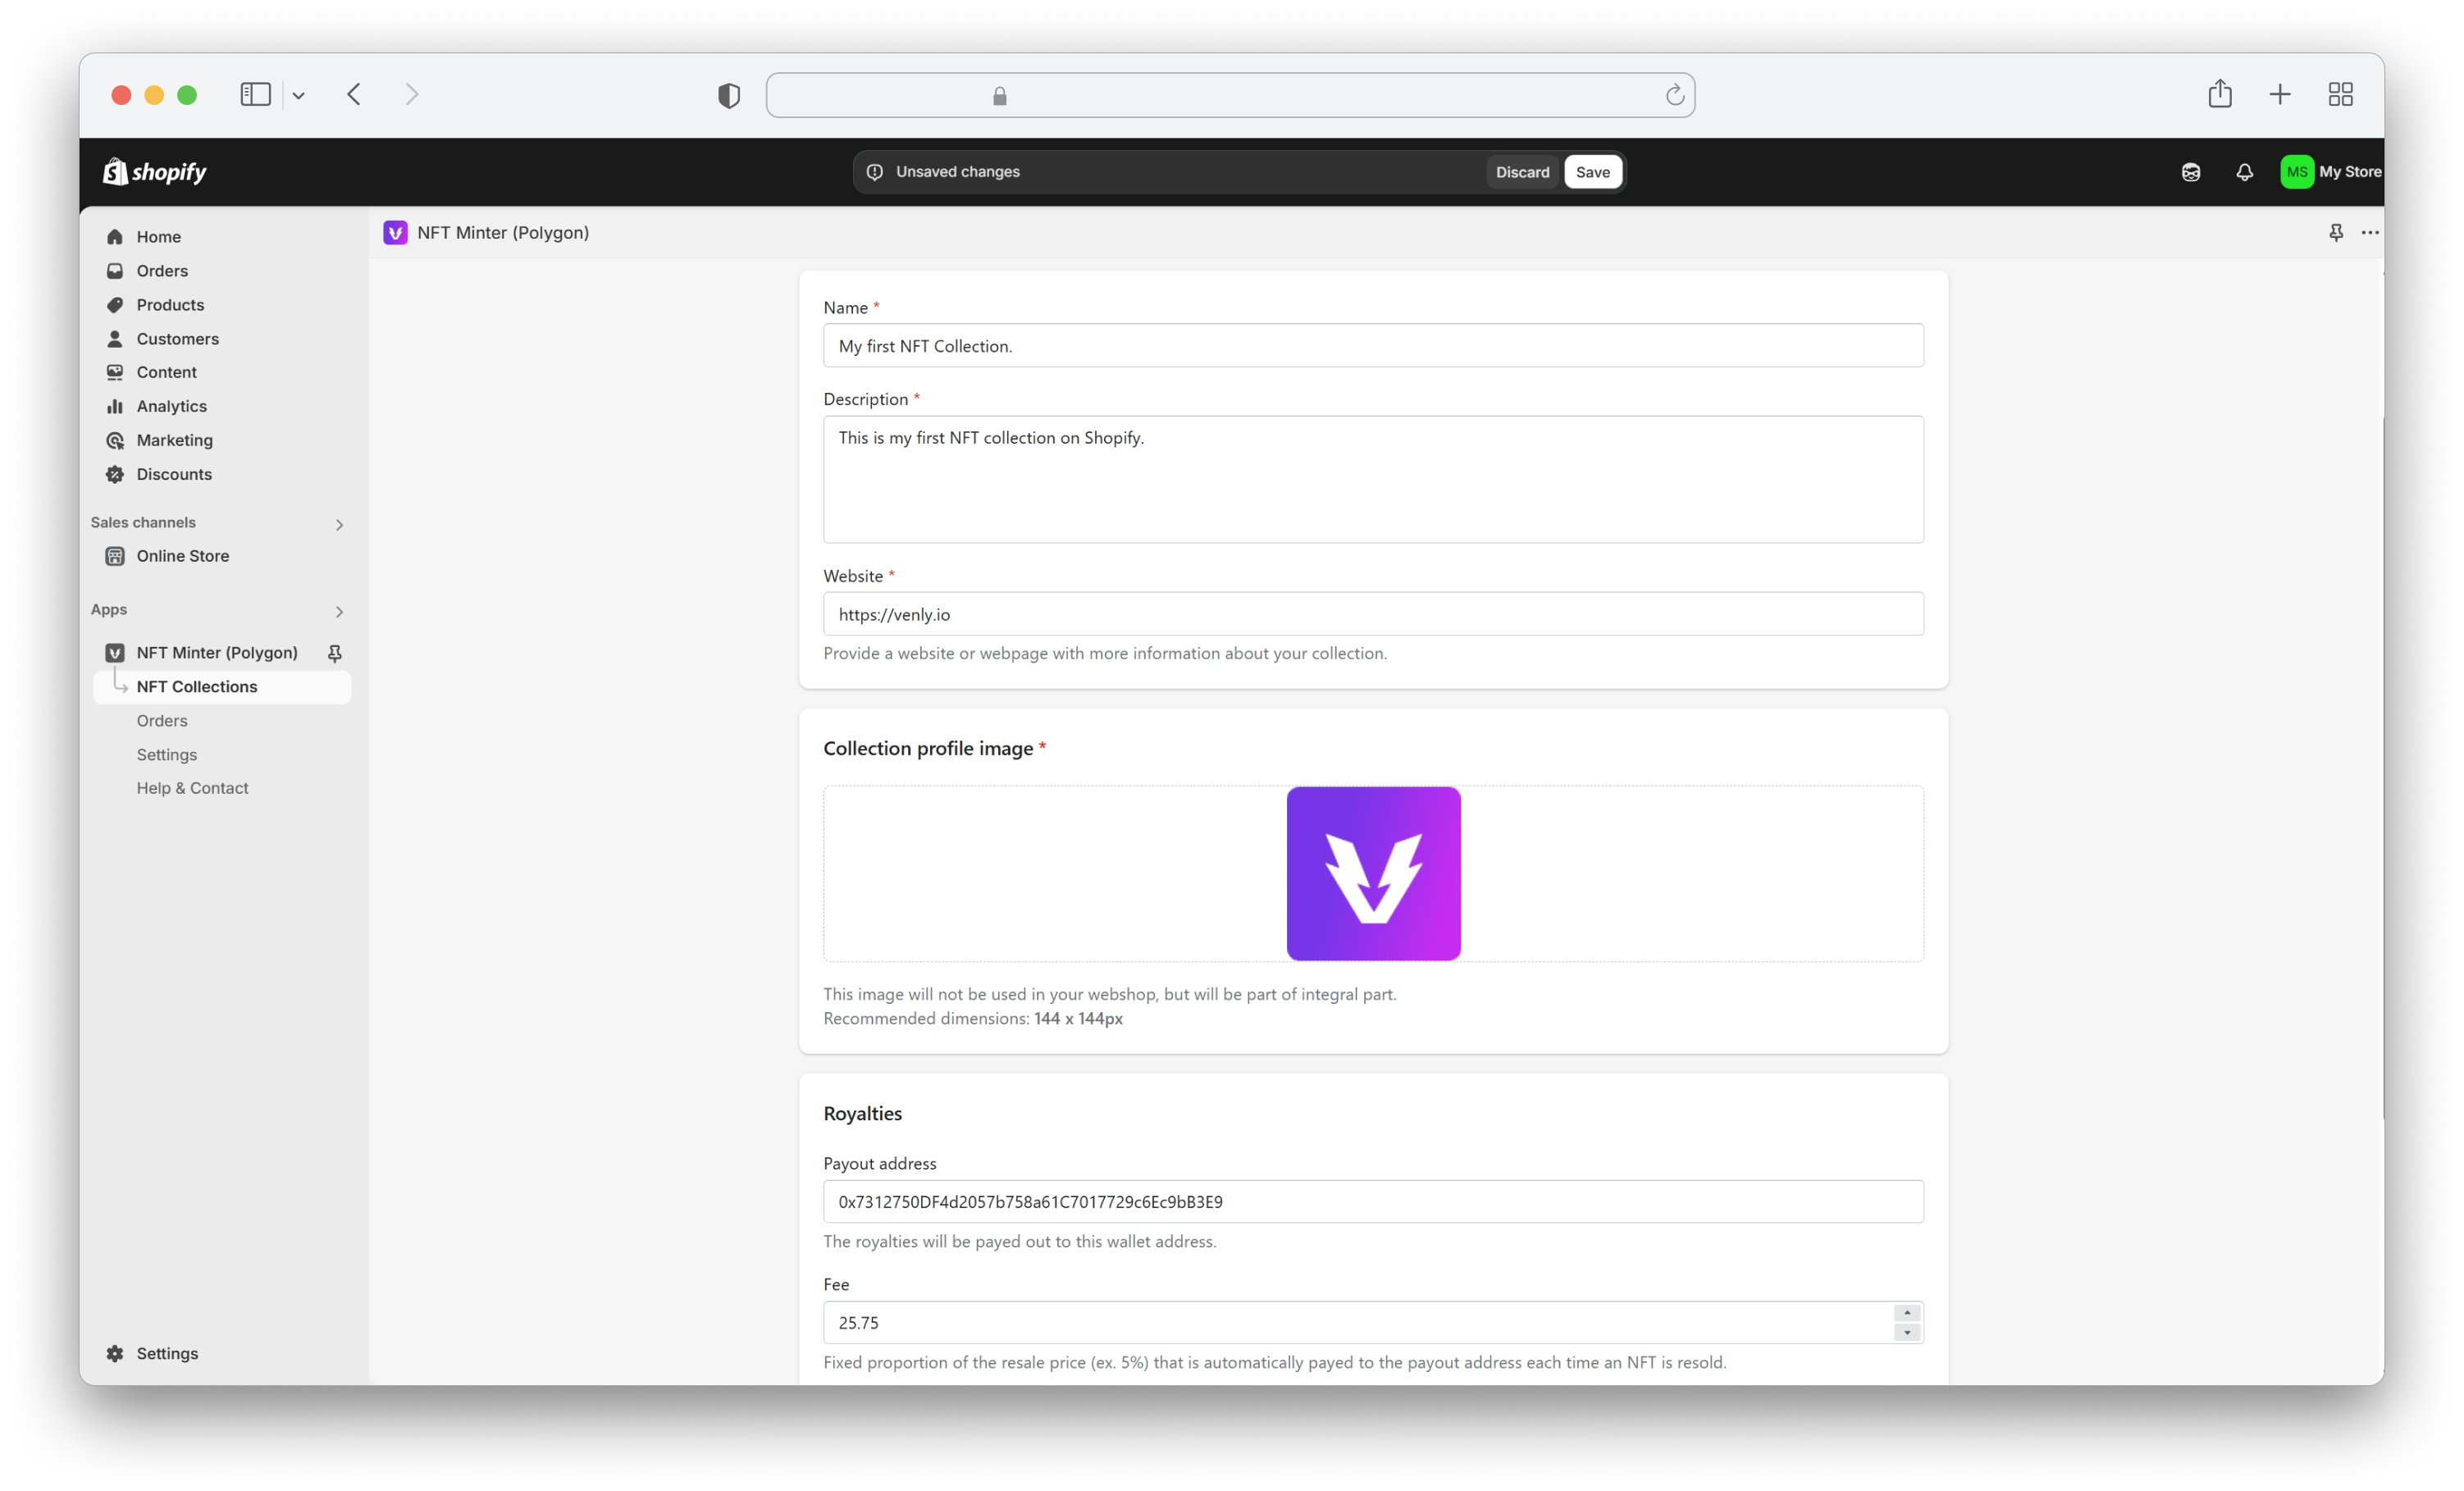
NFT Collection Params
- Name: The title of the NFT collection, which will be displayed to users.
- Description: A summary that describes the collection, providing context and details about its purpose, theme, or unique features.
- Website: A URL that directs users to an external landing page, website, or dedicated section within your Shopify store for more information.
- Collection profile image: A logo representing the NFT collection. The recommended image size is 144 x 144 px.
- Royalties: Define royalties for the NFT contract for secondary market sales.
- Payout address: The wallet address where royalties will be sent.
- Fee: The royalty percentage (ranging from 0-100%) that will be collected from each NFT resale.
- Collection owner: Optionally define a wallet address that will have admin access on the deployed NFT contract.
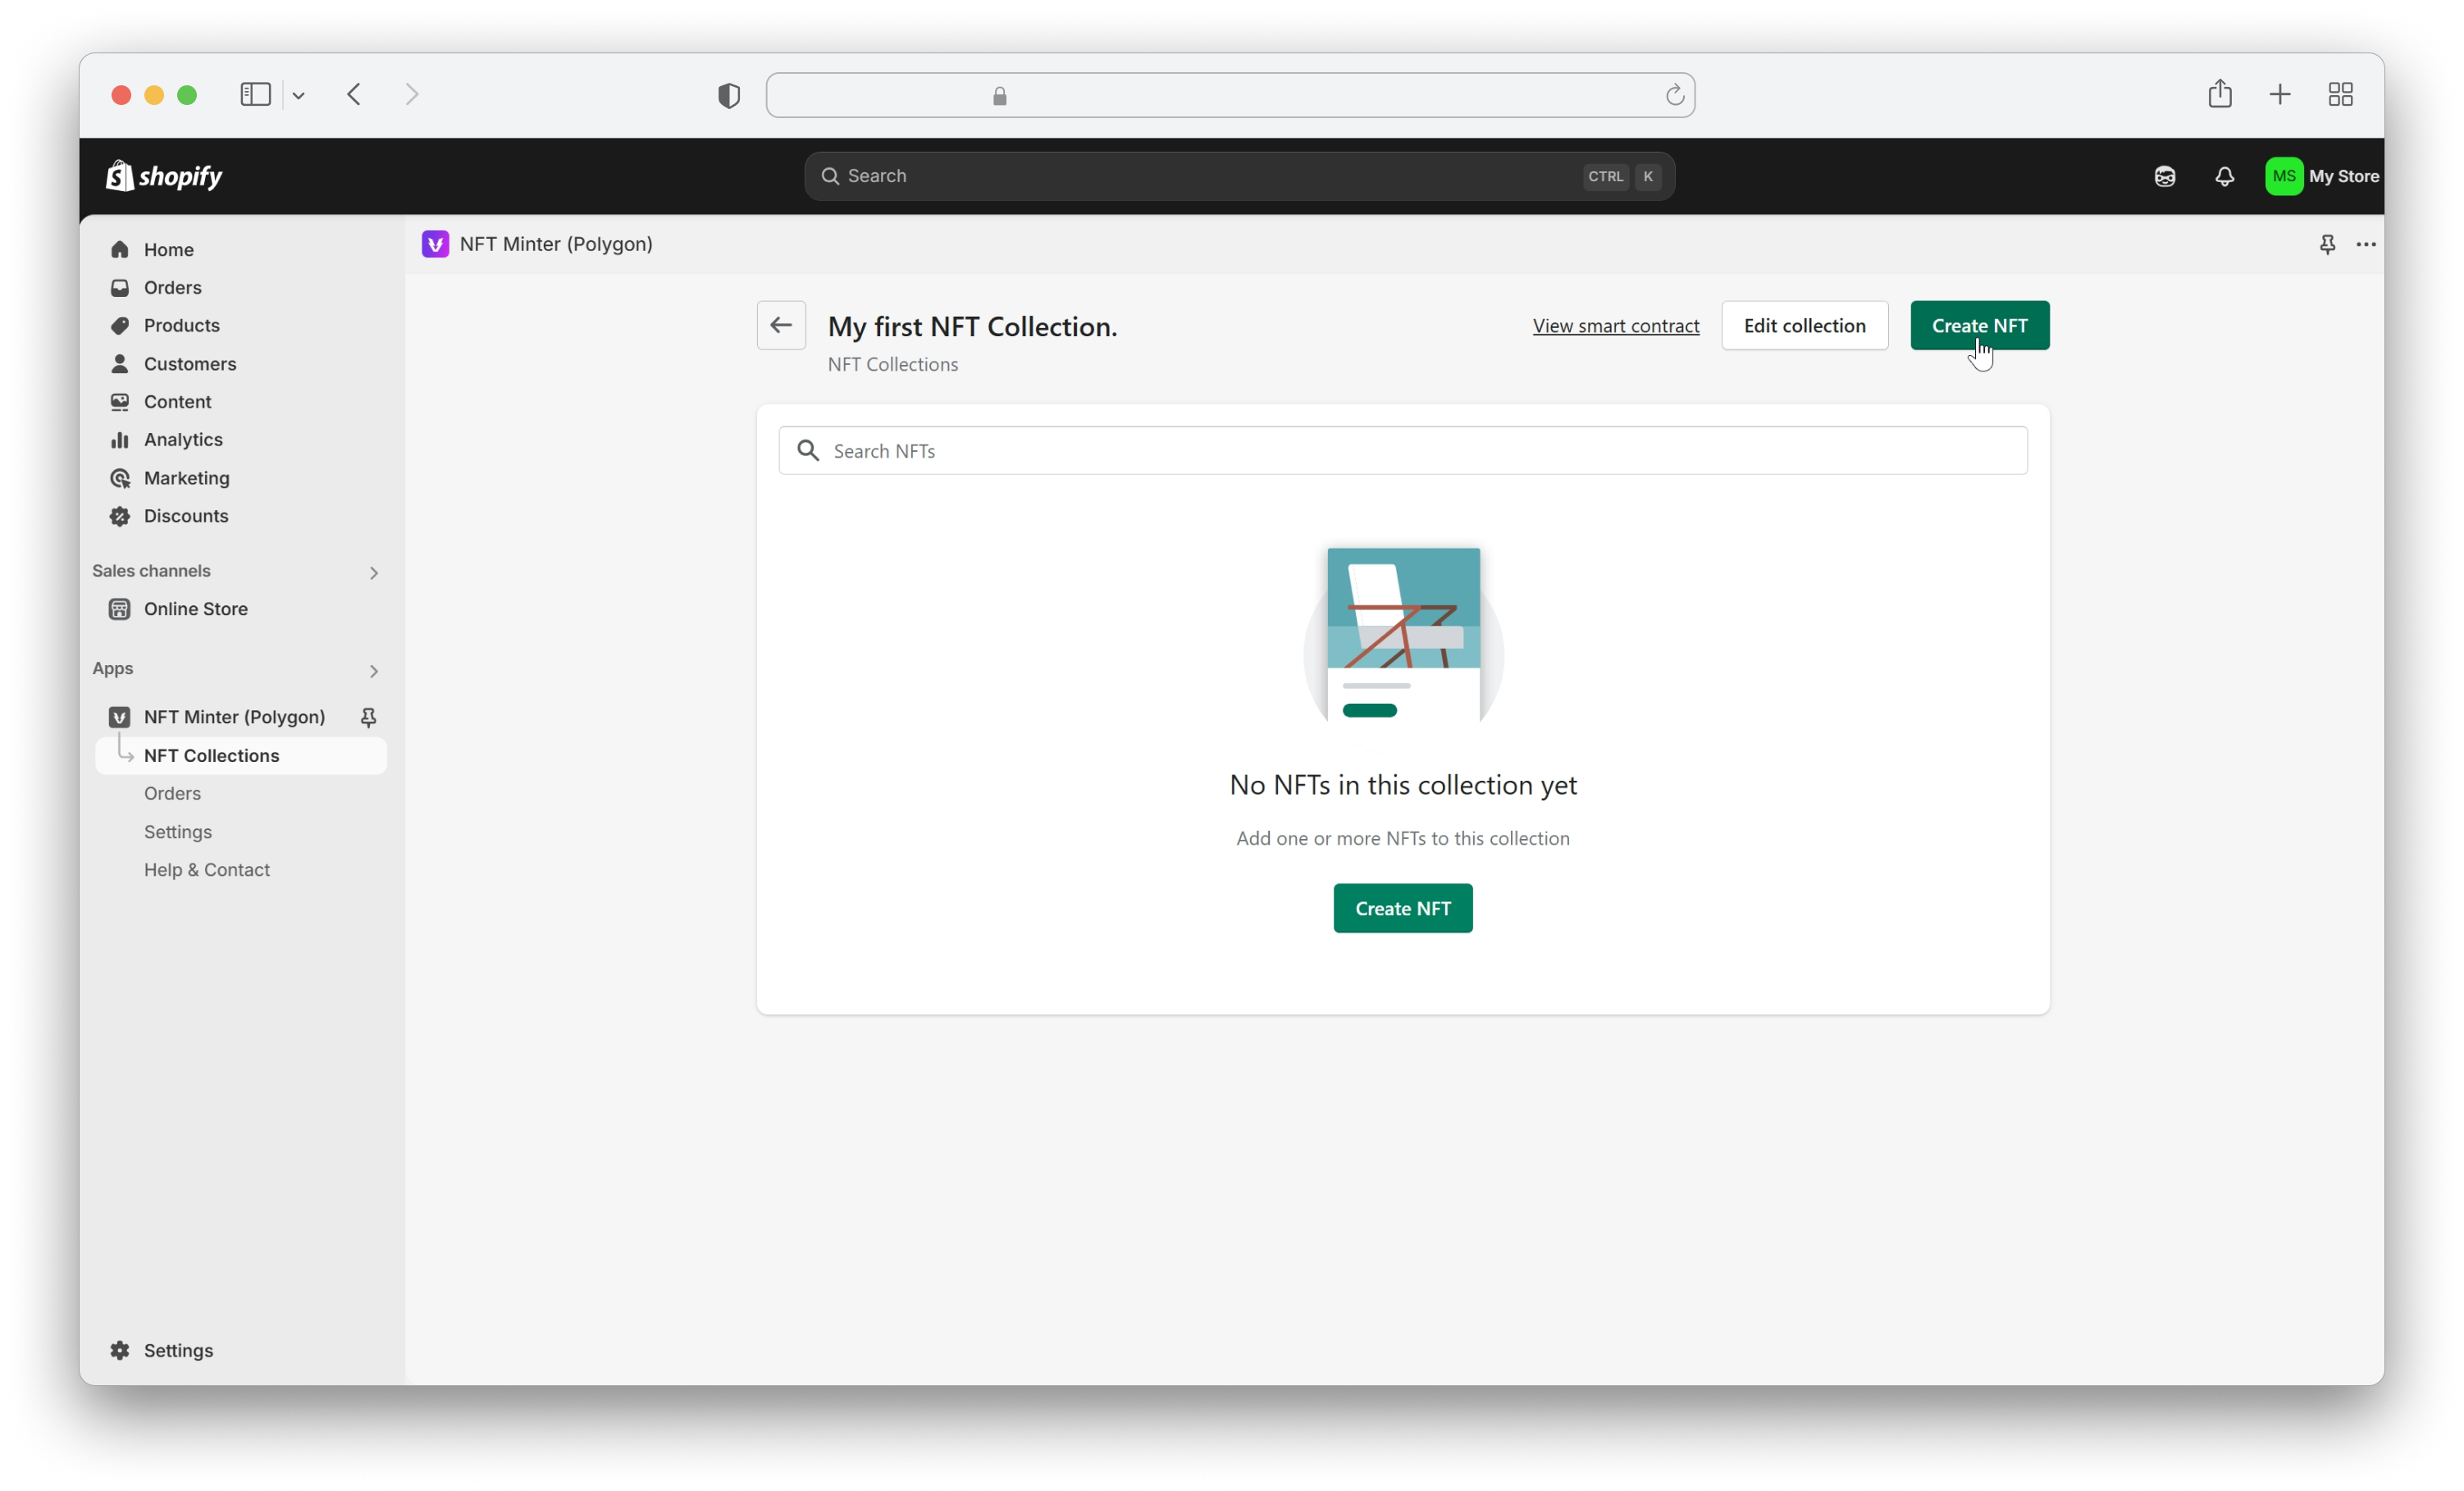
Once you've provided all the information in the form, you can press Save and your collection will start initializing. You can wait a few minutes or manually refresh the deployment status.

Once deployed, you can create your first NFT by clicking on Create NFT.

Schedule a demo with our team to explore tailored solutions or dive in and start building right away on our portal.
Updated 5 months ago