Sitemanager
Create mint pages in minutes, all no-code. (Additional features releasing soon!)
Introduction
Build websites with SiteManager, a zero-code platform that allows you to create and modify every detail of your website.
With the Venly integration, you can create custom NFT websites allowing end-users to purchase and mint NFTs directly from your website. Reach a global audience by leveraging the fiat payment solution: Venly Pay. Directly mint NFTs as your end-users purchase them (eliminating pre-minting).
The Venly integration comes with two sets of ready-to-use templates. You can use the templates, opt for a custom website design, or add the integration to your existing website.
The Venly integration on SiteManager is still in beta. Additional features releasing soon!
Pre-requisites
This guide assumes you have:
- Client credentials (Client ID & Client Secret) the developer portal.
- Already created an NFT contract and token-type.
Learn how to sign up with Venly.
Onboarding with SiteManager
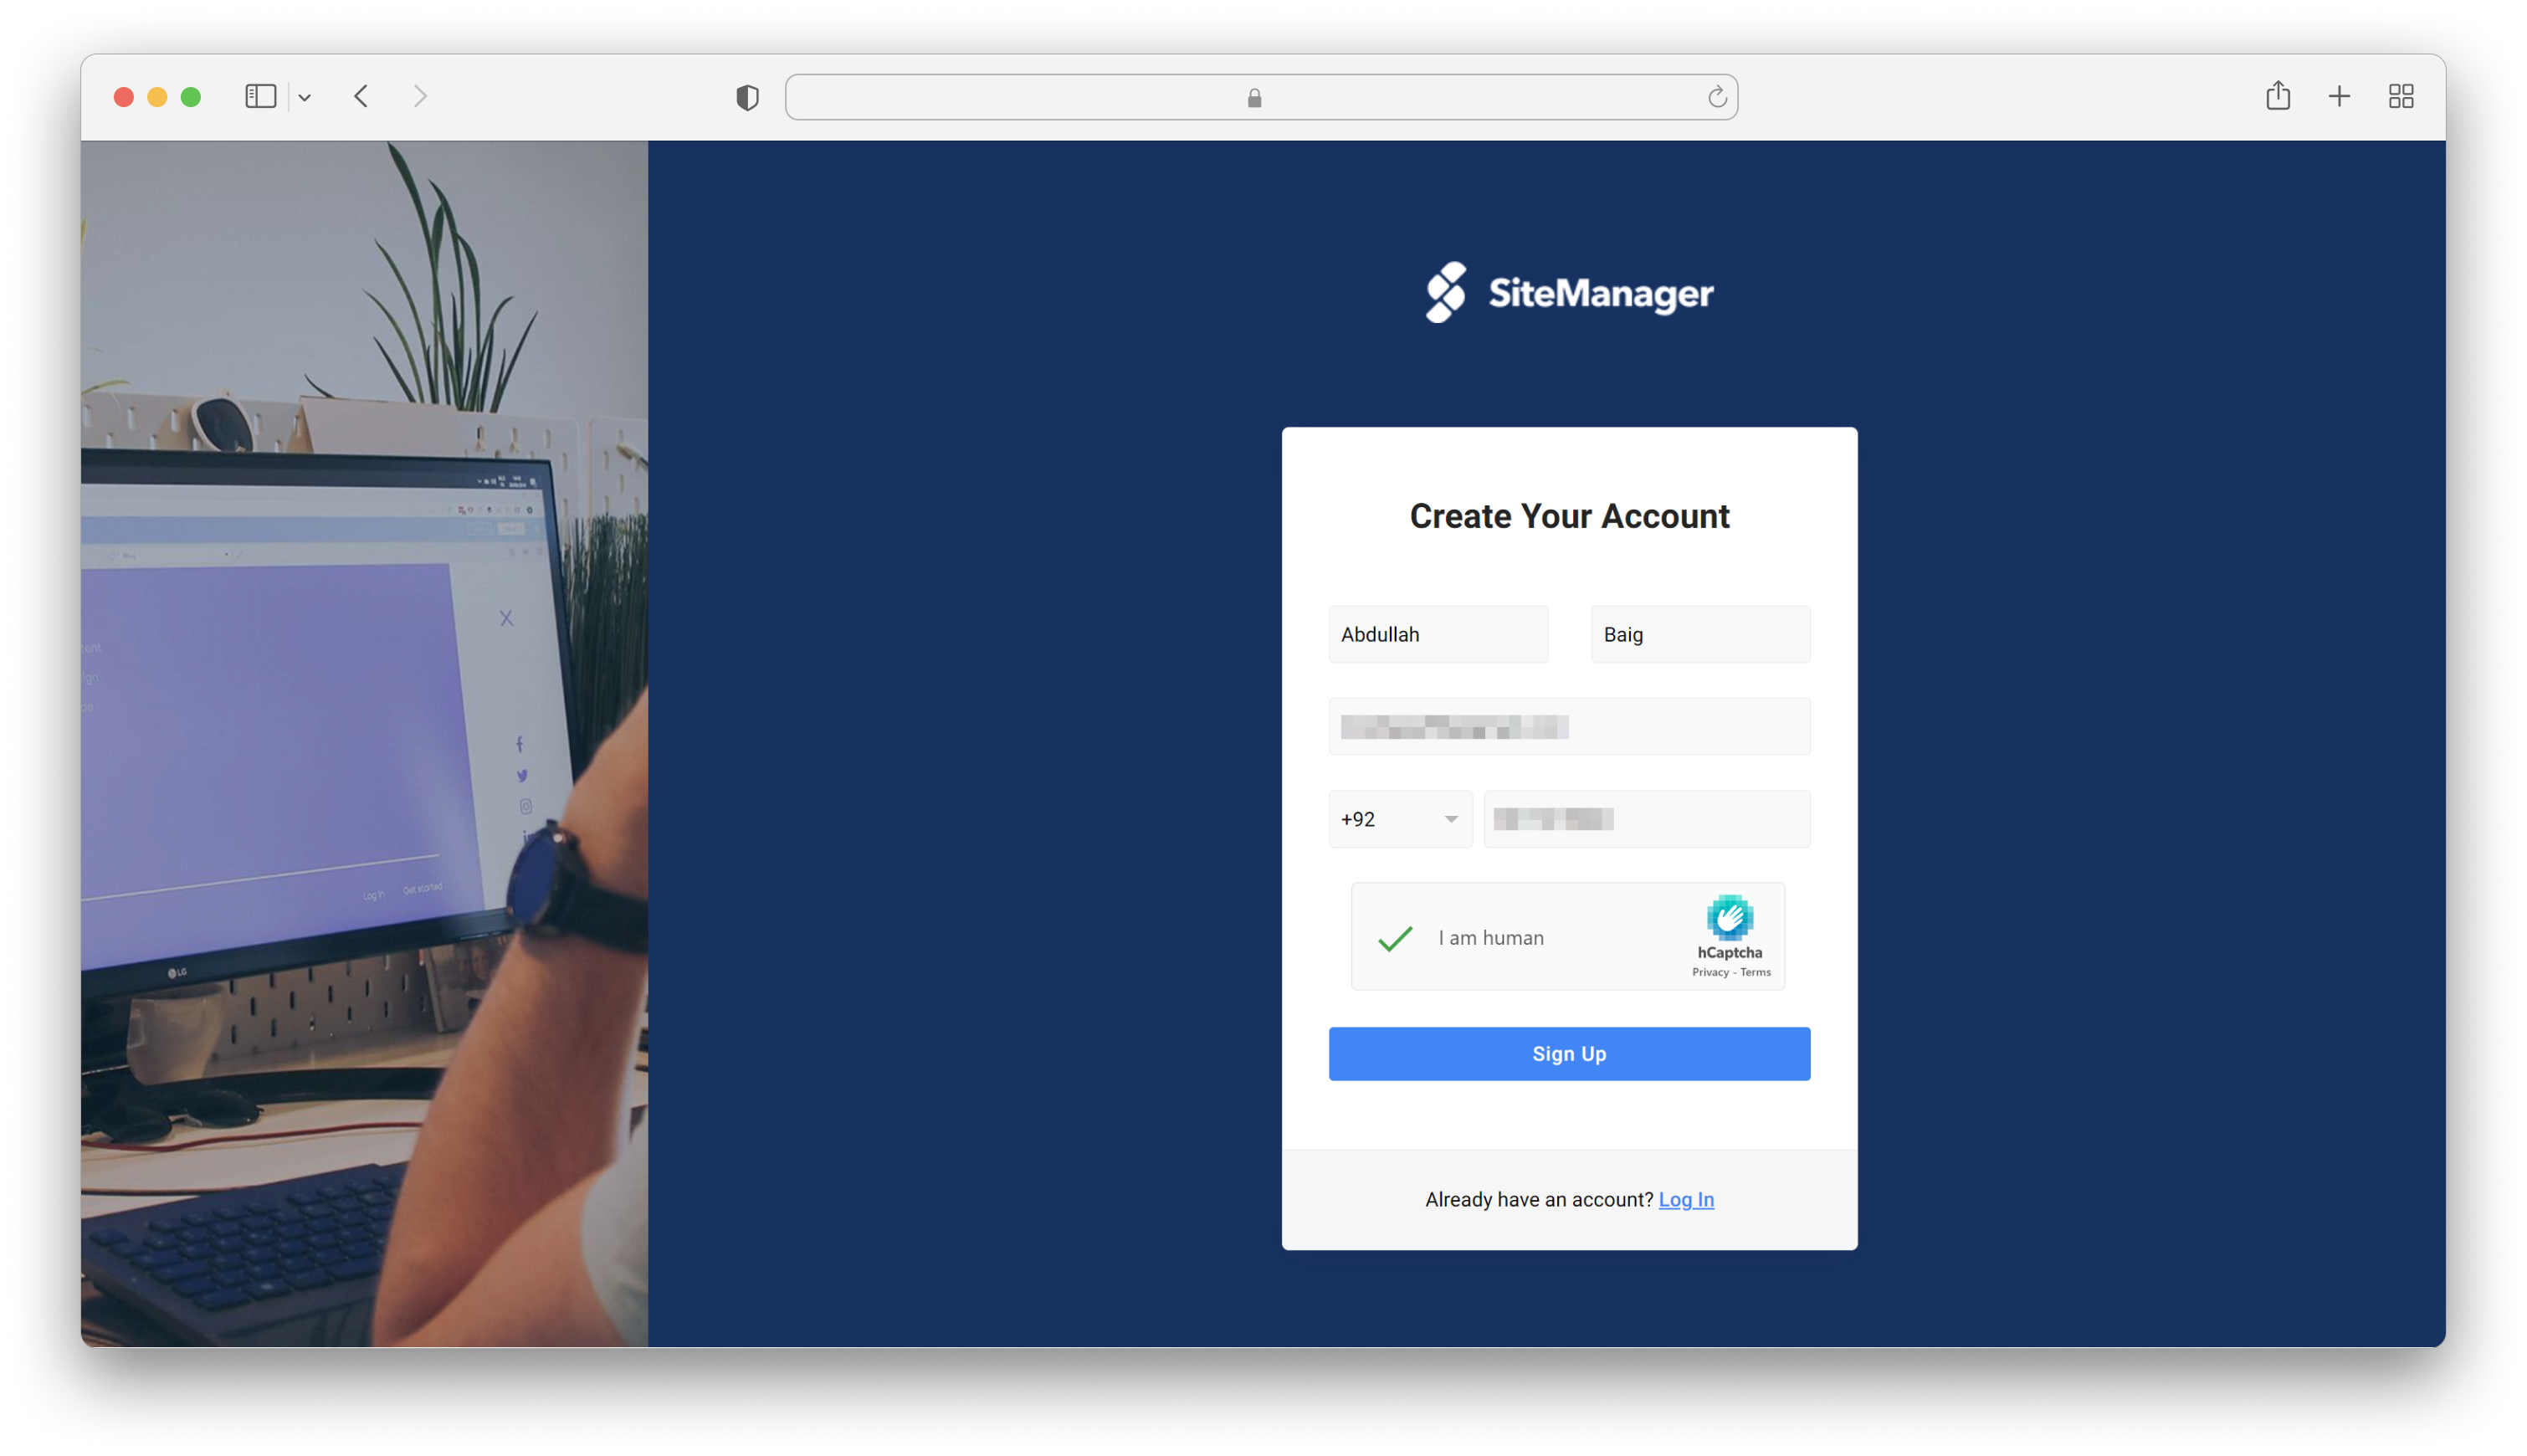
Sign up with SiteManager
Sign up with SiteManager.
- Activate your account from your email.
- Create a strong password.
- Sign in with your newly activated account.
Set up your web3 project
Venly Mint option allows you to set up an NFT website allowing your end-users to mint NFTs directly from your website by connecting their Venly Wallets. You can add a custom price for minting using Venly Pay, or keep the minting free.
For this example, we will set up our project with the Venly Mint option and create an NFT website that allows your end-users to mint NFTs for free.
Click on START FROM TEMPLATE to continue.
On the next screen, enter the name of your project and click CREATE PROJECT.
Next, you need to authenticate your Venly access credentials with SiteManager. Select your environment and enter your Client ID and Client Secret. For this example, we will select staging as the environment. Click Connect to continue.
- Learn how to retreive Client ID and Client Secret from the Developer Portal.
- Environment:
- Staging: Used when experimenting and trying out the integration on testnets.
- Production: Used when deploying on mainnets.
Next, select one of your already created NFT contracts from the drop-down menu and click Next.
Similarly, select the token-type from the drop-down menu. Configure how many NFTs to mint in one transaction and click Next.
Next are the price settings. Here you can configure a Free Transfer or Venly Pay (for fiat payment).
For this example, we will go with Free Transfer. Click Save to continue.
Congratulations, you have successfully completed the setup for Venly Mint.
Click on Edit Project to continue to edit the website and make changes accordingly.
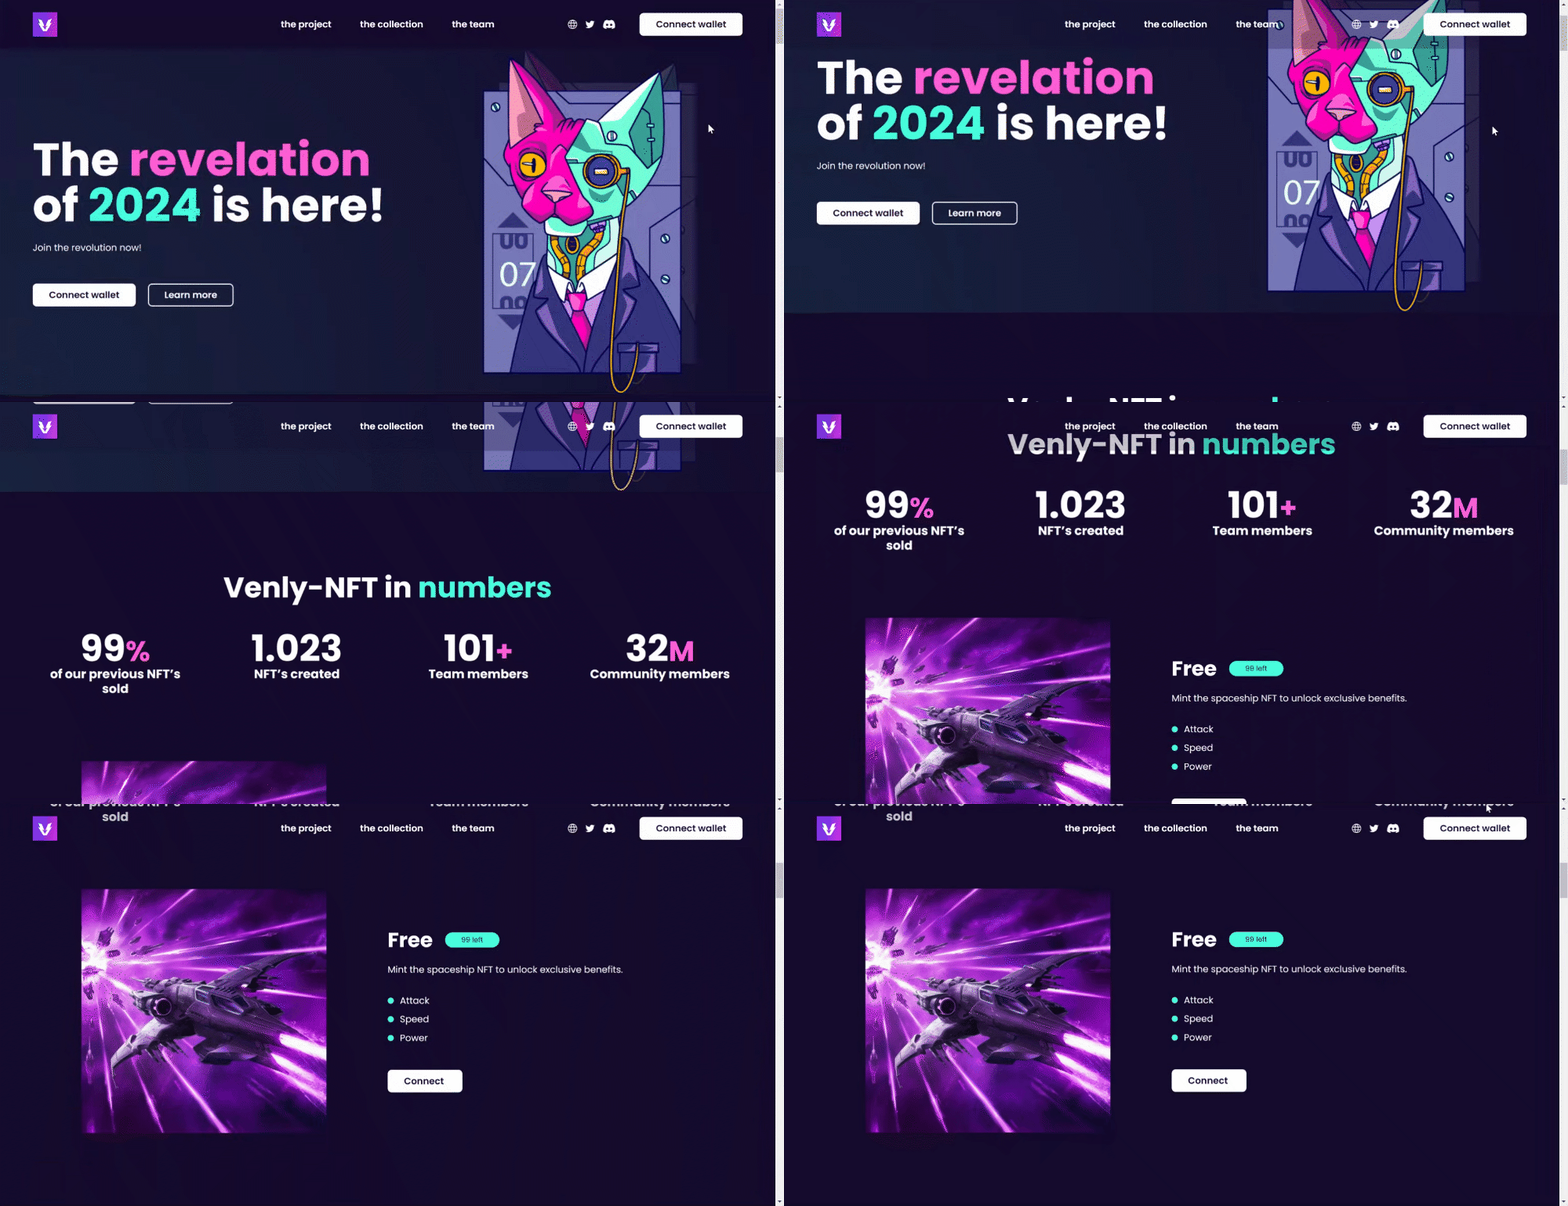
Website Preview
You can customize a similar website according to your business and project. Edit images, text, layout, and so on.
NFT Mint Preview
Your end-user can effortlessly mint NFTs from your website that you previously defined during the setup.
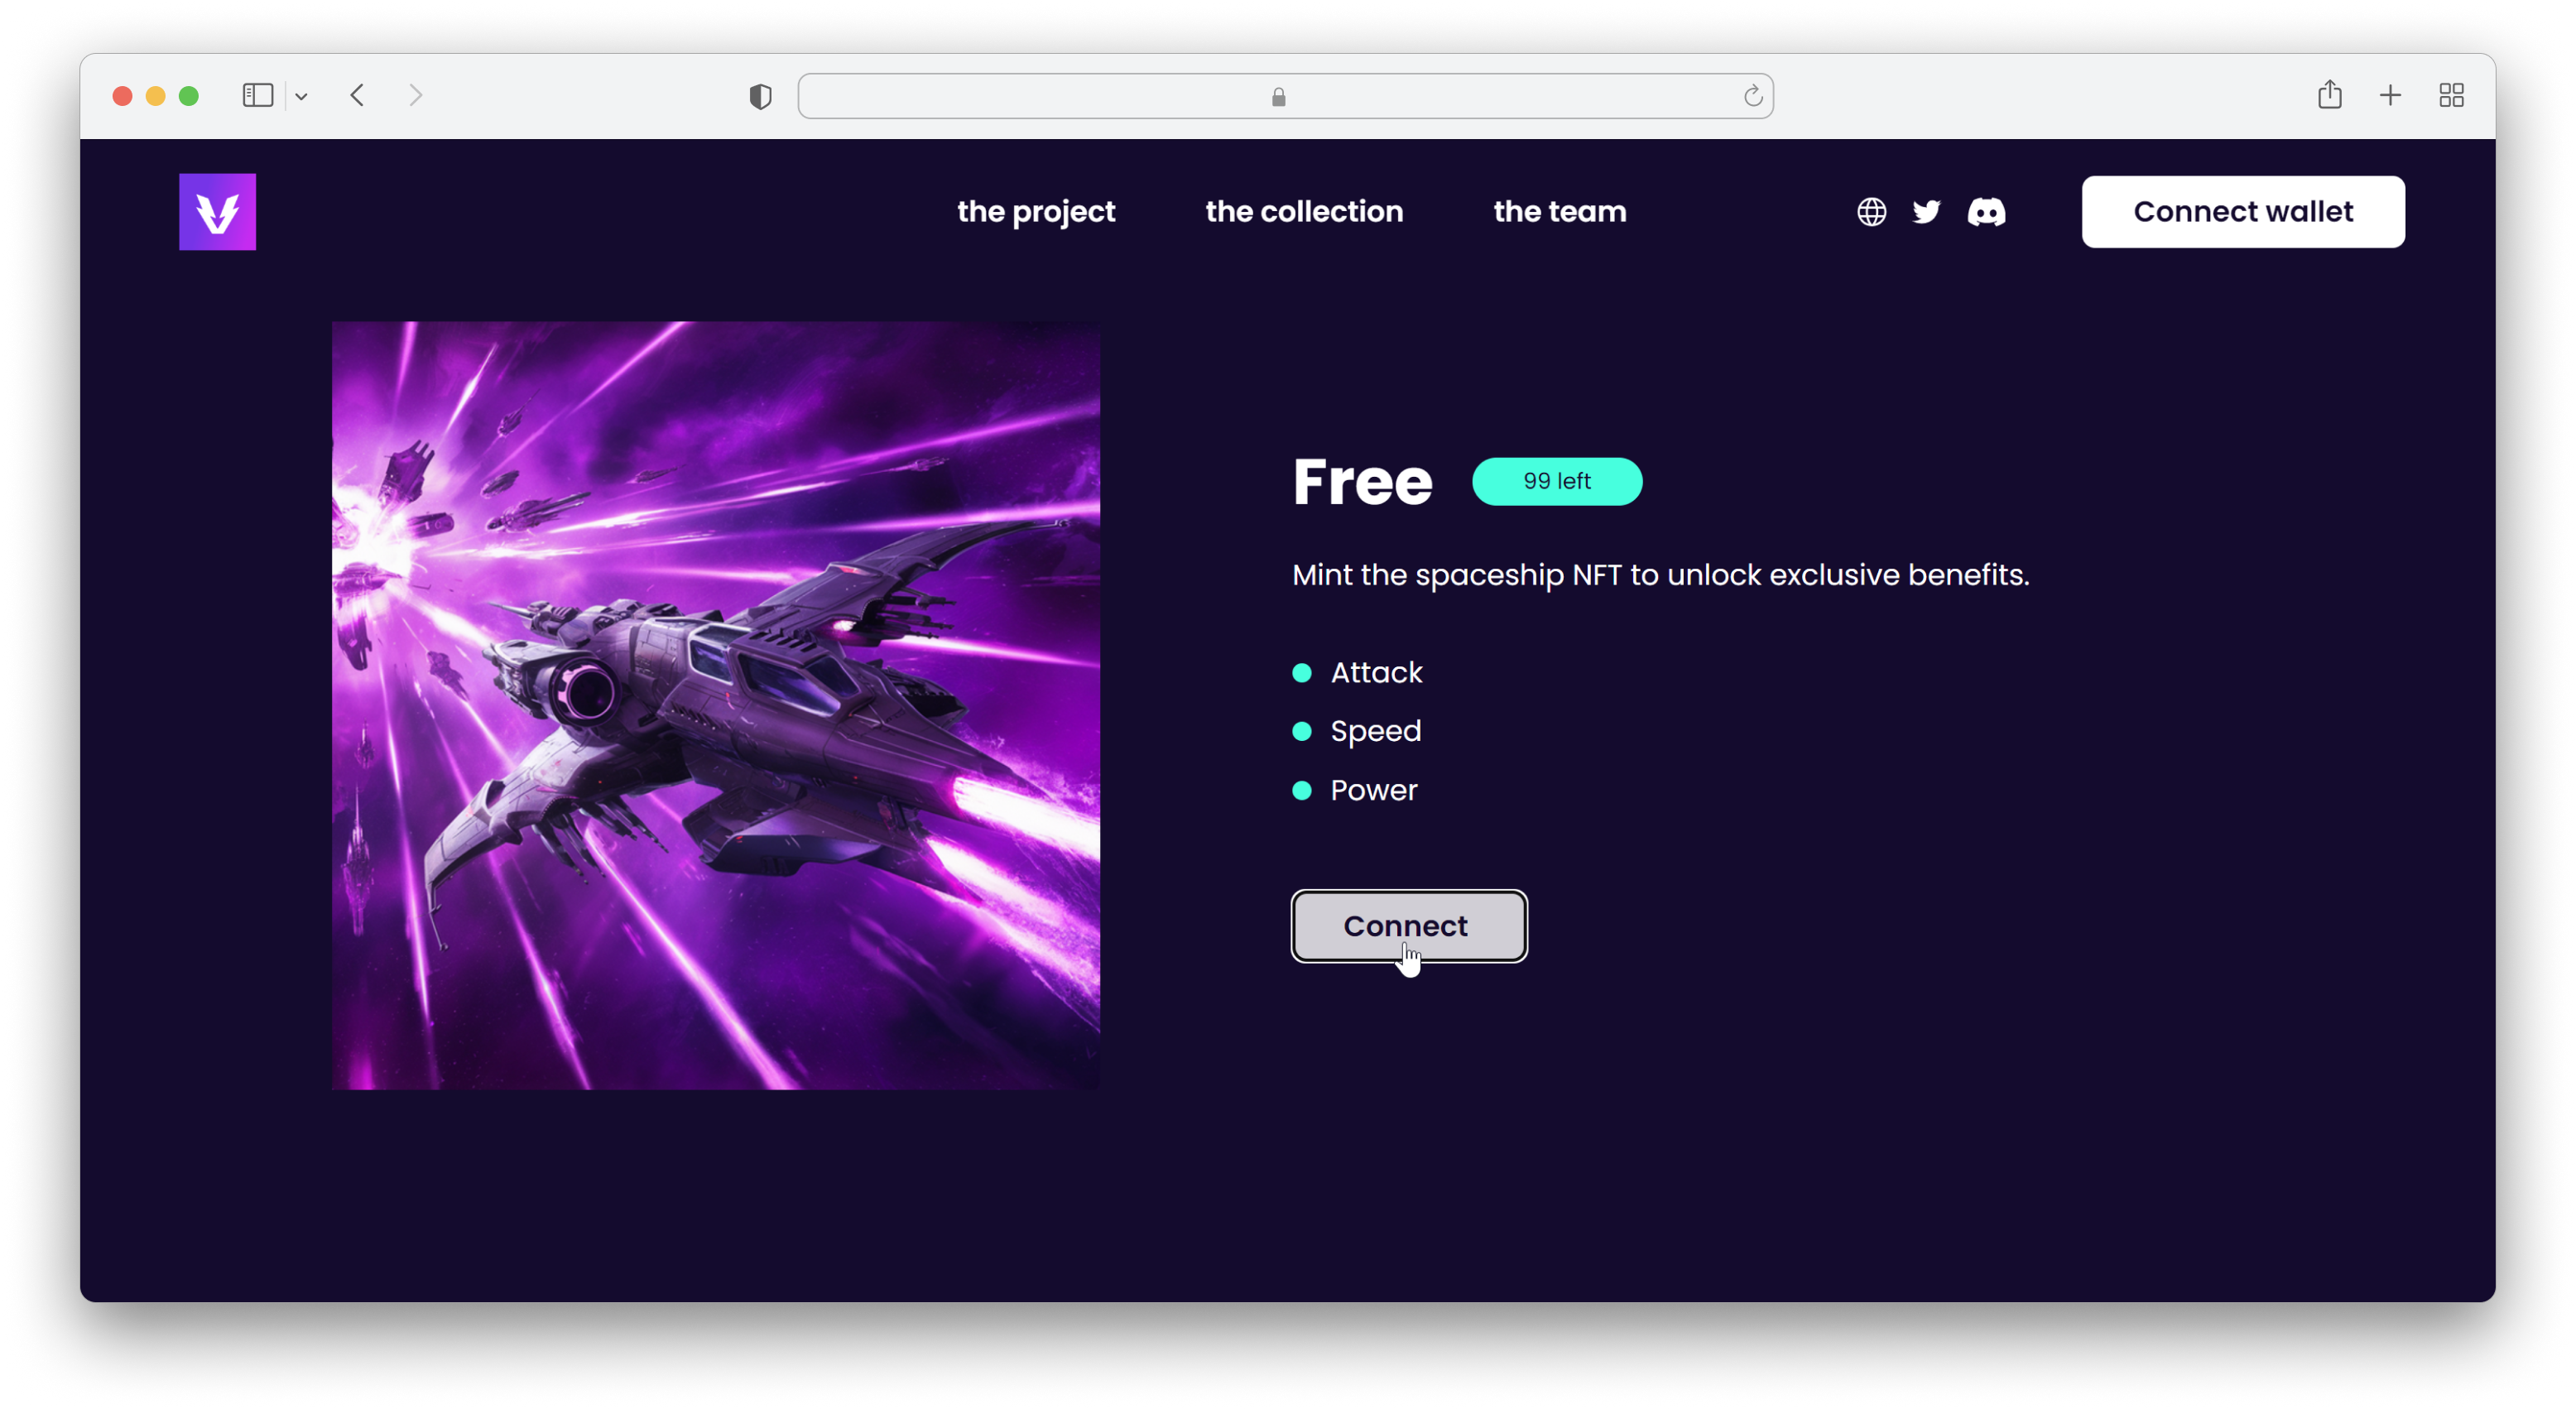
First, they must connect their Venly Wallet with your website by clicking the Connect button.
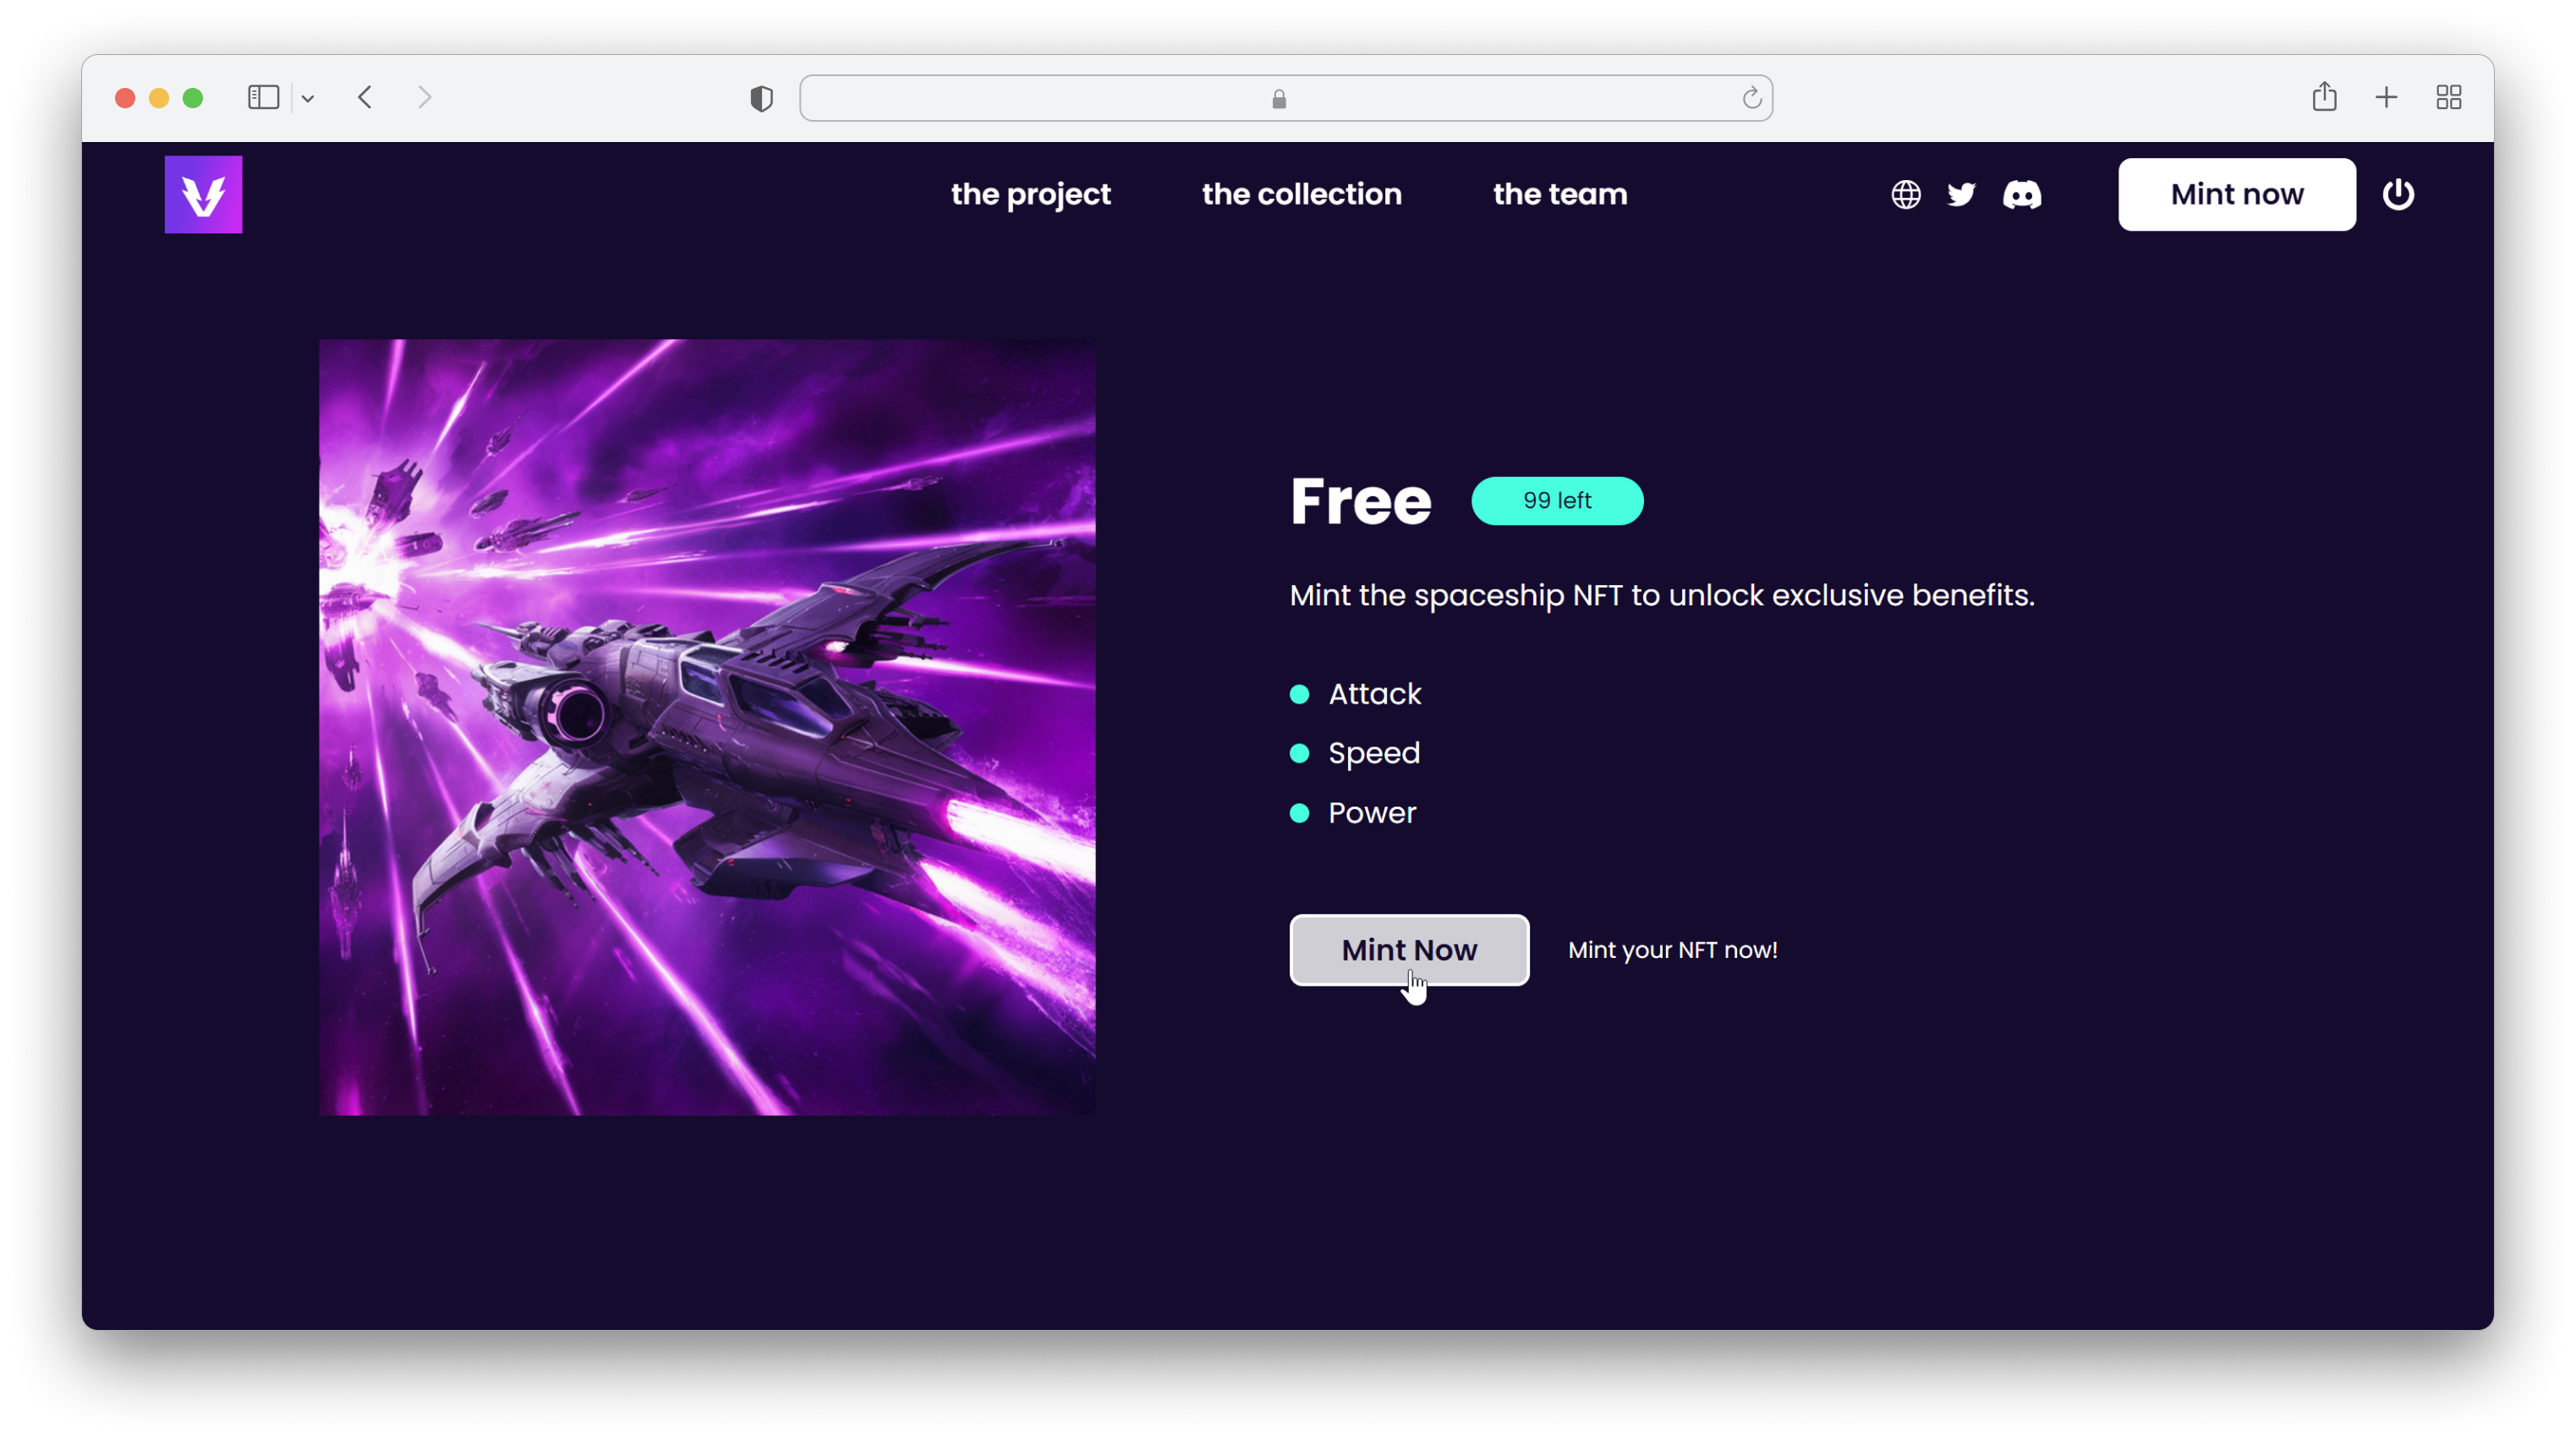
Once their wallet is connected, they can initiate minting by clicking on Mint Now.
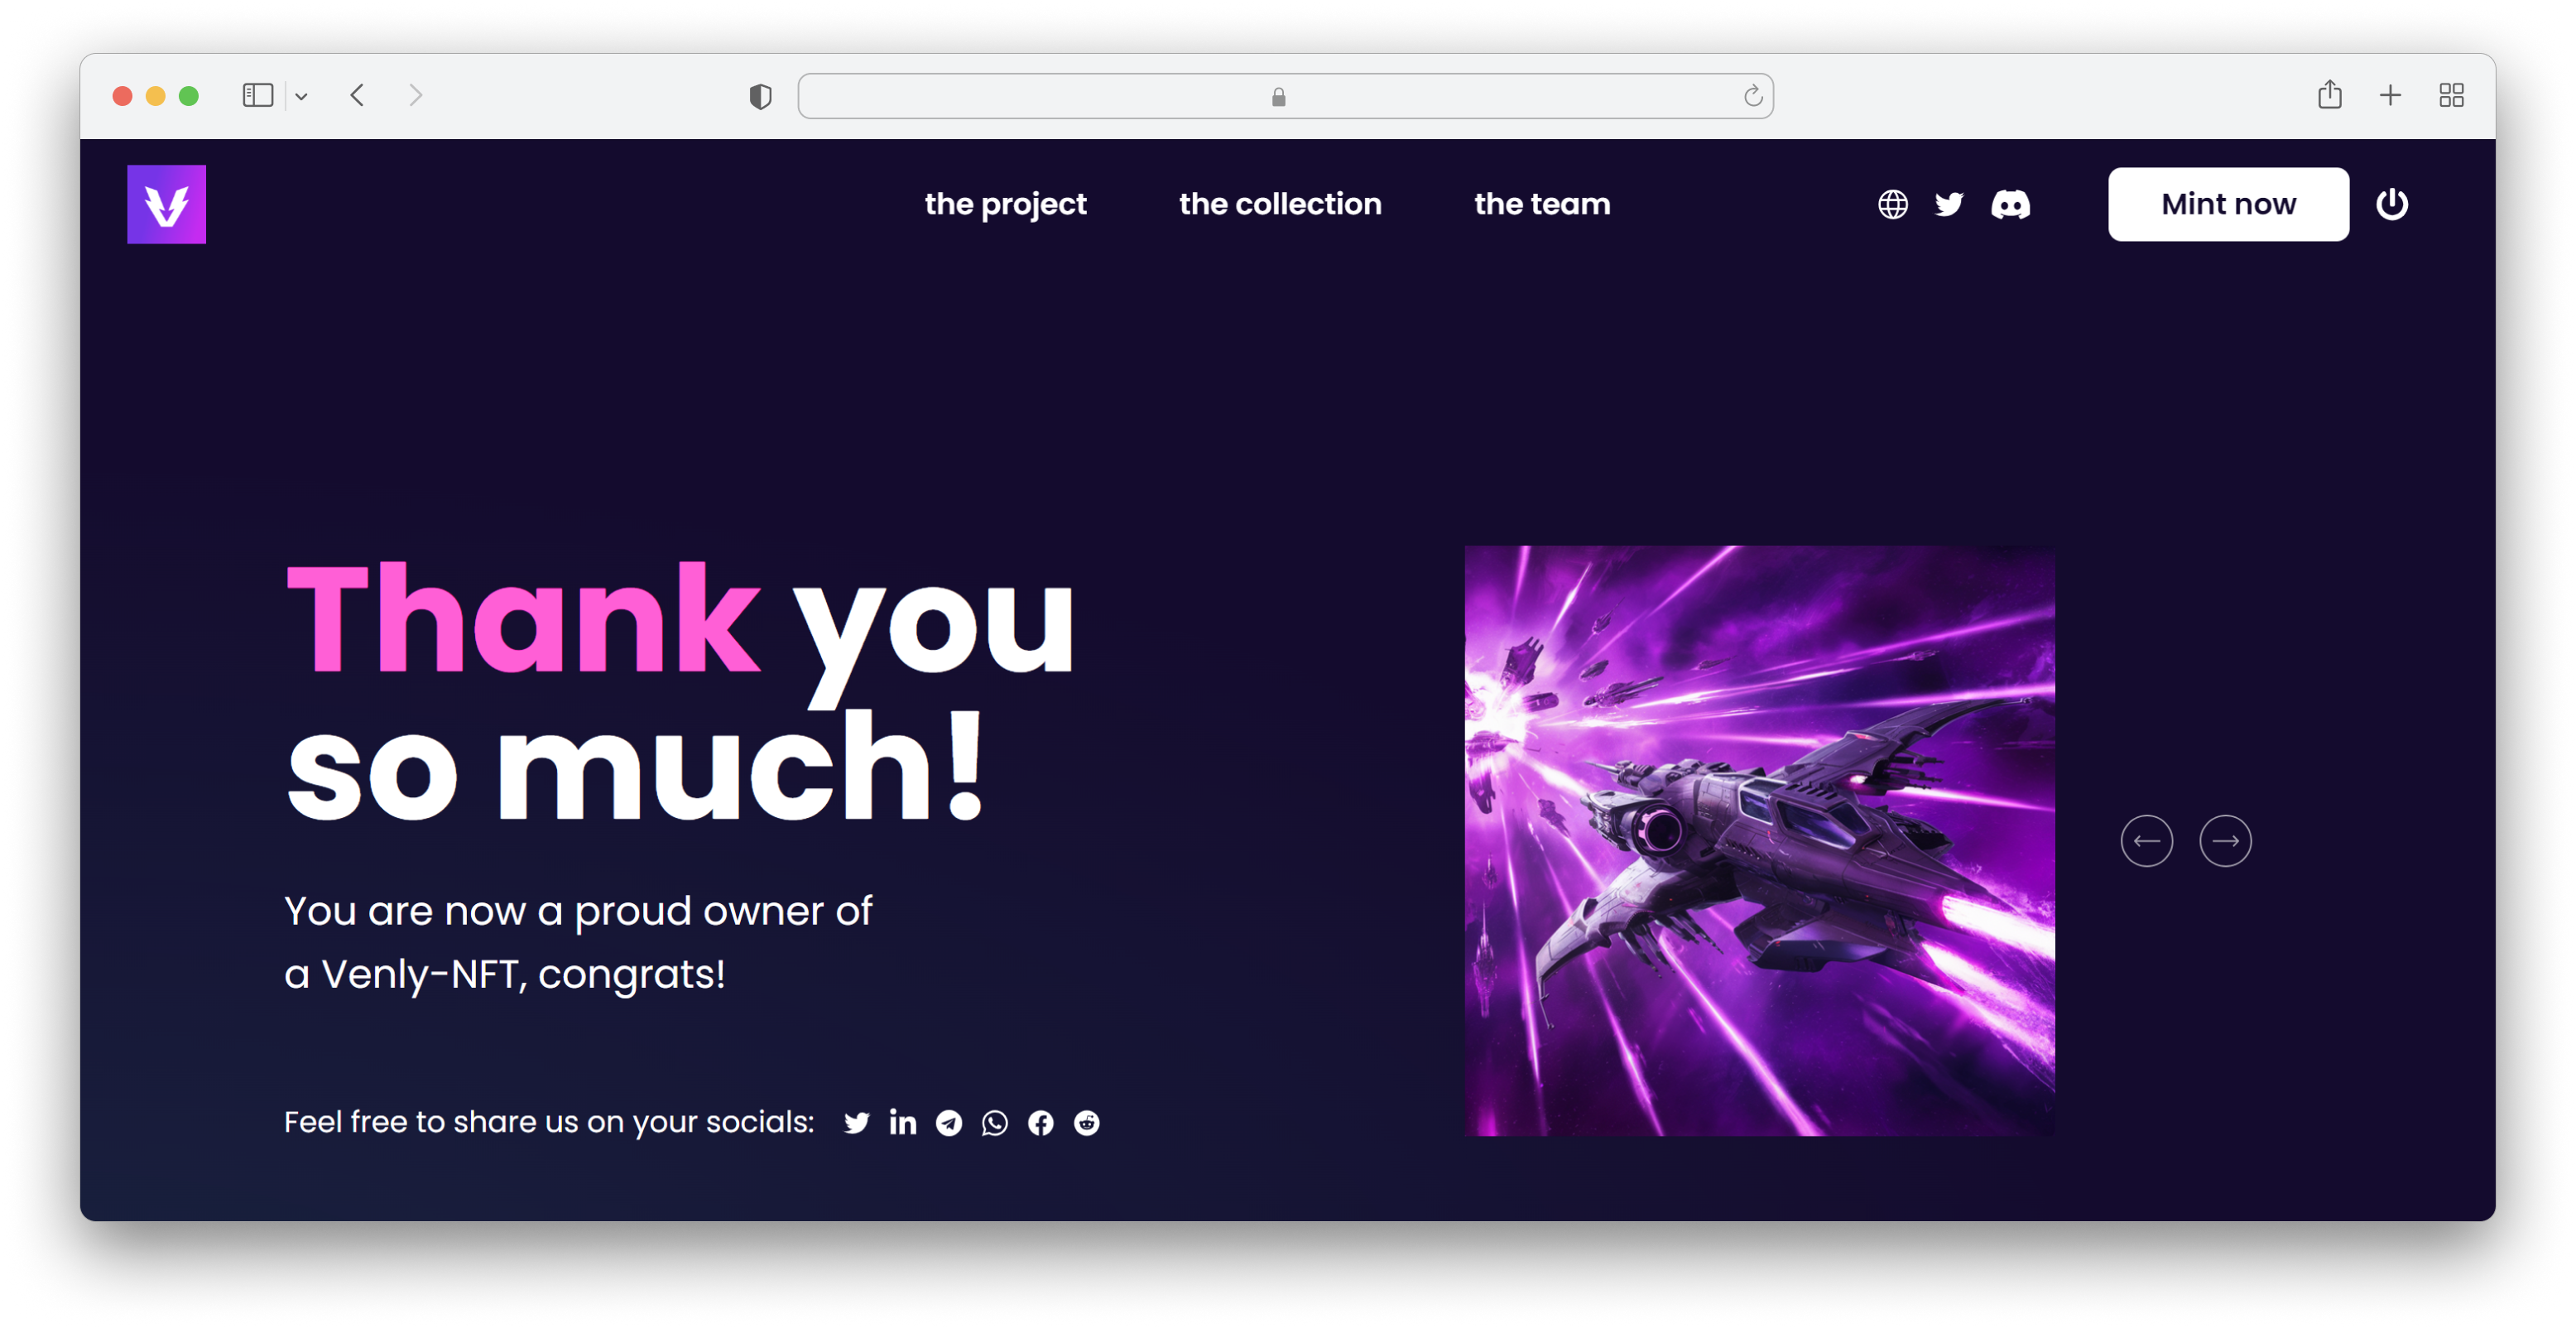
Your end-user will get redirected to a Thankyou page and the minted NFT will be sent to their wallet.
Schedule a demo with our team to explore tailored solutions or dive in and start building right away on our portal.
Updated about 2 months ago