
Zapier: No-Code Blockchain Automation
Learn how to automate blockchain tasks with Venly and Zapier. Create NFTs, mint tokens, and deploy smart contracts without writing code, using simple workflows for various use cases.
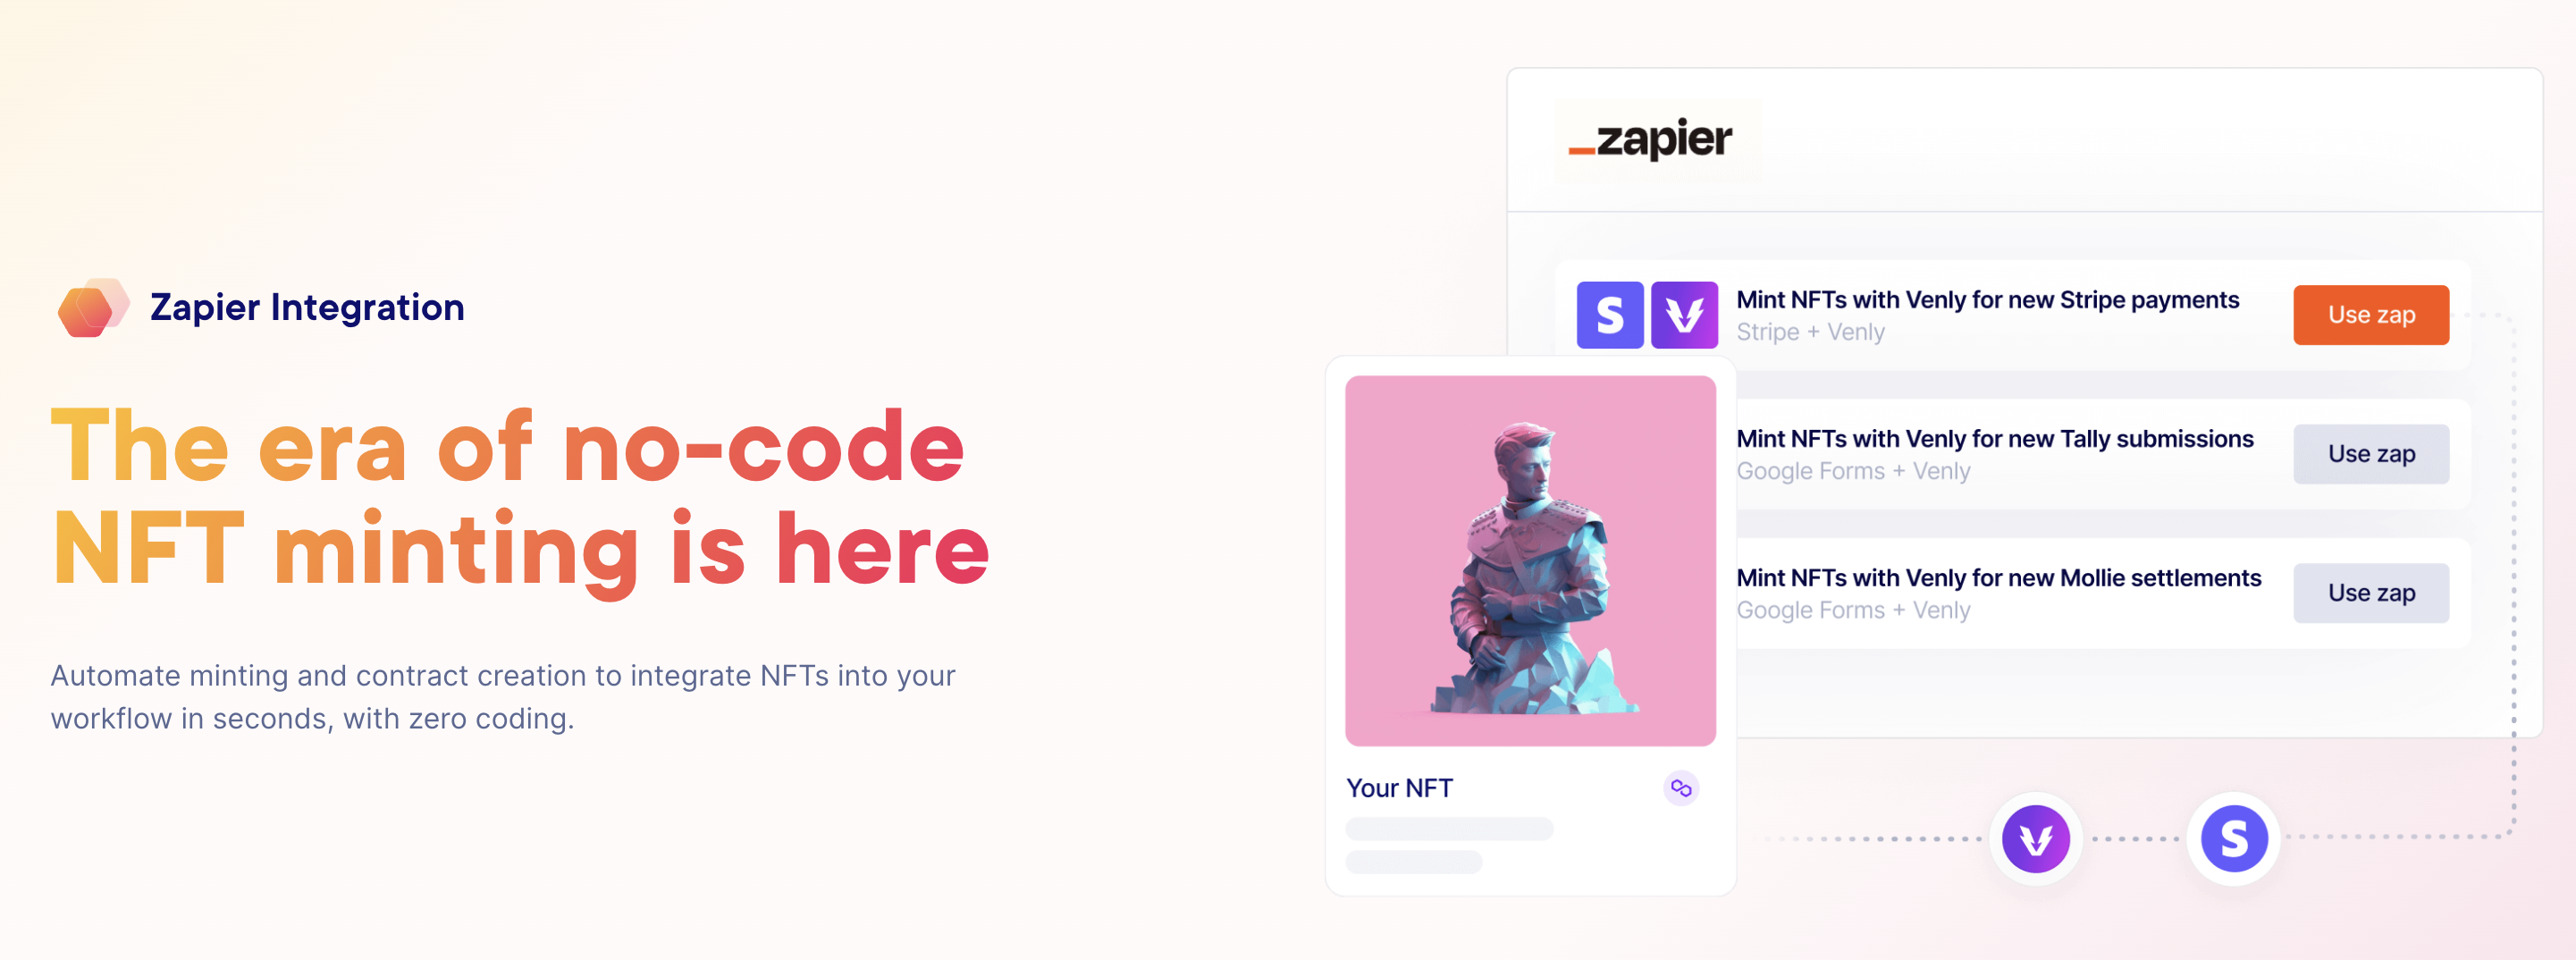
Venly + Zapier Integration: No-Code Blockchain Automation
The Venly Zapier integration enables users to interact with blockchain technology without writing a single line of code. Whether you want to create NFT collections, mint NFTs, deploy ERC20 token contracts, or mint ERC20 tokens, Venly and Zapier make it possible with simple, automated workflows.
Ideal for marketers, developers, and entrepreneurs alike, this integration allows you to automate blockchain processes like distributing digital collectibles, issuing loyalty tokens, or building community-driven reward systems—entirely from your Zapier dashboard.
Key Features of the Venly Zapier Integration
- Create NFT Collections: Deploy custom NFT contracts on multiple blockchains.
- Mint NFTs: Instantly mint NFTs to end-users’ wallets based on triggers.
- Create ERC20 Token Contracts: Deploy custom ERC20 tokens with configurable parameters.
- Mint ERC20 Tokens: Distribute tokens programmatically to end-users' wallets based on triggers.
Why Use Venly with Zapier?
By connecting Venly to Zapier, you can:
- Automate NFT minting, token drops, or contract creation
- Save time by removing manual blockchain tasks
- Use familiar apps like Google Forms, Mailchimp, Discord, Shopify, and more
- Make Web3 accessible to your team — no developers required
Supported Blockchains
Venly and Zapier integration currently support the following blockchains:
NFTs: Ethereum, Polygon, Arbitrum, Avalanche, BNB Chain, Hedera
ERC20 Tokens: Ethereum, Polygon, Arbitrum, Avalanche, BNB Chain
Use Cases
| # | Use Case | Trigger App(s) | Venly Action | Description |
|---|---|---|---|---|
| 1 | Reward Event Attendees with NFTs | Eventbrite, Calendly, Google Forms | Mint NFT | Automatically send attendees a digital NFT badge after registering or attending. |
| 2 | Airdrop Tokens to Newsletter Subscribers | Mailchimp, Substack, ConvertKit | Mint ERC20 Token | Reward new subscribers with custom tokens that can be used for perks, voting, or loyalty points. |
| 3 | Distribute Loyalty Tokens After Purchases | Shopify, WooCommerce, Stripe | Mint ERC20 Token | Mint tokens as part of a Web3 loyalty program. Tokens can represent rewards or unlockables. |
| 4 | Gamify Community Engagement on Discord | Discord + Zapier Bot | Mint NFT or ERC20 Token | Reward top contributors with NFTs or tokens. Encourages participation and community growth. |
| 5 | Automatically Create New NFT Collections | Airtable, Notion, Google Sheets | Create NFT Contract | Auto-generate new NFT collections from form/database entries. Great for user-generated content. |
| 6 | Issue Certificates as NFTs | Teachable, Thinkific, Typeform | Mint NFT | Send NFT certificates to students after completing a course or quiz. Includes verifiable metadata. |
| 7 | Power In-Game Token Rewards | Unity Webhook, Firebase | Mint ERC20 Token | Reward players with tokens based on in-game actions or achievements using custom webhooks. |
| 8 | Launch Community Tokens from Typeform | Typeform | Create ERC20 Token Contract | Let users or DAO members request their own tokens via Typeform. Auto-deploy smart contracts. |
| 9 | Send NFTs as Proof of Donation | PayPal, Stripe, Donorbox | Mint NFT | Reward donors with a commemorative NFT. Great for transparency and donor recognition. |
| 10 | NFT Ticketing for Live Events | Eventbrite | Mint NFT | Issue NFT-based tickets for events. Useful for access control and anti-fraud. |
How It Works (Simple Steps)
Here’s how to set up a basic Zap:
-
Choose a Trigger App
Example: "New attendee in Eventbrite" -
Set the Trigger
Example: "When a new registration is confirmed" -
Connect to Venly
Use Venly’s Zapier integration to connect your Venly API key -
Choose an Action
Example: "Mint an NFT with the attendee's name" -
Customize & Test
You can personalize the NFT (name, image, metadata, etc.) -
Turn it On
Let automation take over!
Updated 9 months ago