
Developer Portal
Introduction to the developer portal features.
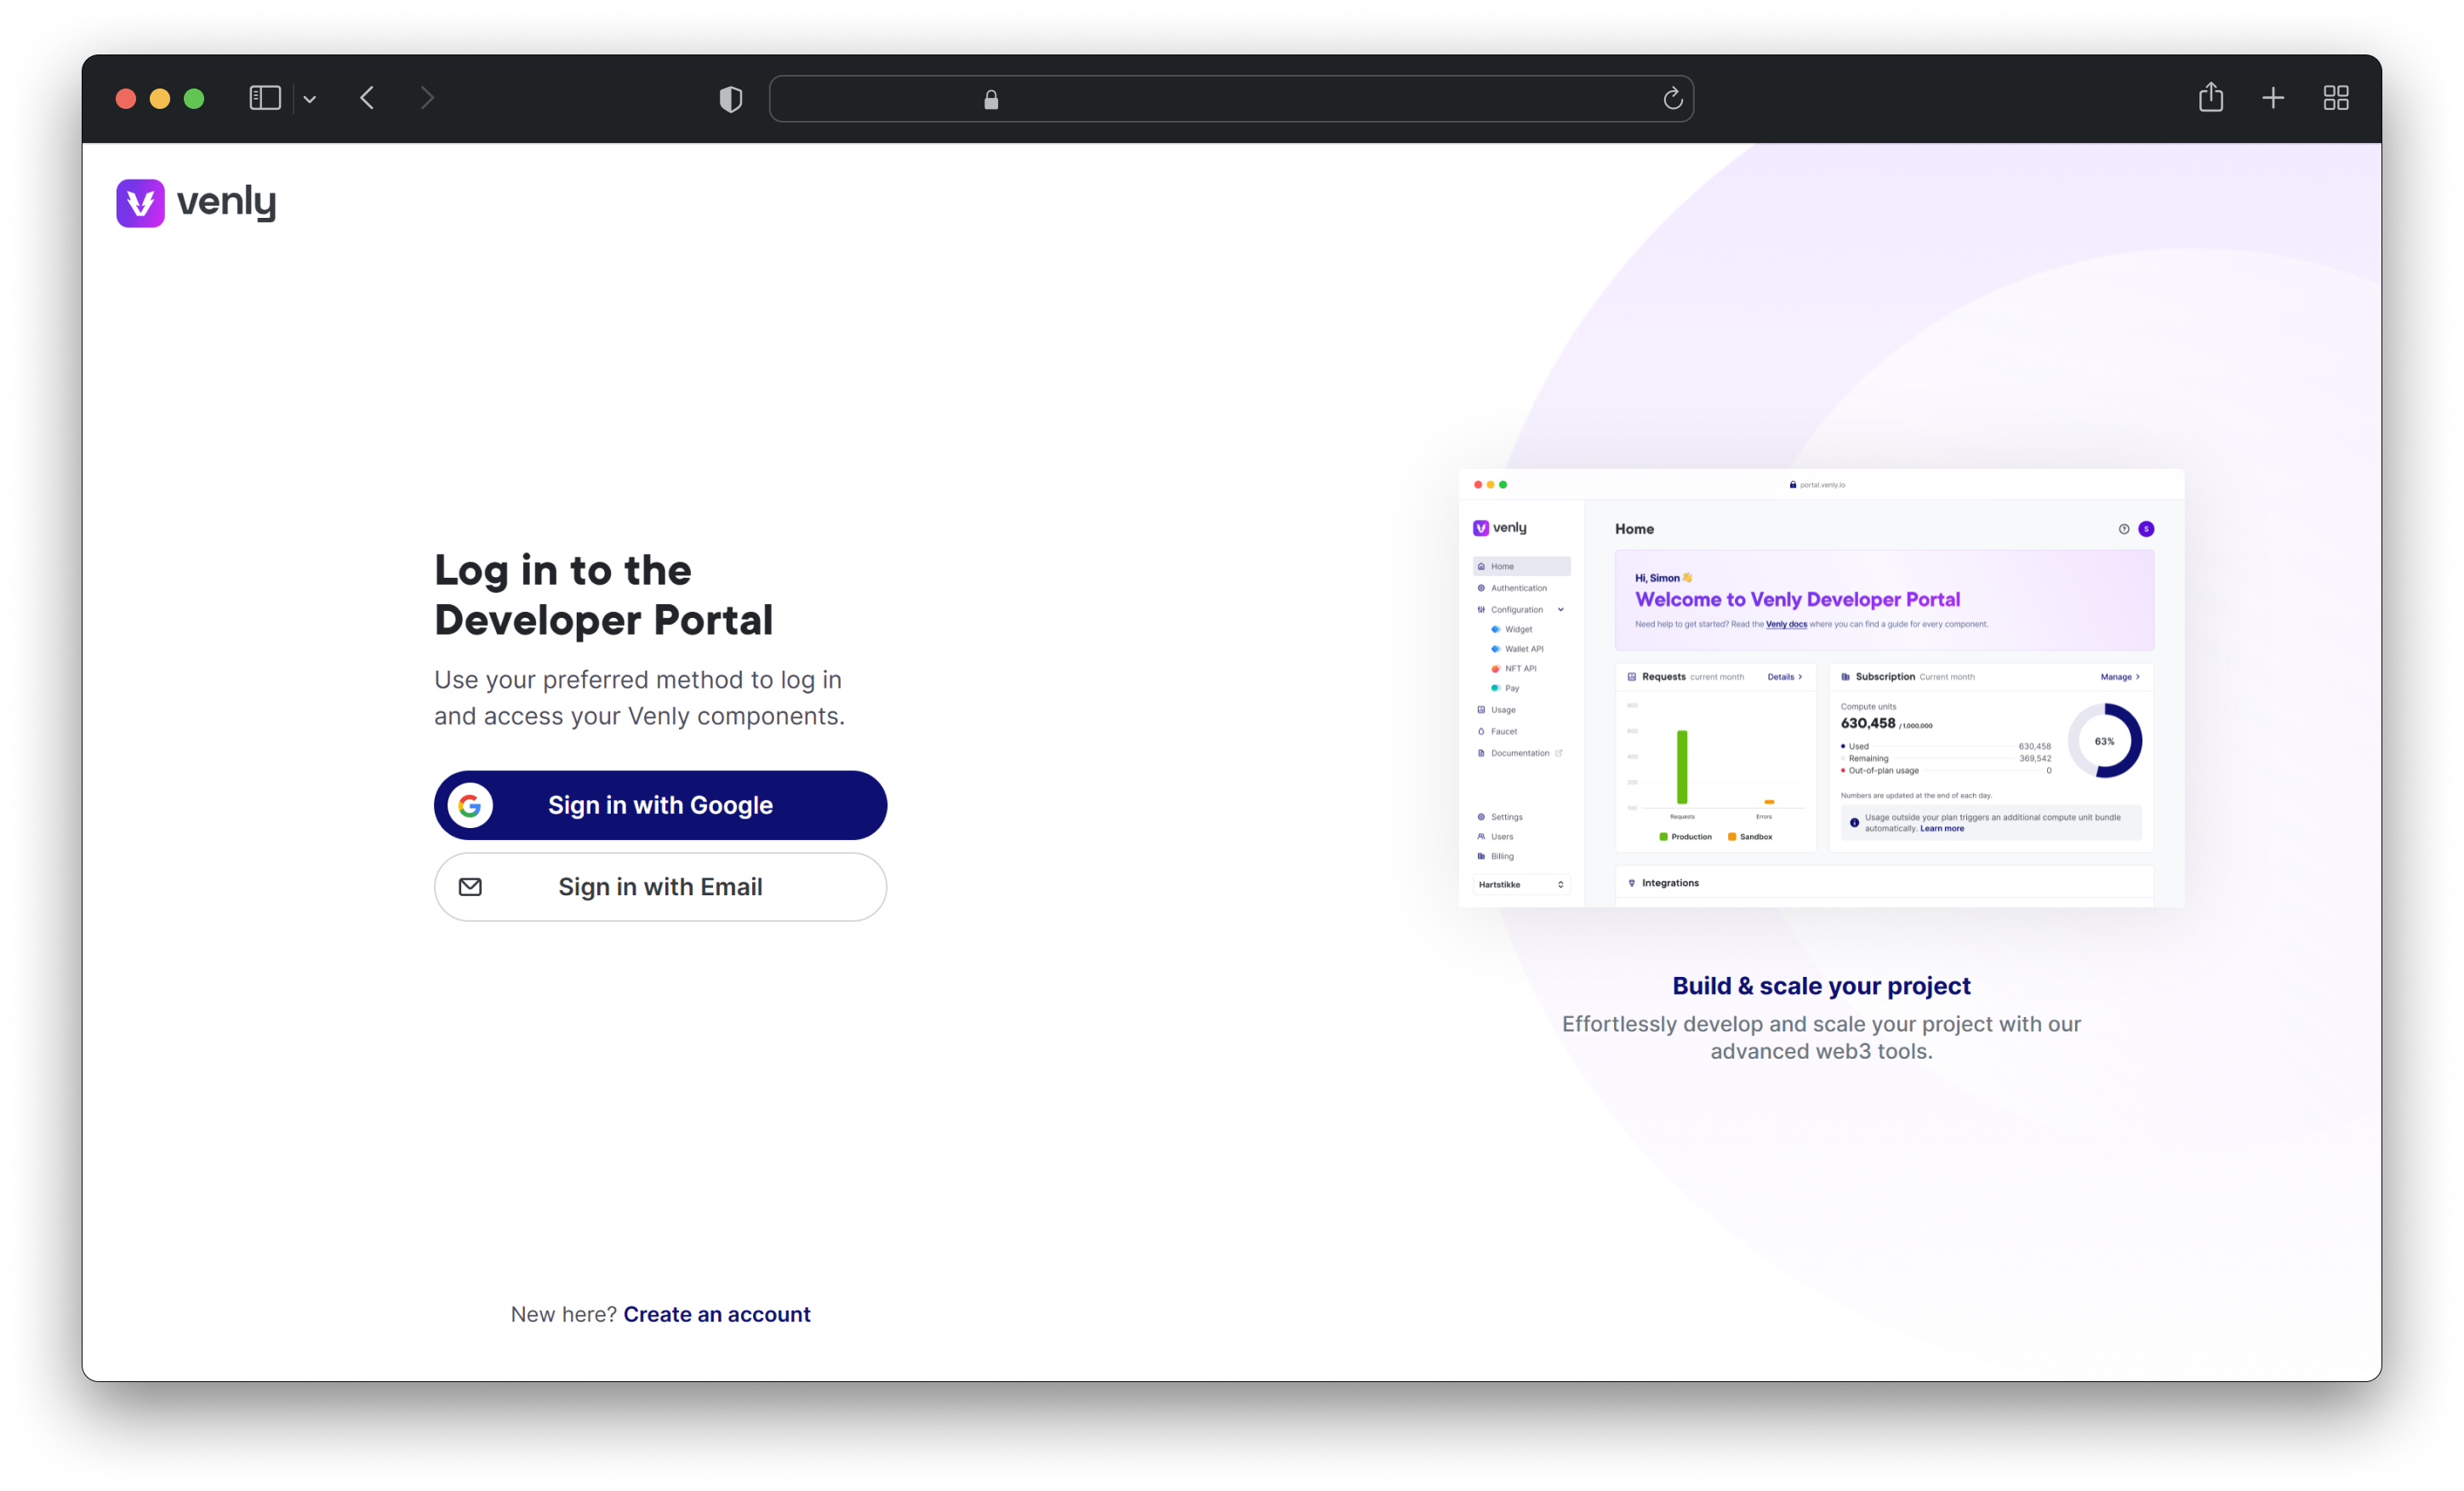
Venly Developer Portal sign-in/ signup
The updated portal dashboard includes information on your:
Requests
This section shows the number of API requests made on the production and sandbox environment, and the number of errors. Click on Details to view a detailed view of your API requests.
Compute Units
The number of compute units consumed and remaining compute units. Click on Manage to manage your subscription plan.
Read more about compute units.

Portal Dashboard
The authentication page encompasses everything you need to authenticate with Venly services. There are two categories: the Widget and the API services. Both services use a different authentication method, which you can read about by clicking on either the Widget or API documentation.
Access Credentials
The access credentials for the widget and API services are provided. The widget is authenticated using the client ID and whitelisted URLs, while the API services are authenticated using the client ID and client secret. You can switch between production & sandbox credentials by clicking the toggle button on the top right.
Read more about how to authenticate with different Venly services.
Endpoints
Here, you can view the endpoints for authentication and different API services. Switching between the sandbox and the production environment also changes these endpoints.
Read about our environment and supported blockchains.
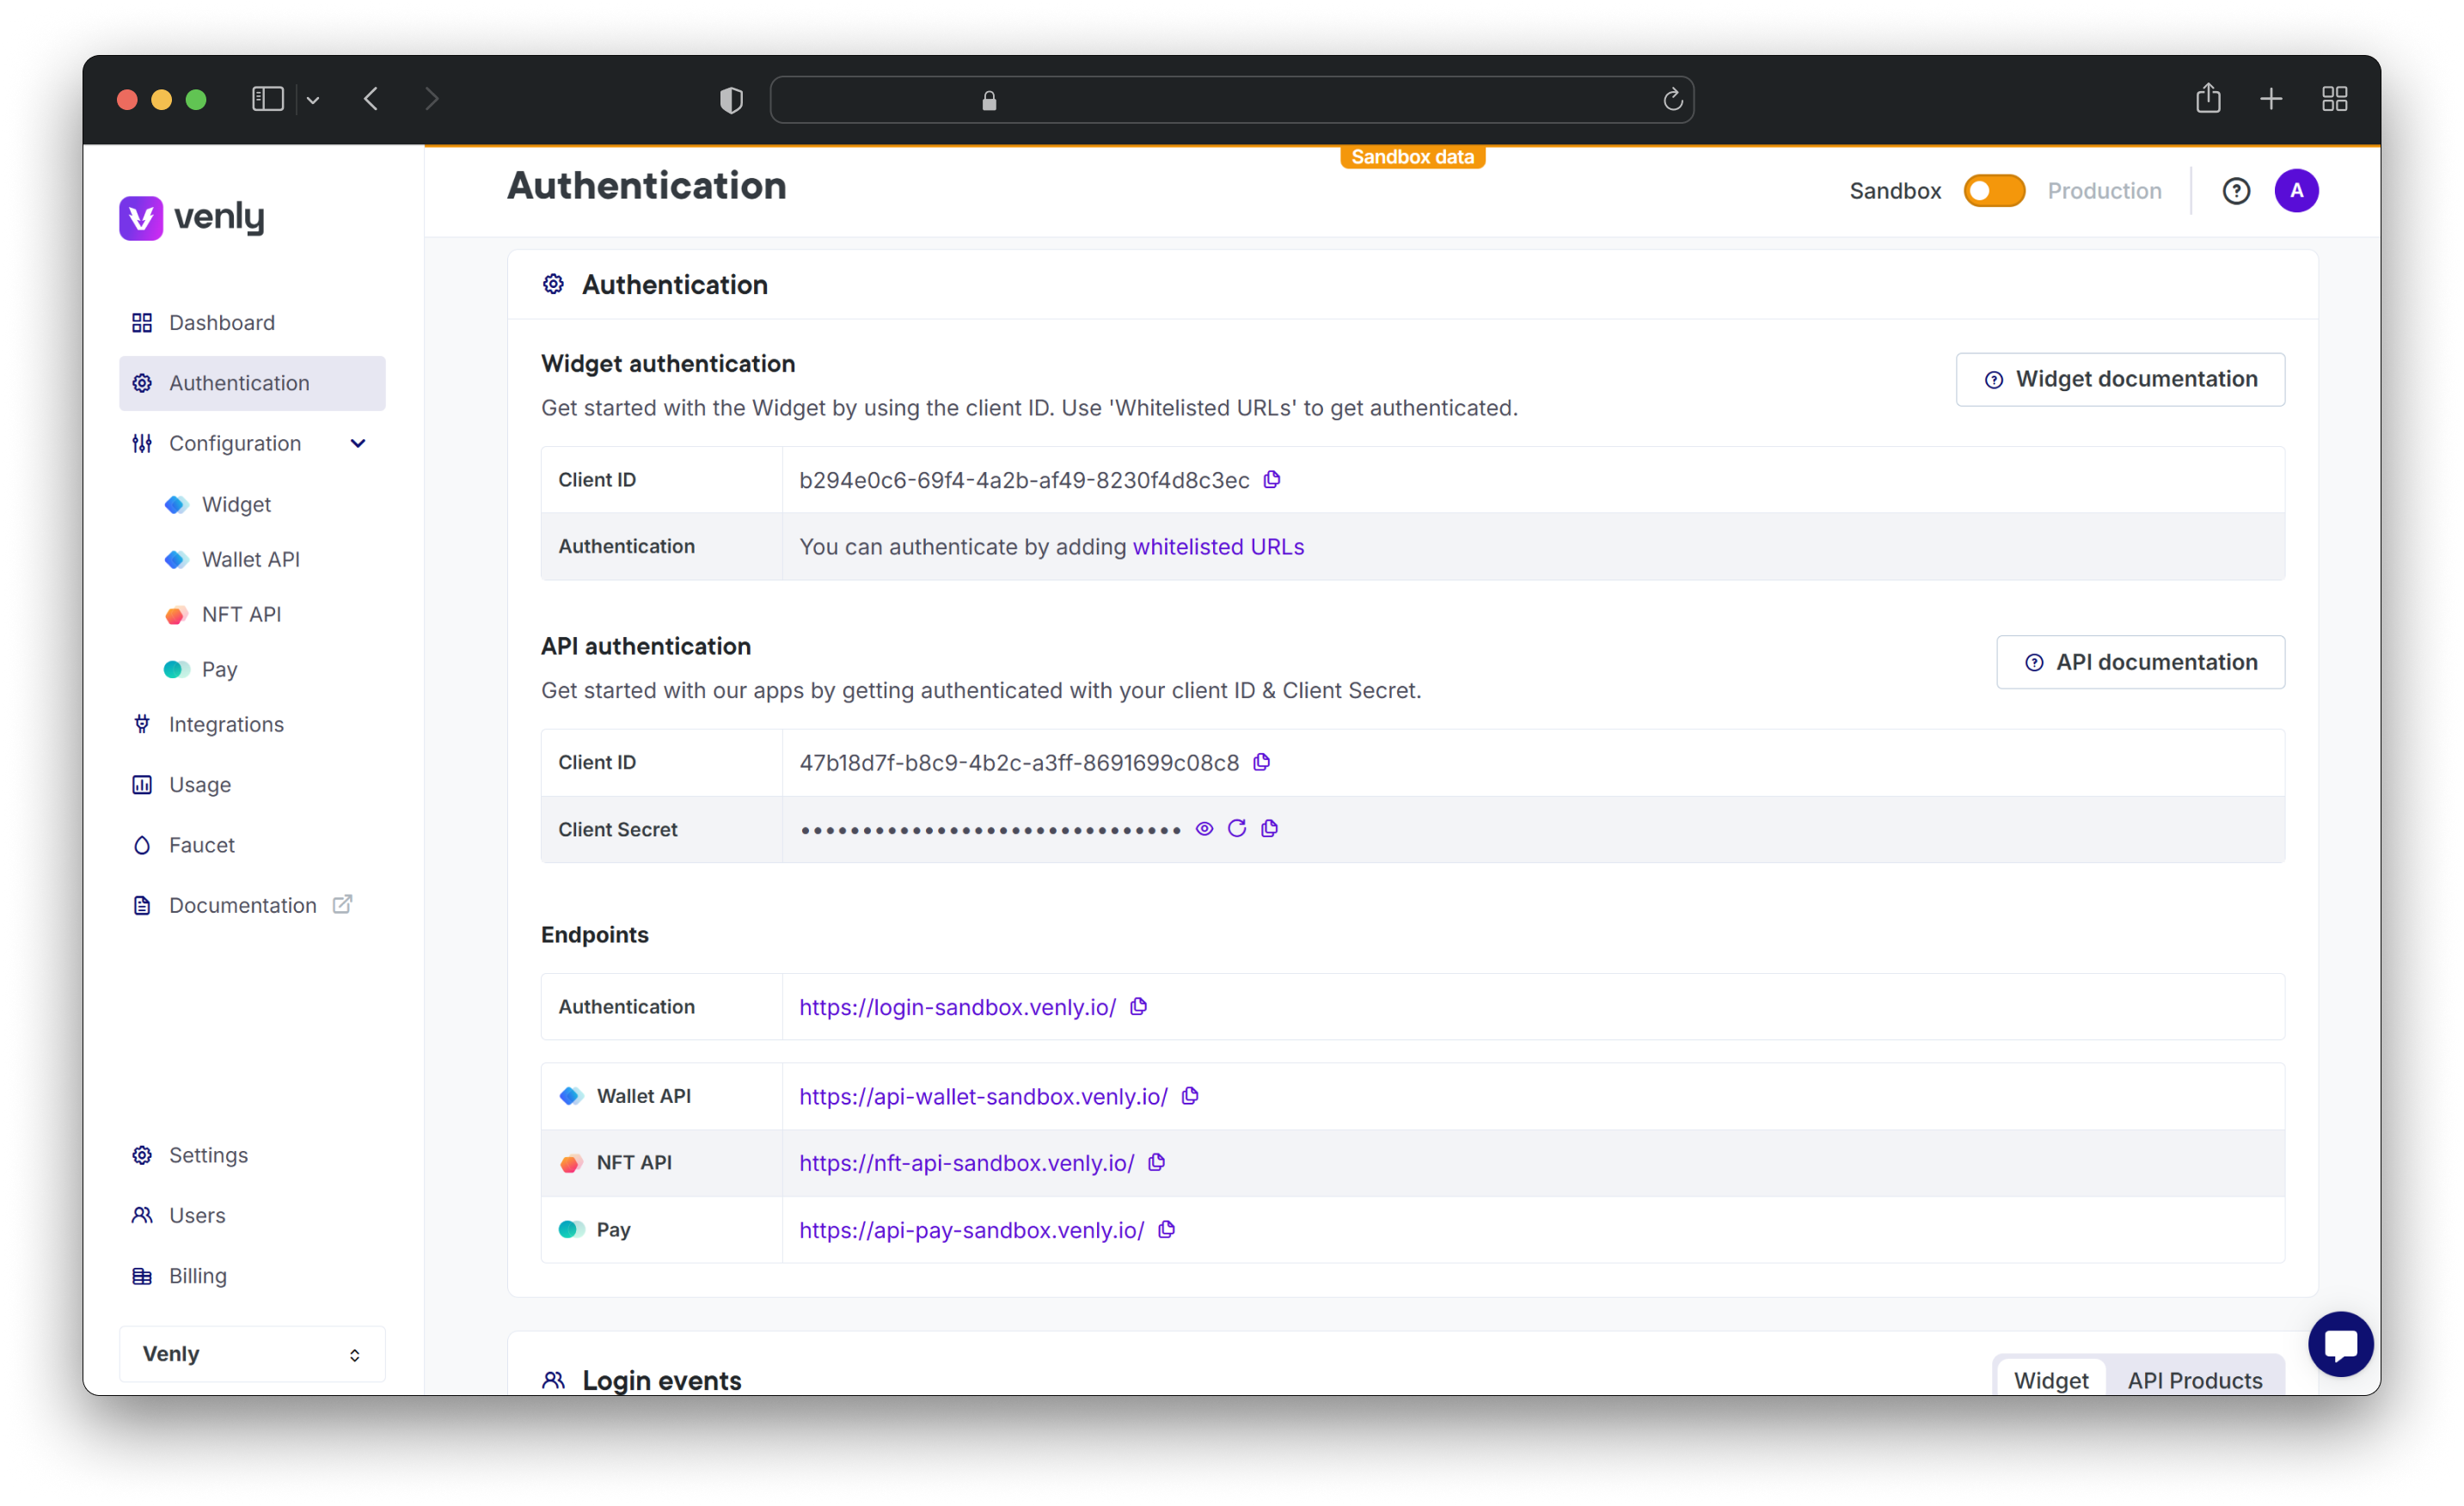
Authentication Page
Login events
You can view the login events whenever your access credentials are used to authenticate with Venly. You get the date, time, and IP address used when the login occurred. Keep track of this section to make sure the login events occur only from your IP address. If you see an unknown login attempt from an unknown IP address, your access credentials could be compromised. See the next section about attack mode.
Attack Mode
By turning on this feature, you can immediately stop all incoming traffic from your clients or servers to our system. This is a helpful step to protect your platform if there is a hacking attempt or another security issue. Activate Attack Mode confidently, knowing your system is shielded from unauthorized access and potential vulnerabilities.
You can also read our detailed API security guide which describes best practices for protecting your users from malicious attacks by clicking on Read more, or by clicking here.
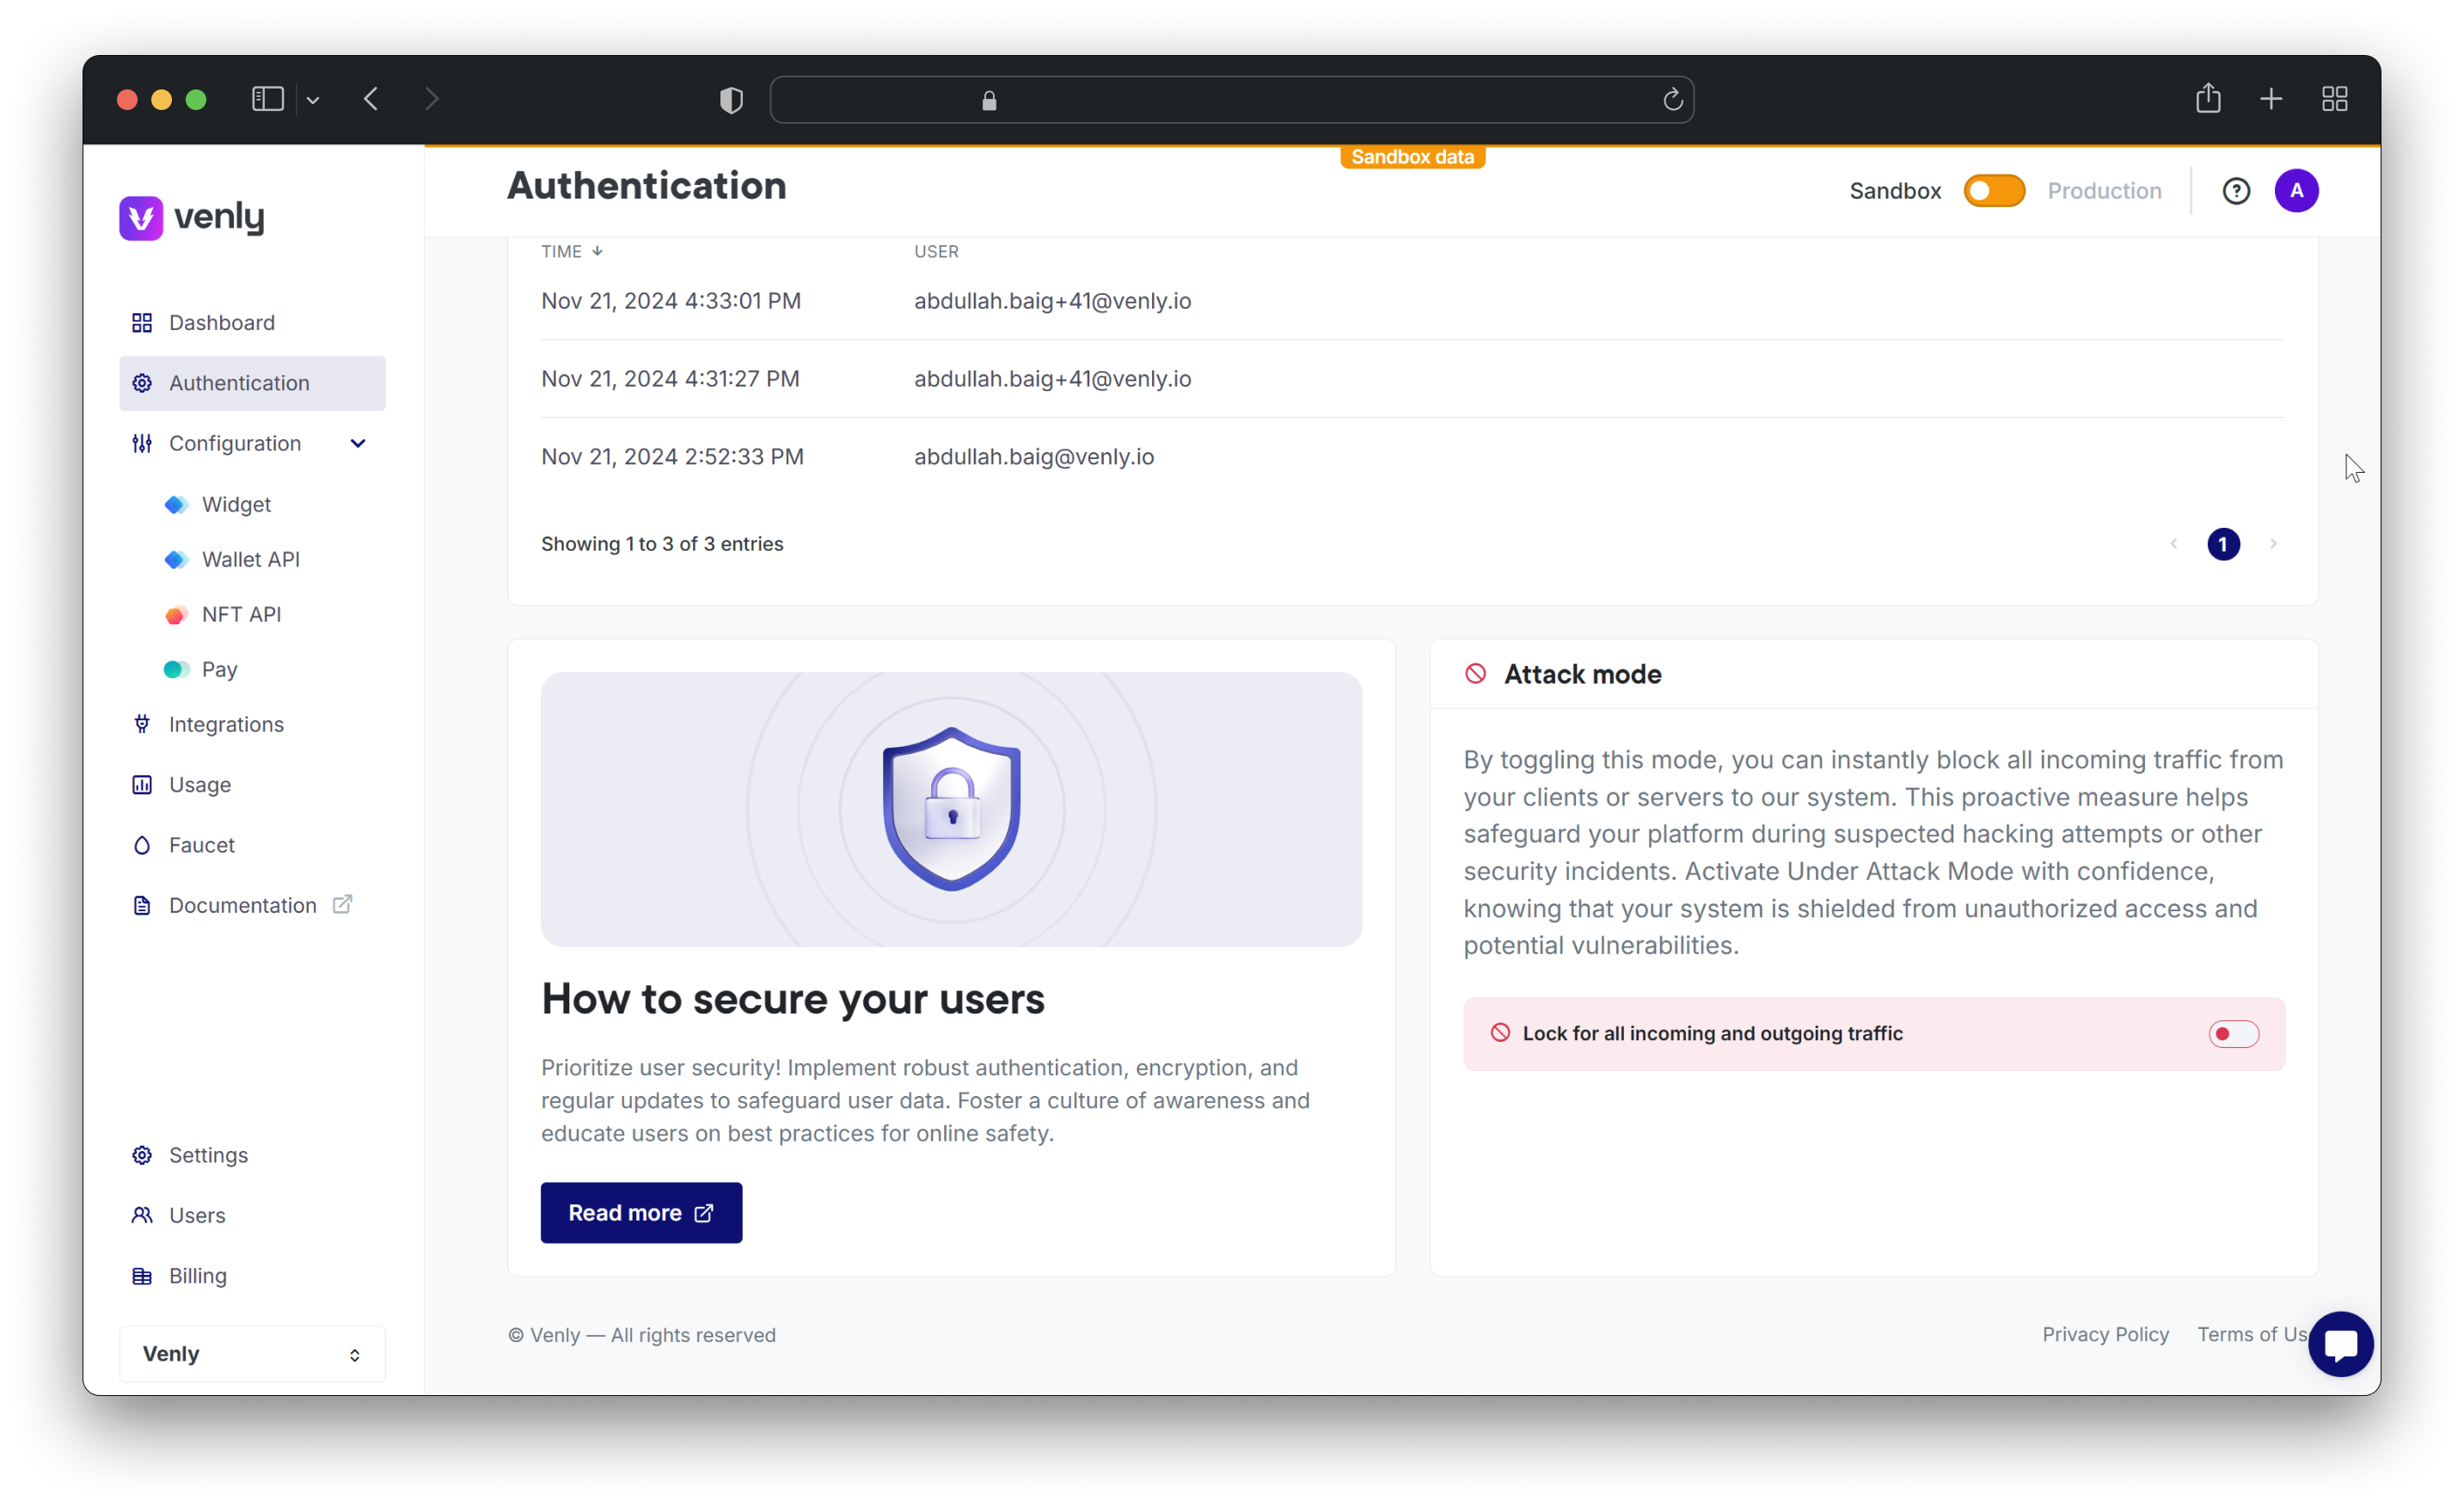
Portal Security Features
Configuration
This section is used to configure settings for the widget and API services, for example creating webhooks, changing permissions, etc.
- Create and configure webhooks
- Enable or disable wallet exporting permission
- Create and configure webhooks
- Configure initialization URLs (the URLs from where the widget functions will be called)
- Configure log-out URLs (the URL where your user will be redirected to when they log out)
- Upload your company logo to be visible on the widget
- Add a description to the widget about your company
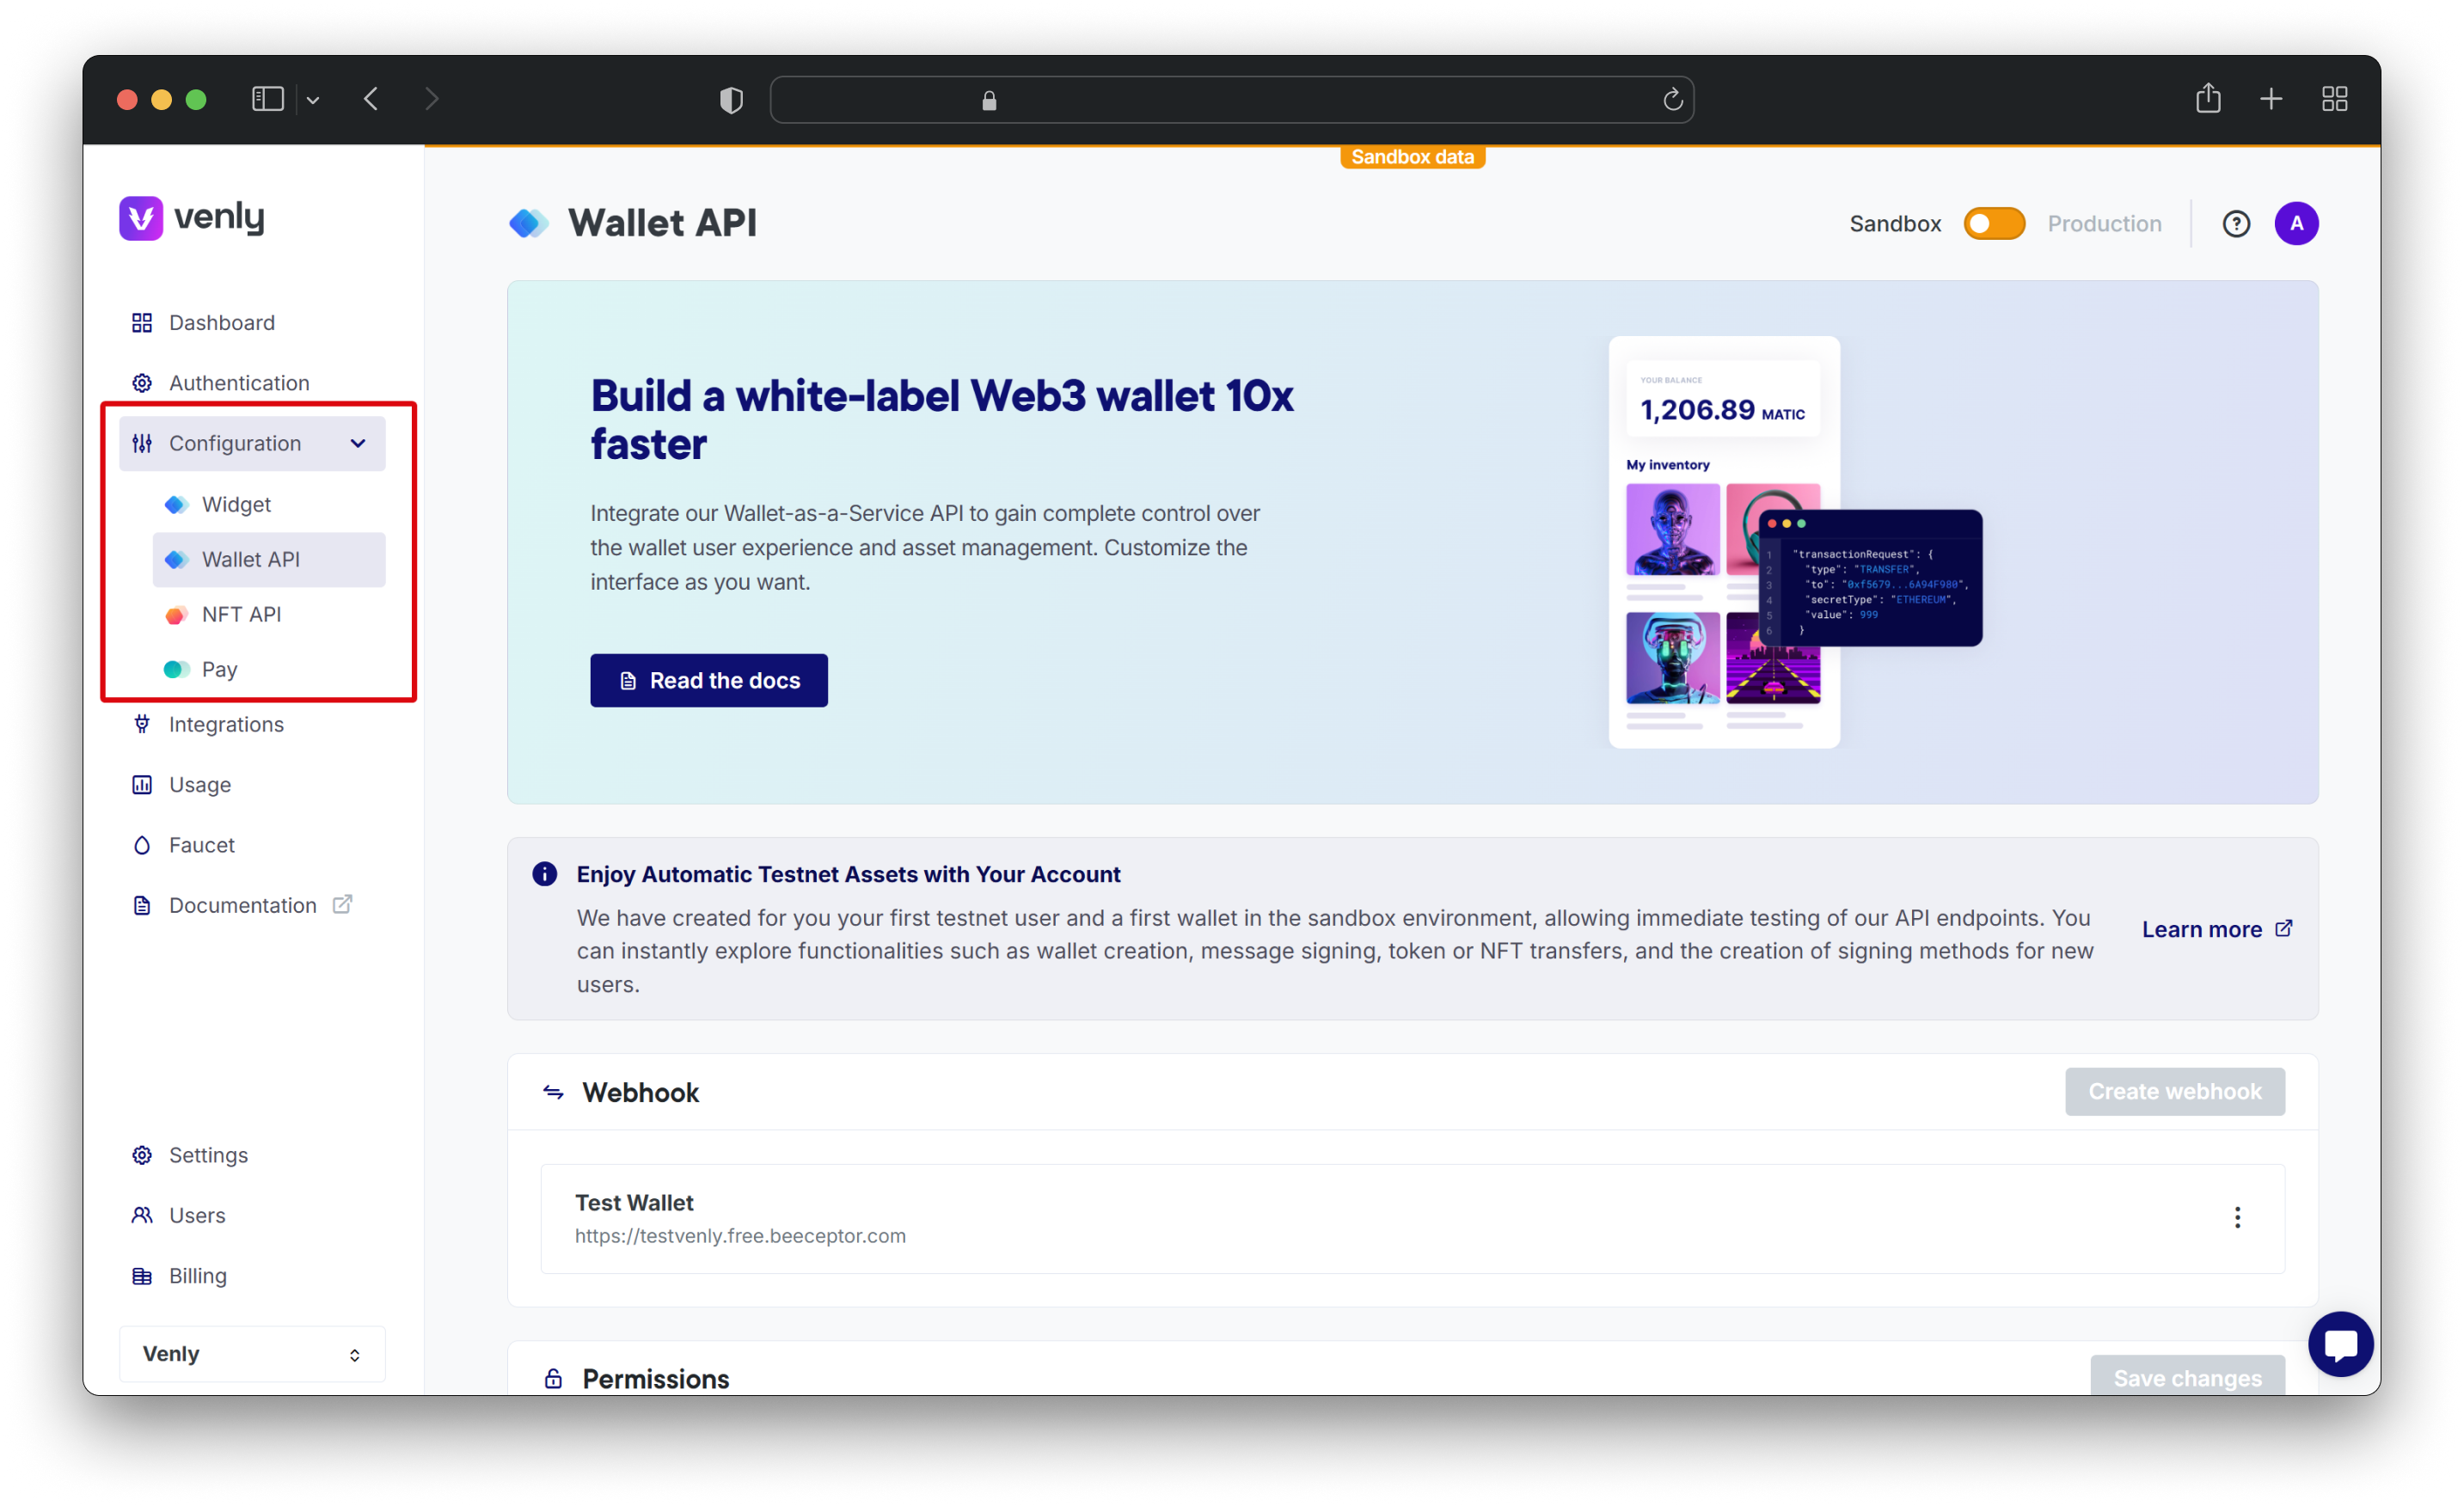
Configure the Widget and API services
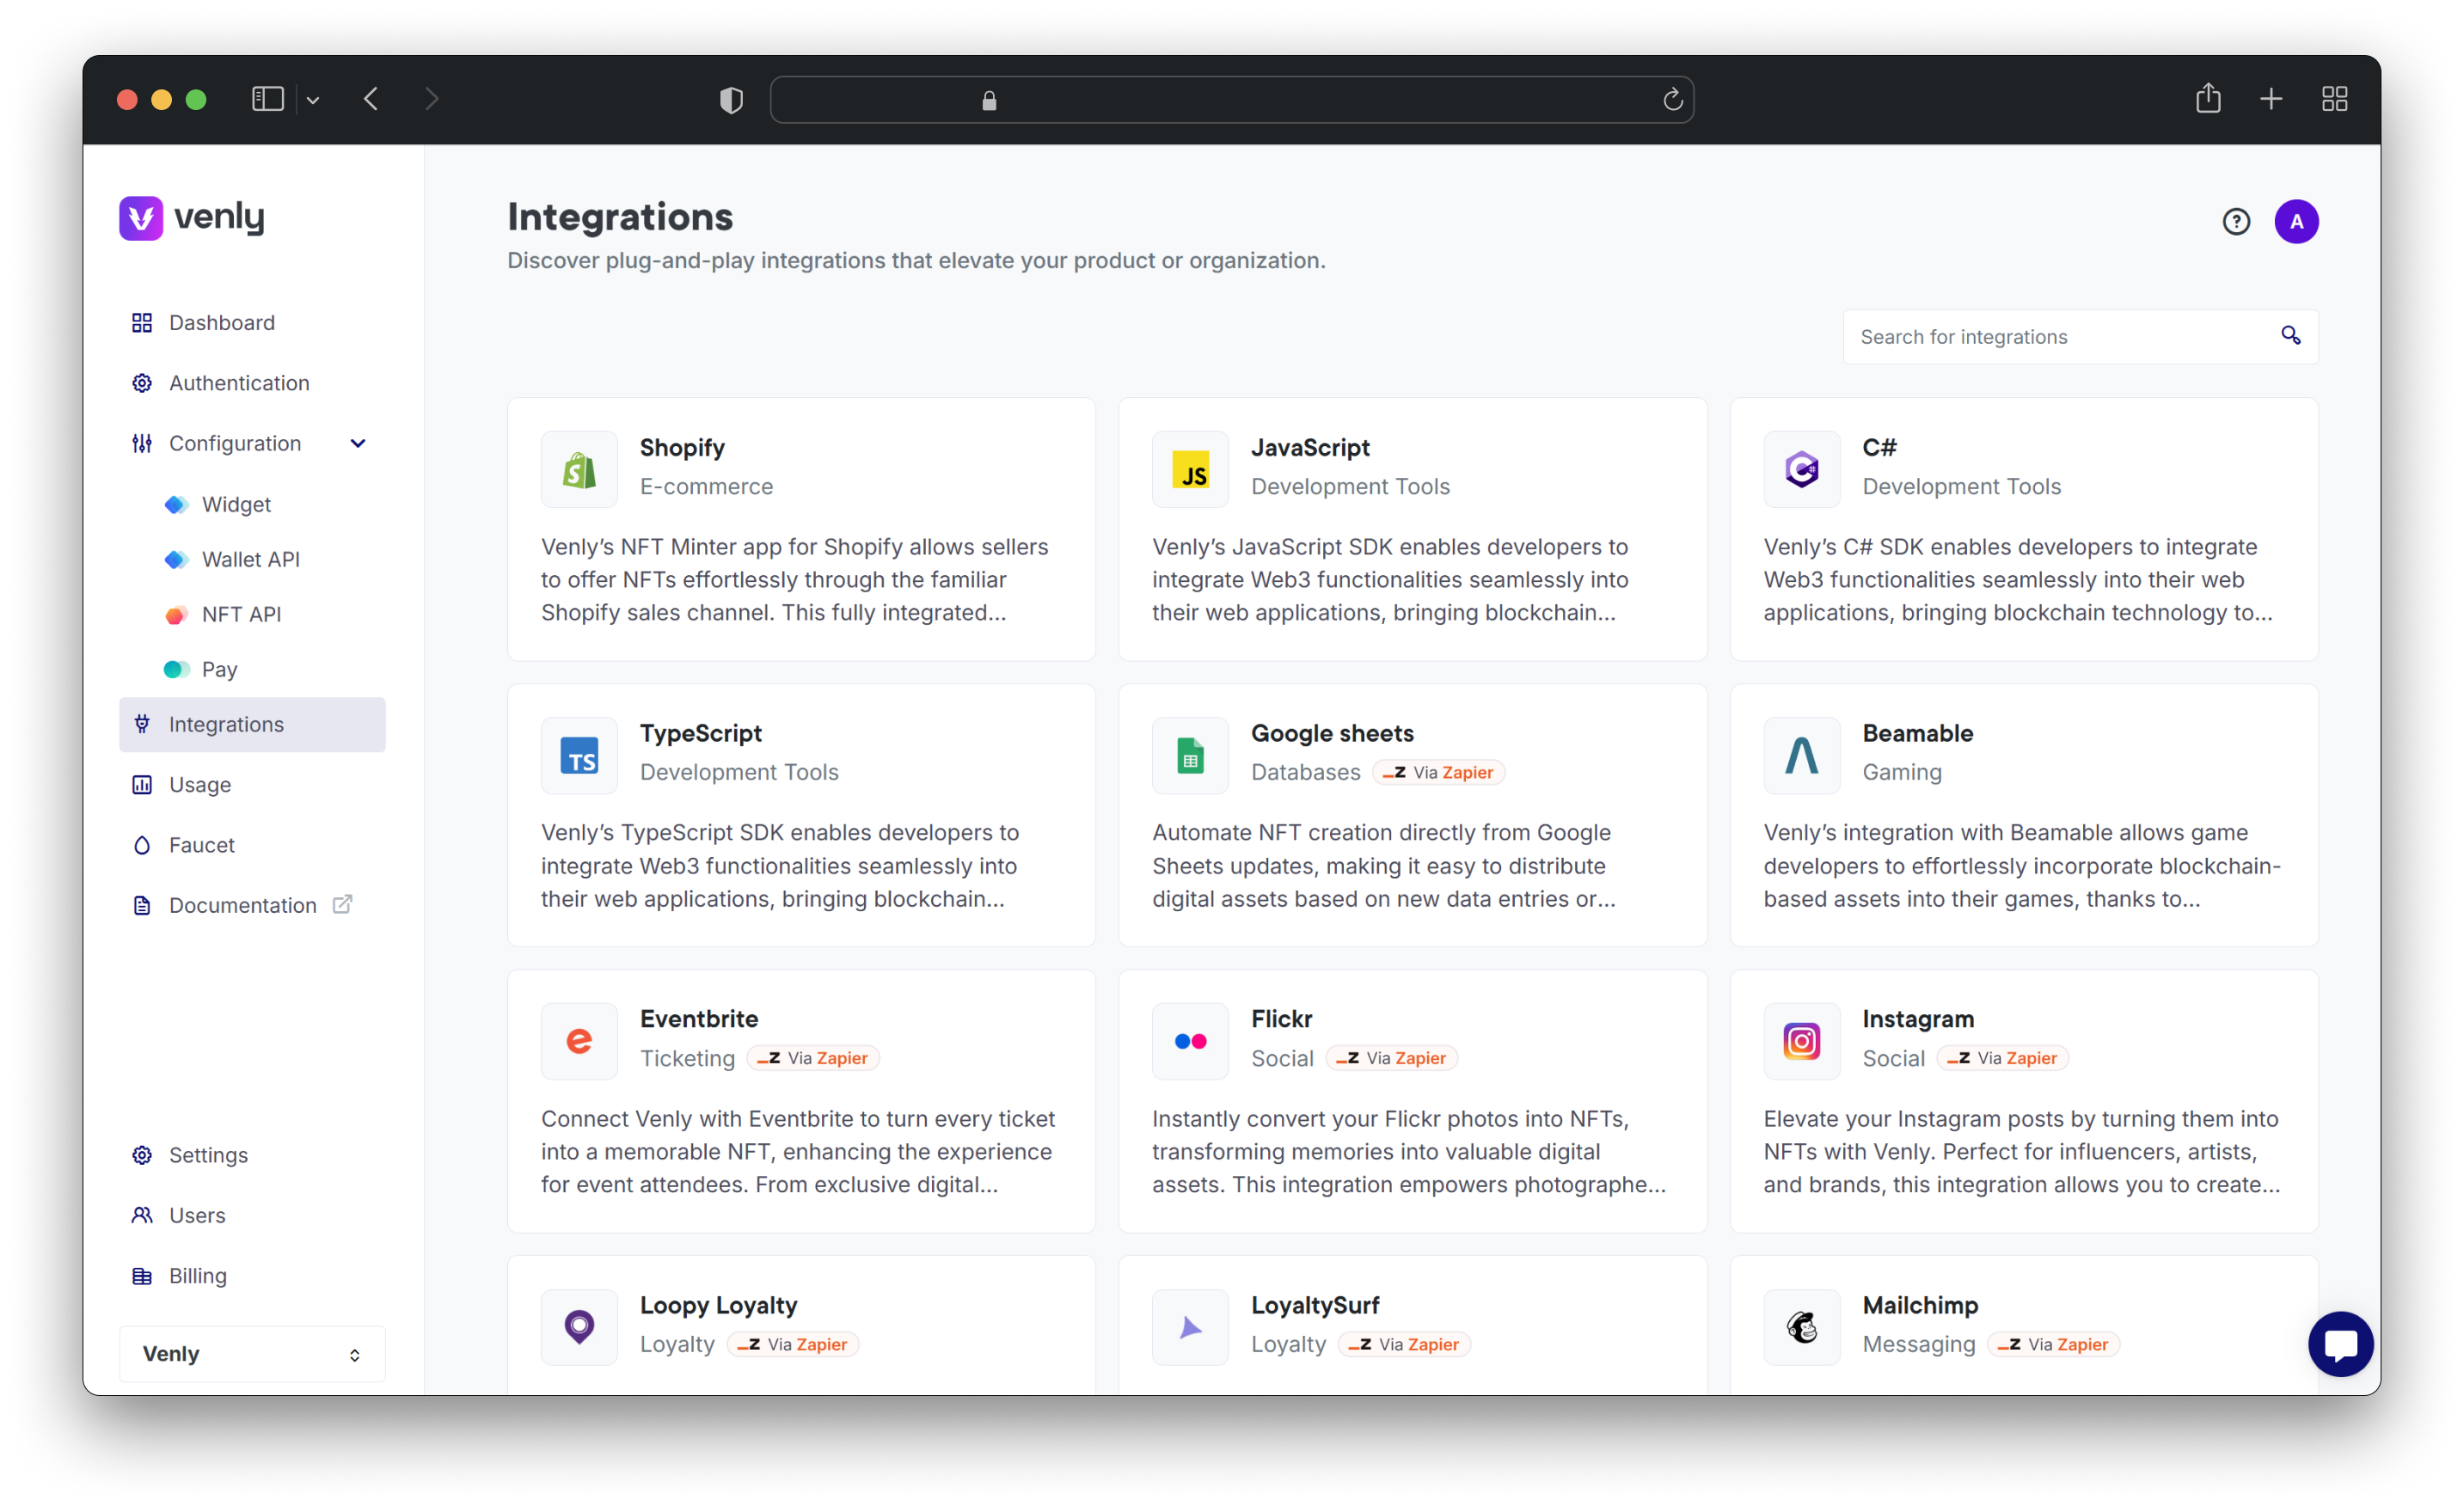
You can view Venly's integrations and click on them at a glance to read the documentation or getting started guide.
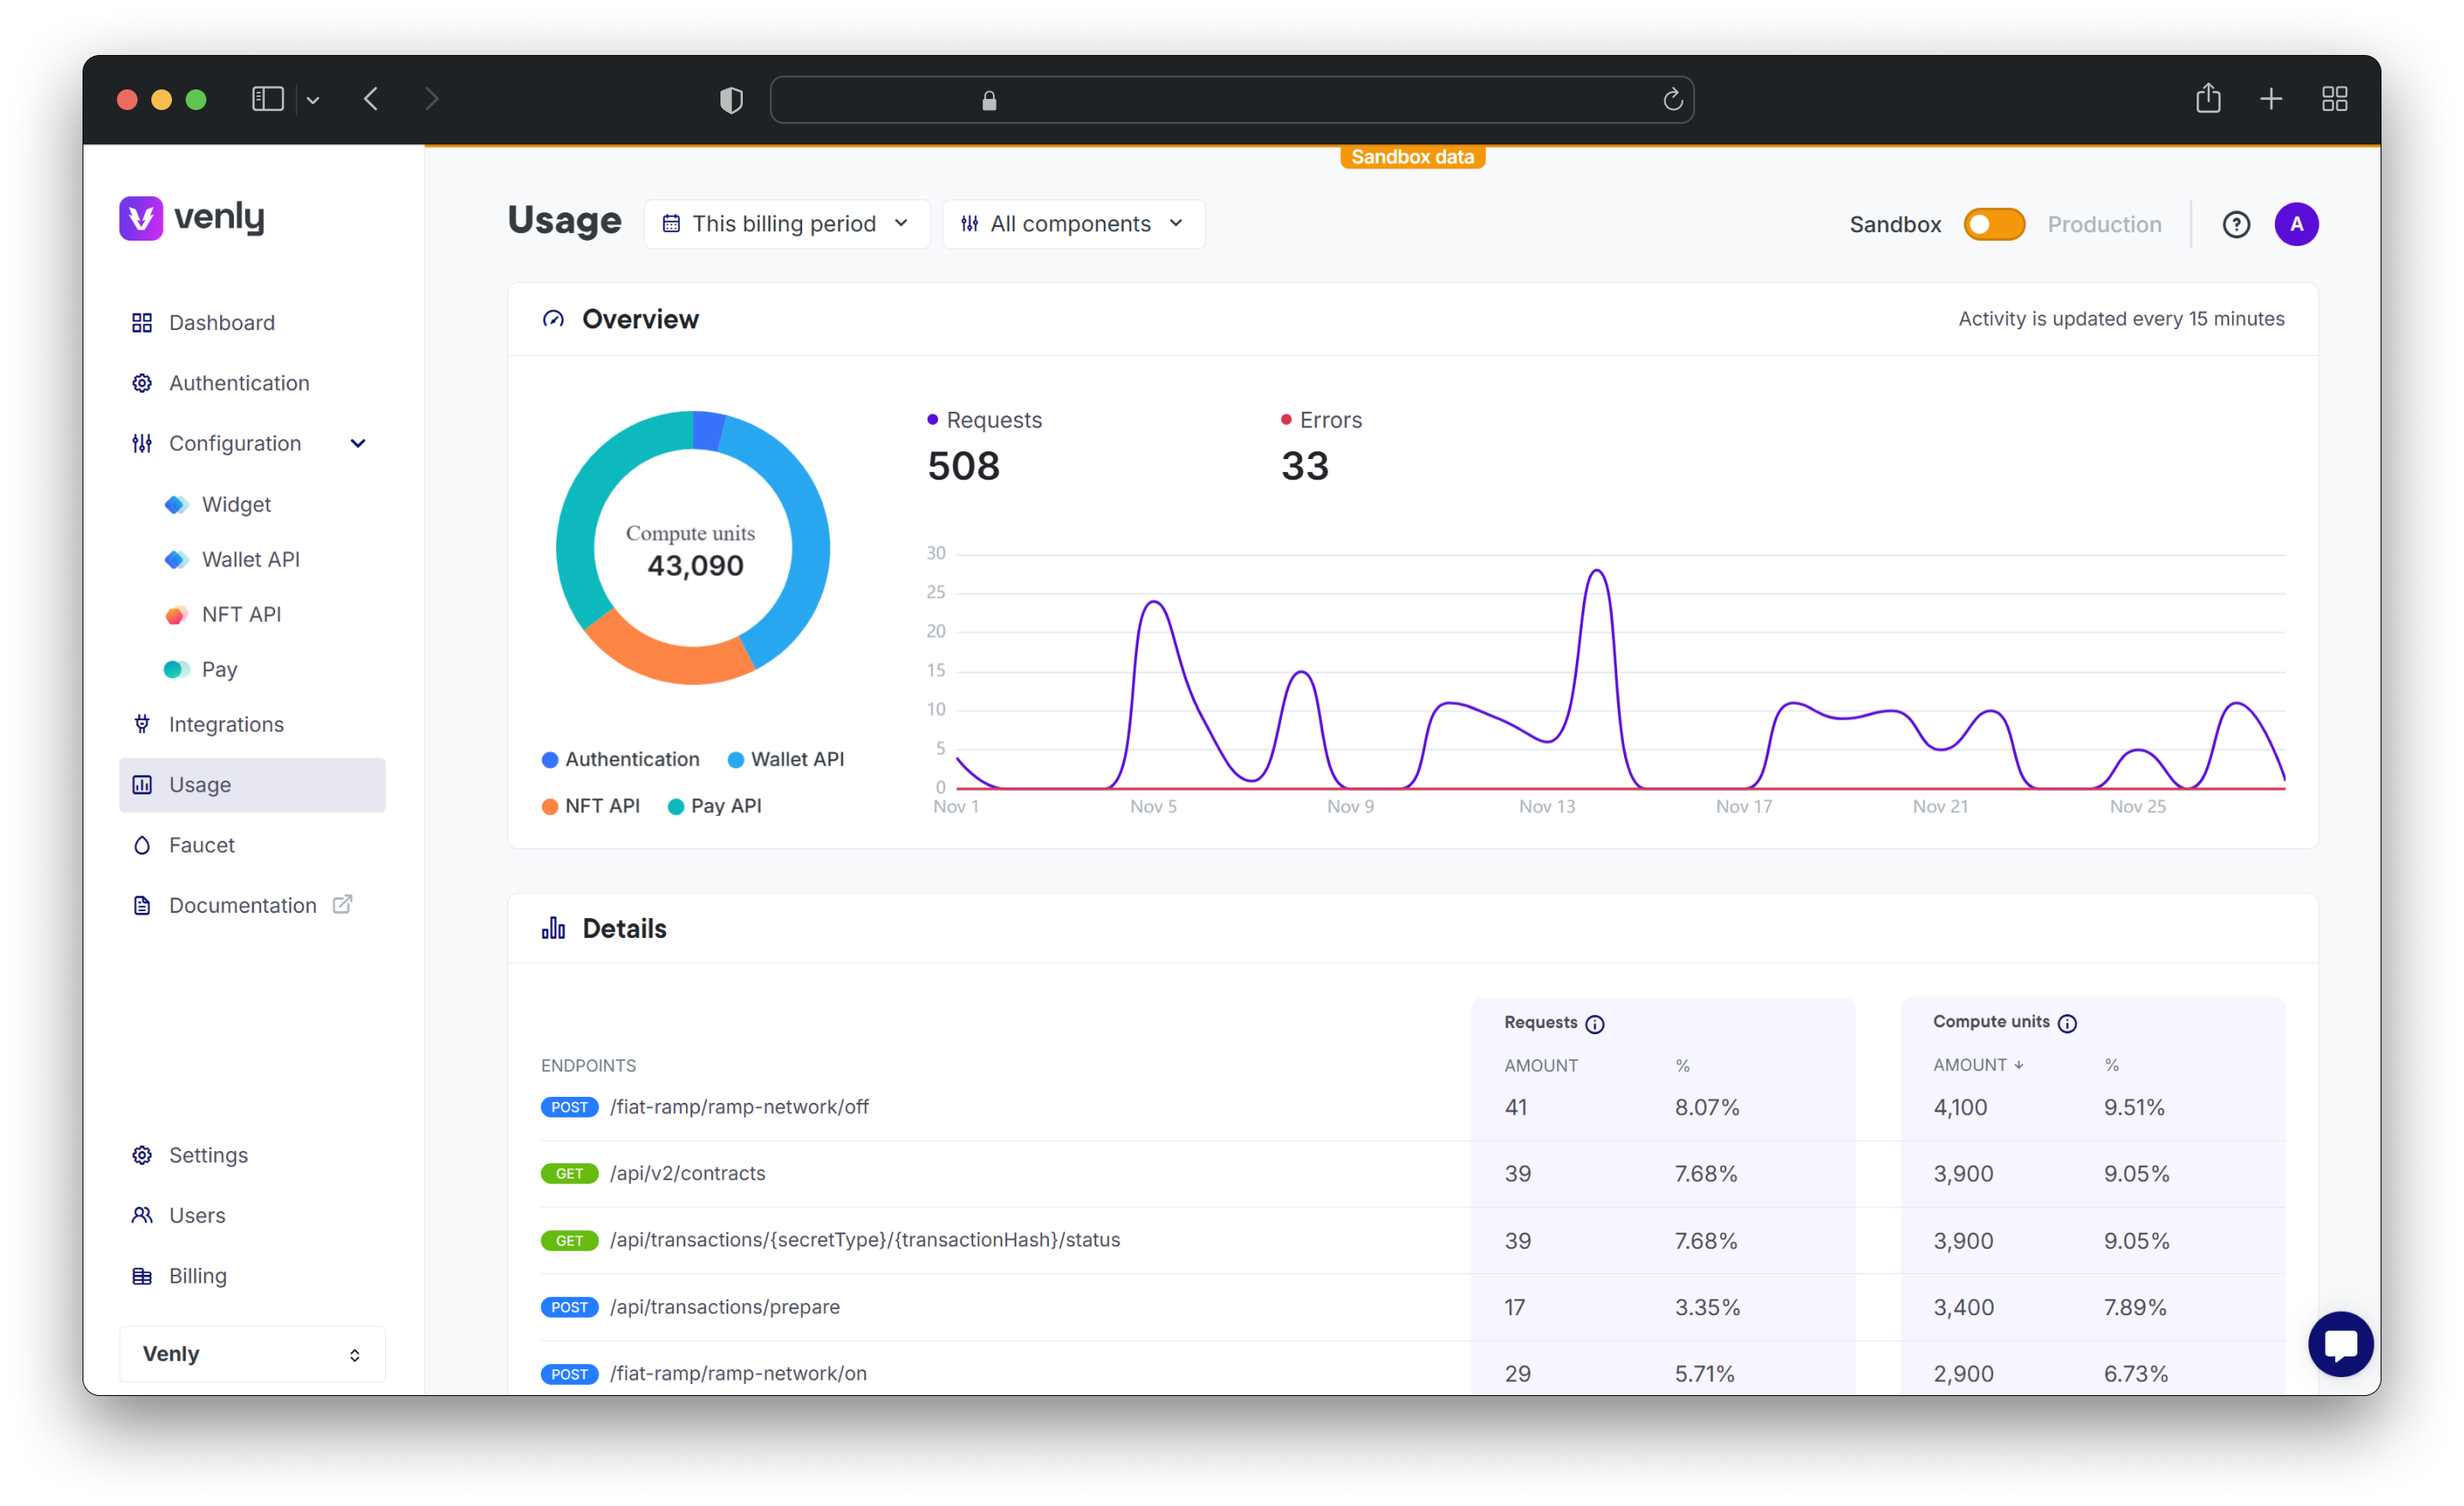
The usage section has complete details on:
- Total number of requests
- Total number of compute units consumed
- Total number of errors
Further, you can filter the results based on the following:
- Time Period (By billing period, month, quarter, and year)
- Components (Authentication, Wallet API, NFT API, PAY API)
Learn how to track the usage of compute units.
Track usage and compute units
This feature is designed to facilitate developers in building and testing applications that integrate with these blockchain networks. A dedicated faucet section which allows you to obtain the following testnet tokens every 24 hours:
- 0.5 MATIC on Amoy
- 0.5 AVAX on Avalanche Fuji
- 0.1 ETH on BASE Sepolia
- Only Venly wallets can be used to receive the testnet tokens.* You can specify a wallet address or a wallet UUID to receive test tokens.
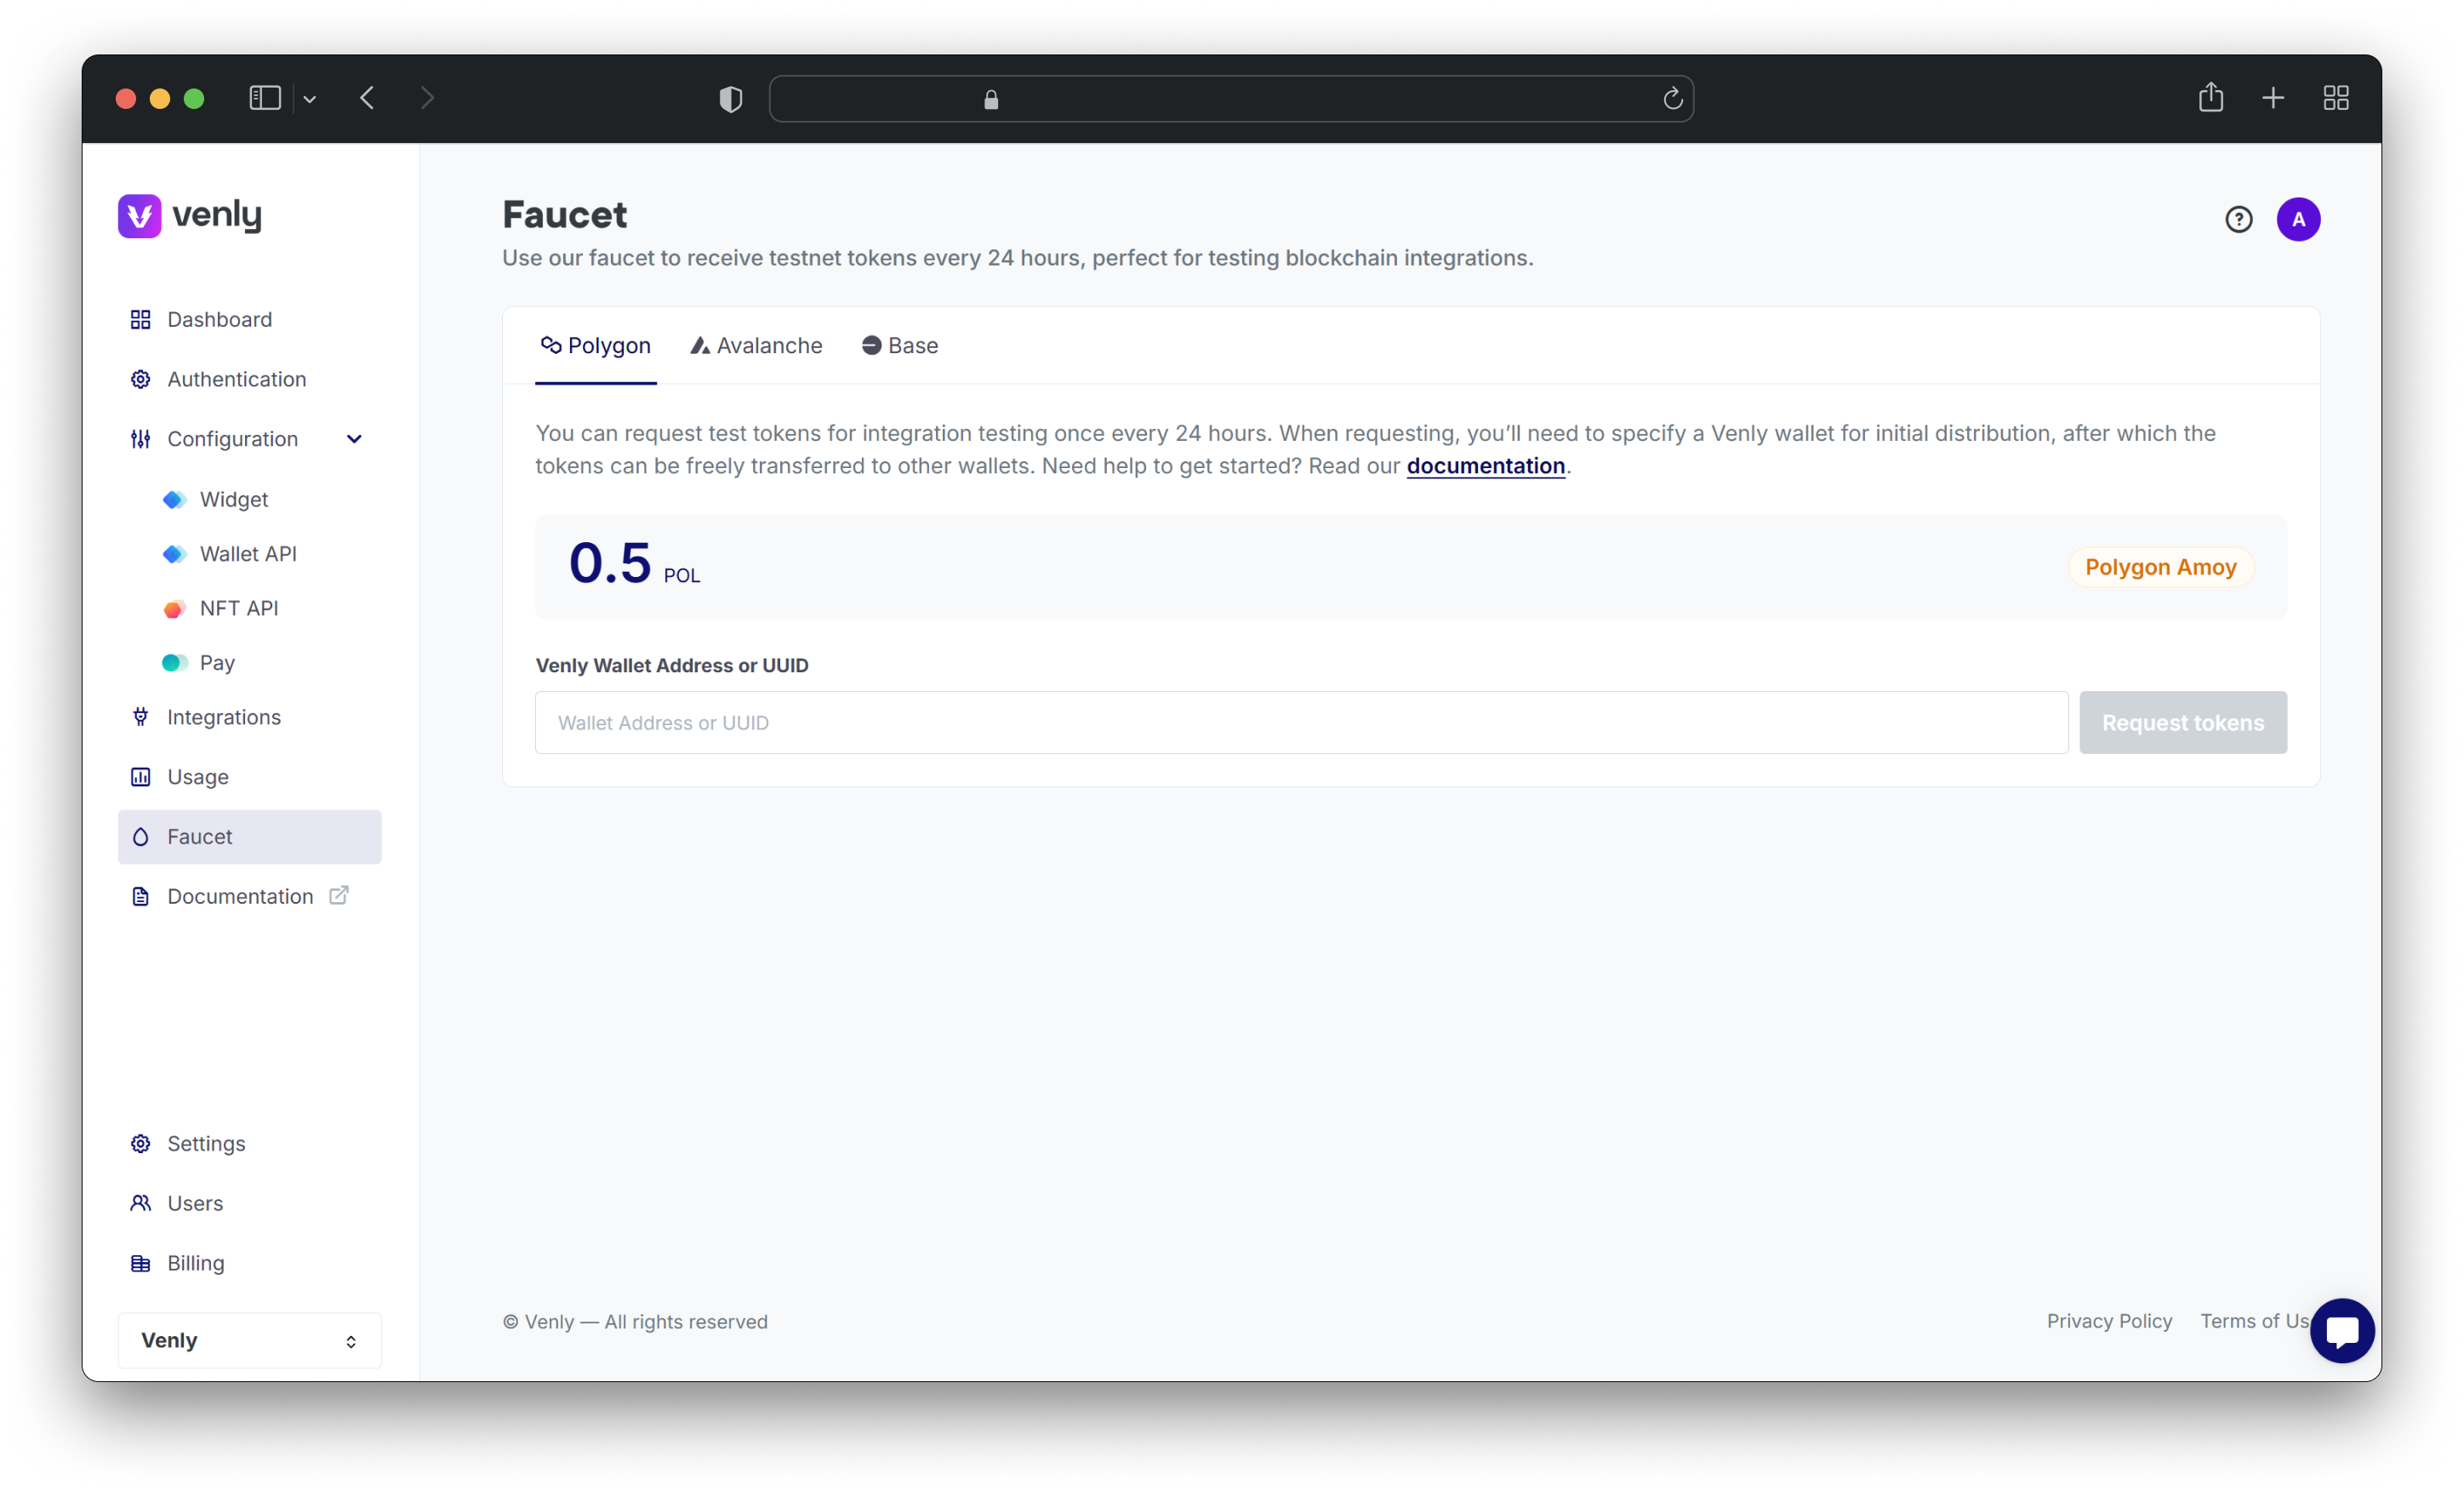
Test tokens faucet for Venly developers
The settings page lets you add or update your company name, VAT, billing email, and billing address. The following can be updated or added to the billing address:
- Country
- City
- Postal/ ZIP Code
- State/ Province
- Street Address
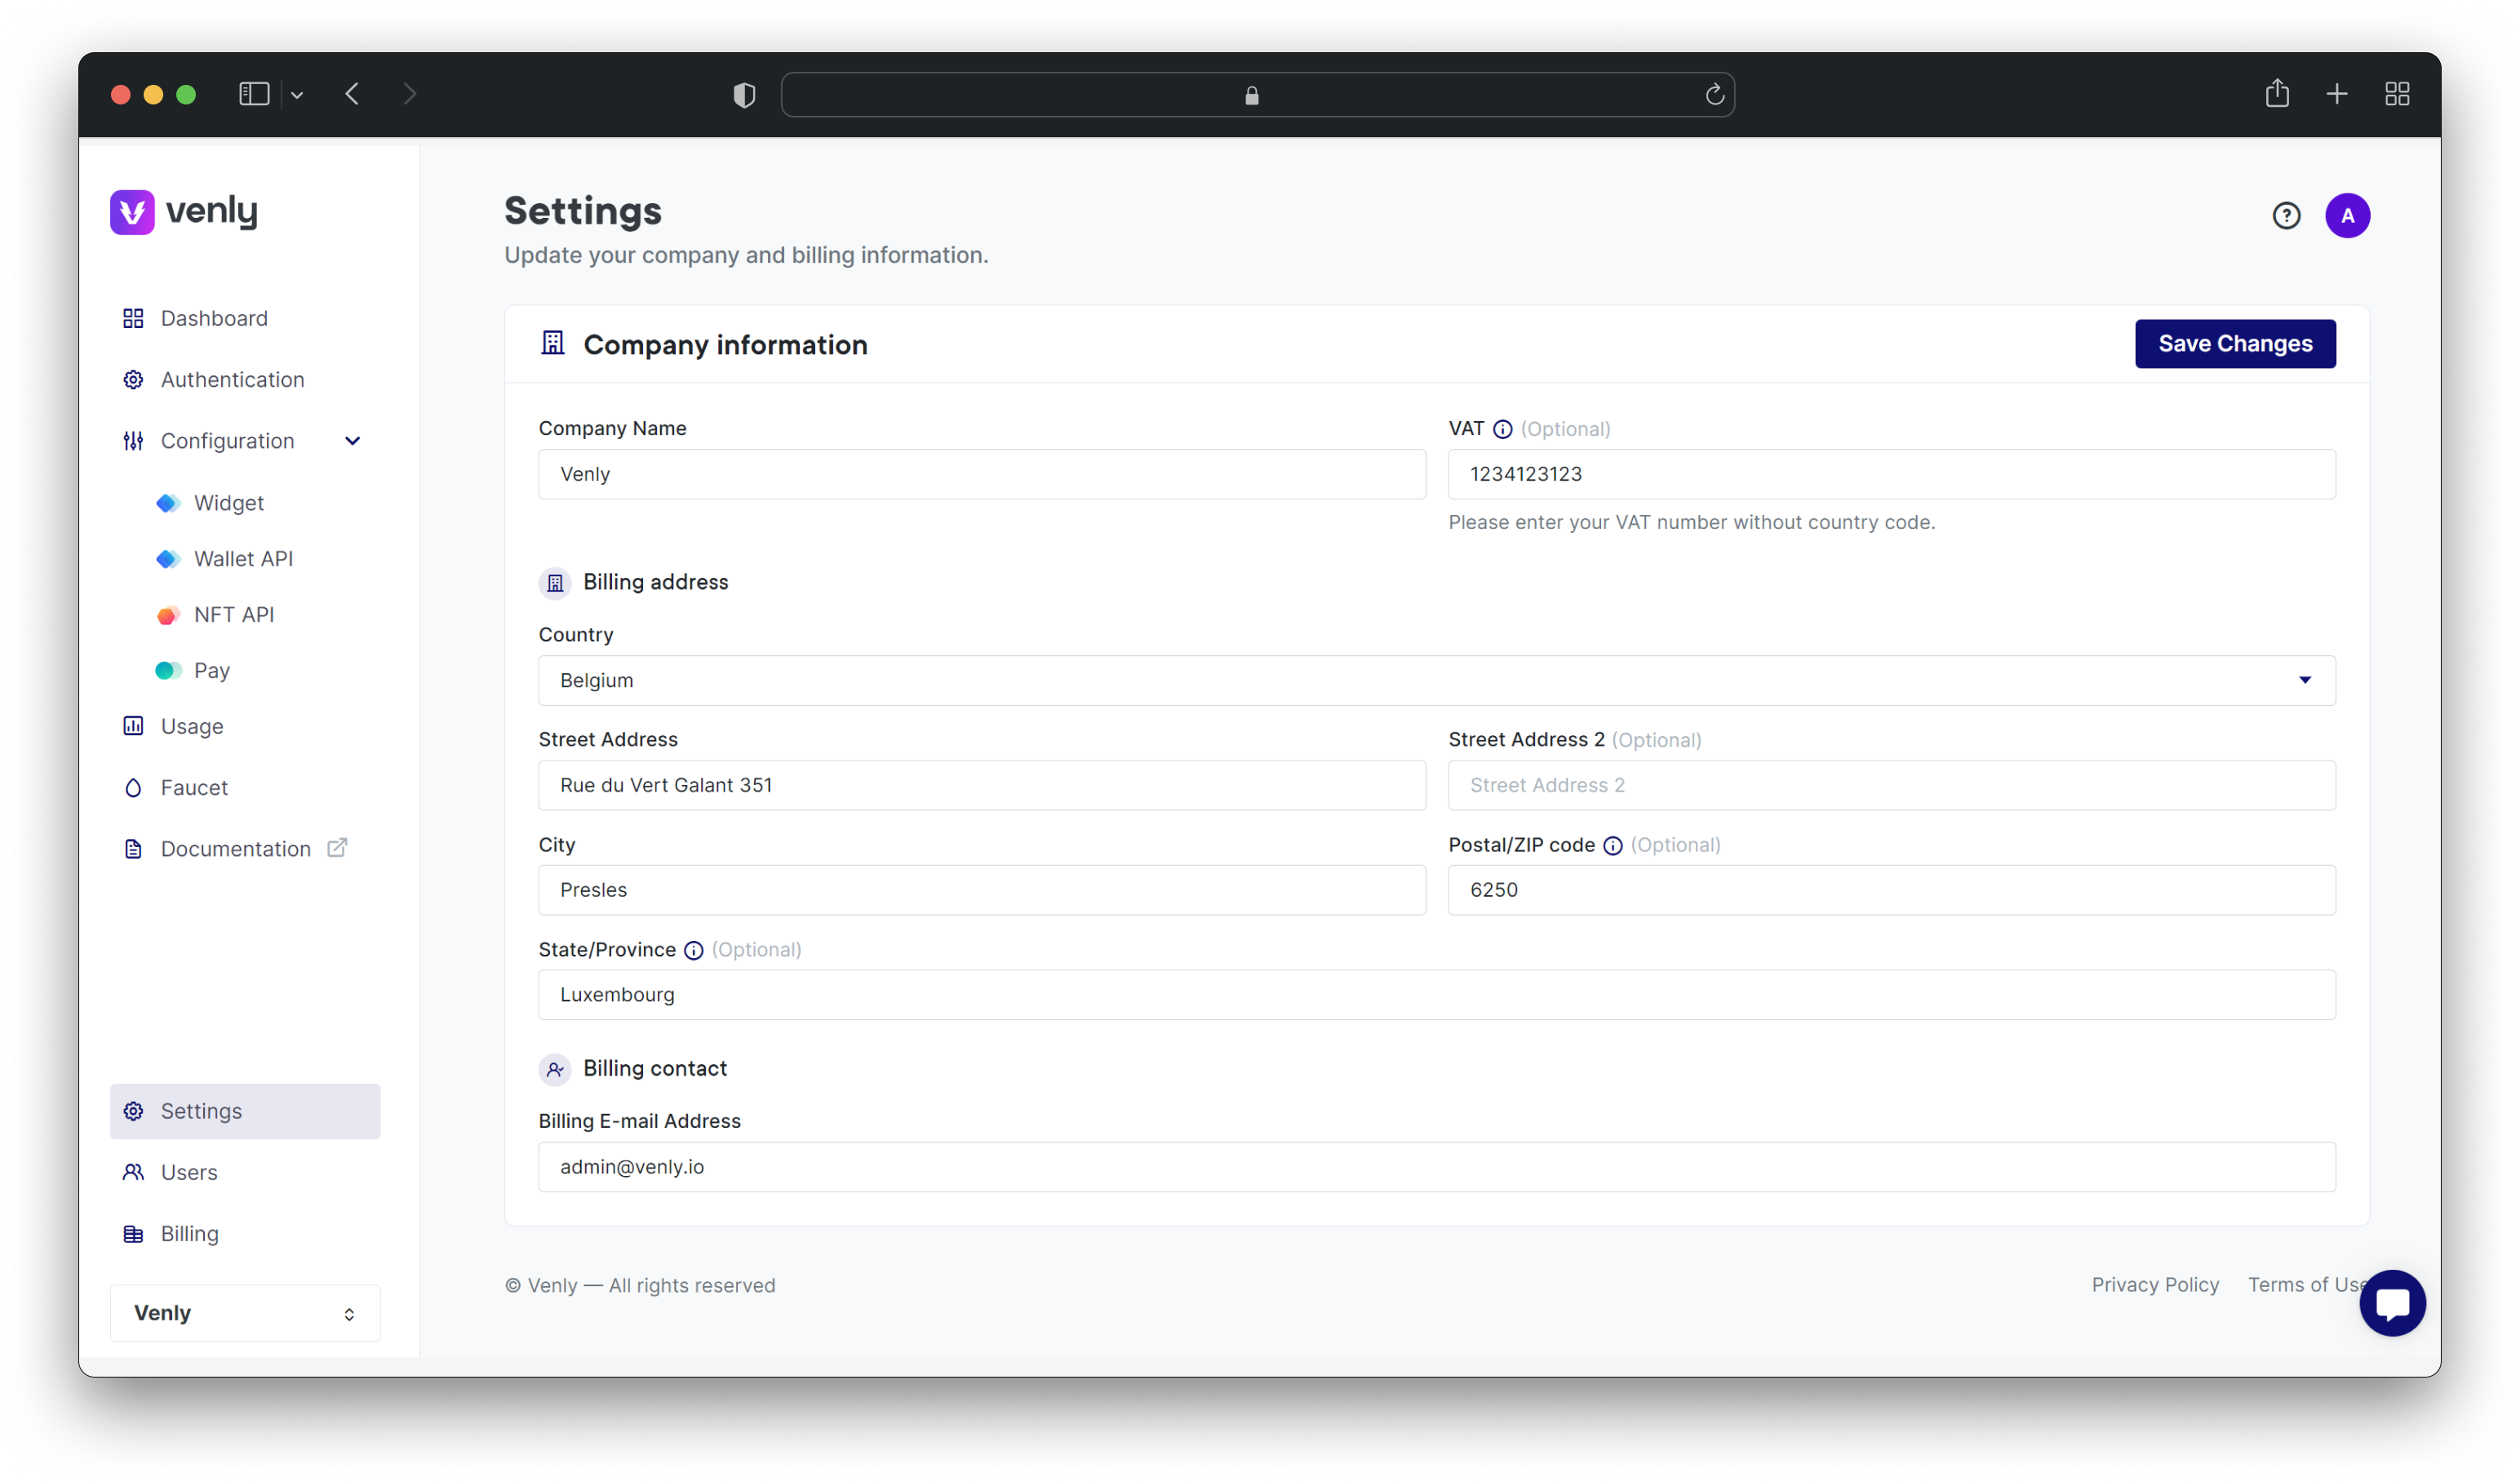
Update Billing Address
Invite new and existing users to join your company via email. Each invitation link will be valid for 10 days, during which users can choose to accept or decline the invitation. Once accepted, your company's users will share access credentials.
Additionally, we have made it simple to manage user access: you can delete a user from your company or resend invitations if the link has expired, the user declines the invitation, or the user has been deleted.
Admin rights are the same amongst all users of your company.
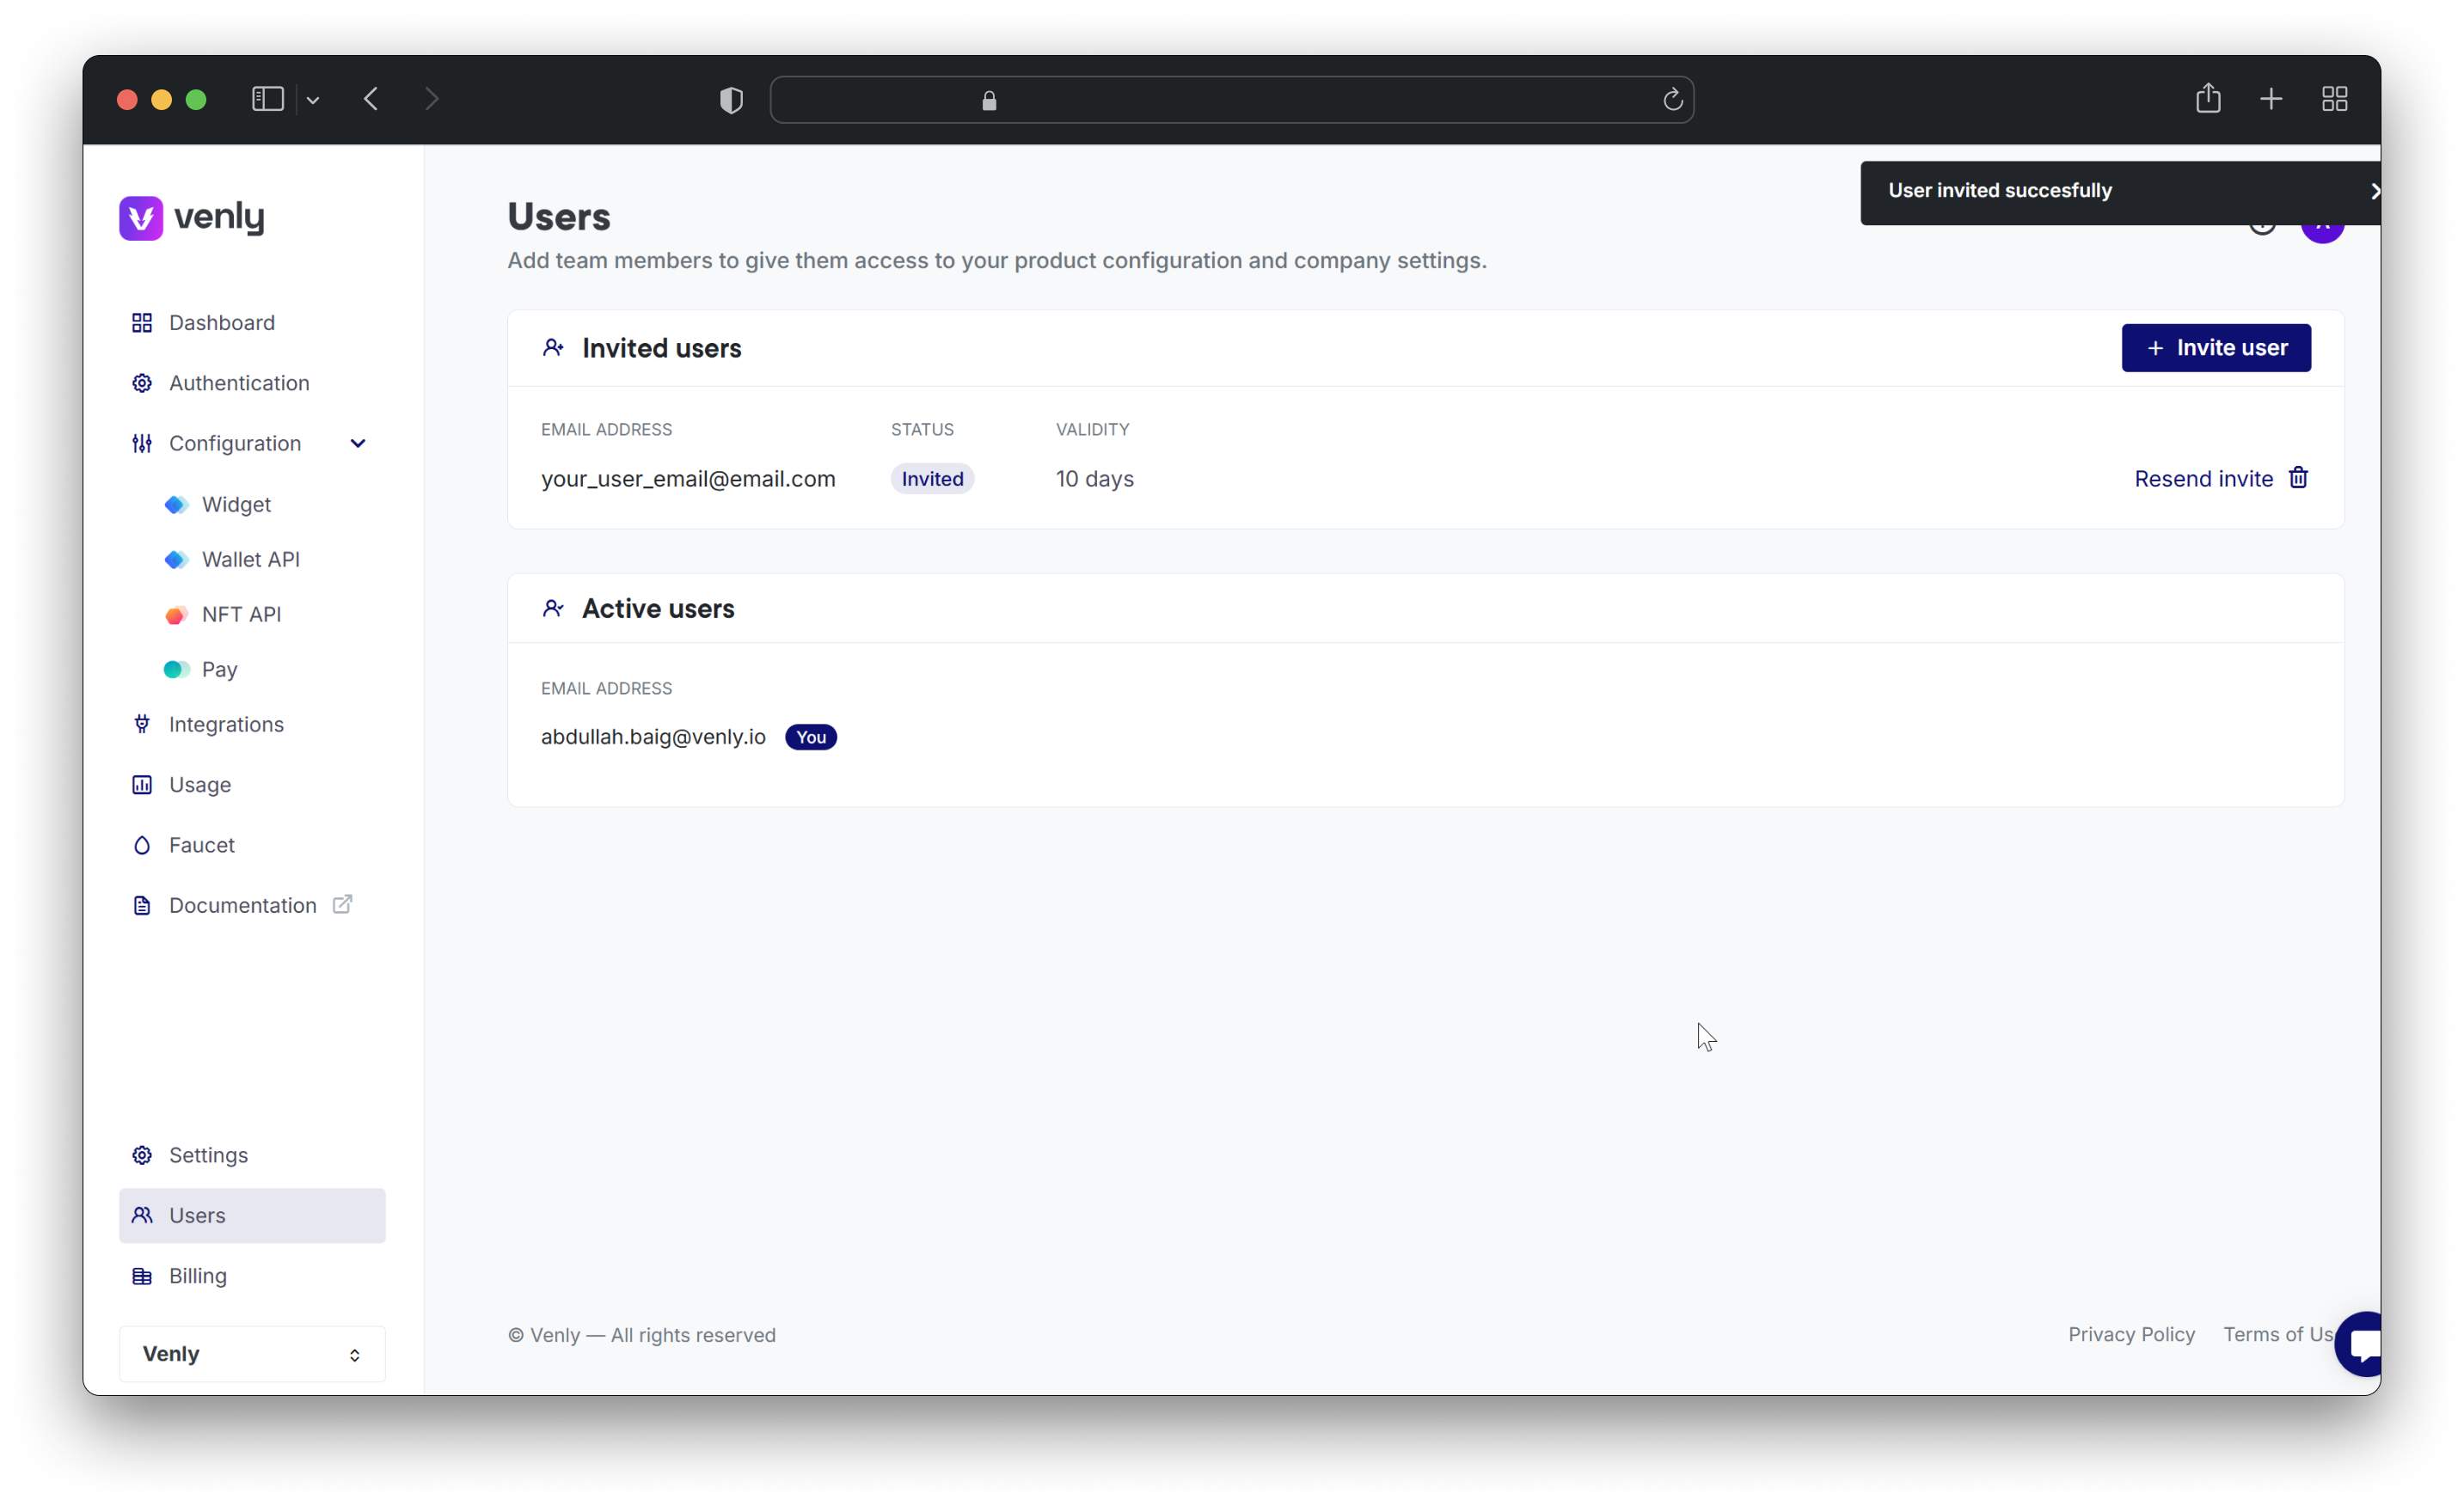
Inviting Users to your Company
- View all your invoices at a glance
- Pay invoices straight from the Portal
- Download invoices
- View and manage your subscription plan
- Add a credit card
- Update credit card details
Scroll to the bottom of the billing page to cancel your plan.
Consequences of cancelling:
- All of your users will lose access to the platform and any wallets associated with it.
- All assets (NFTs, tokens, wallets, etc.) will remain on the blockchain.
- You can re-enable your account at any time.
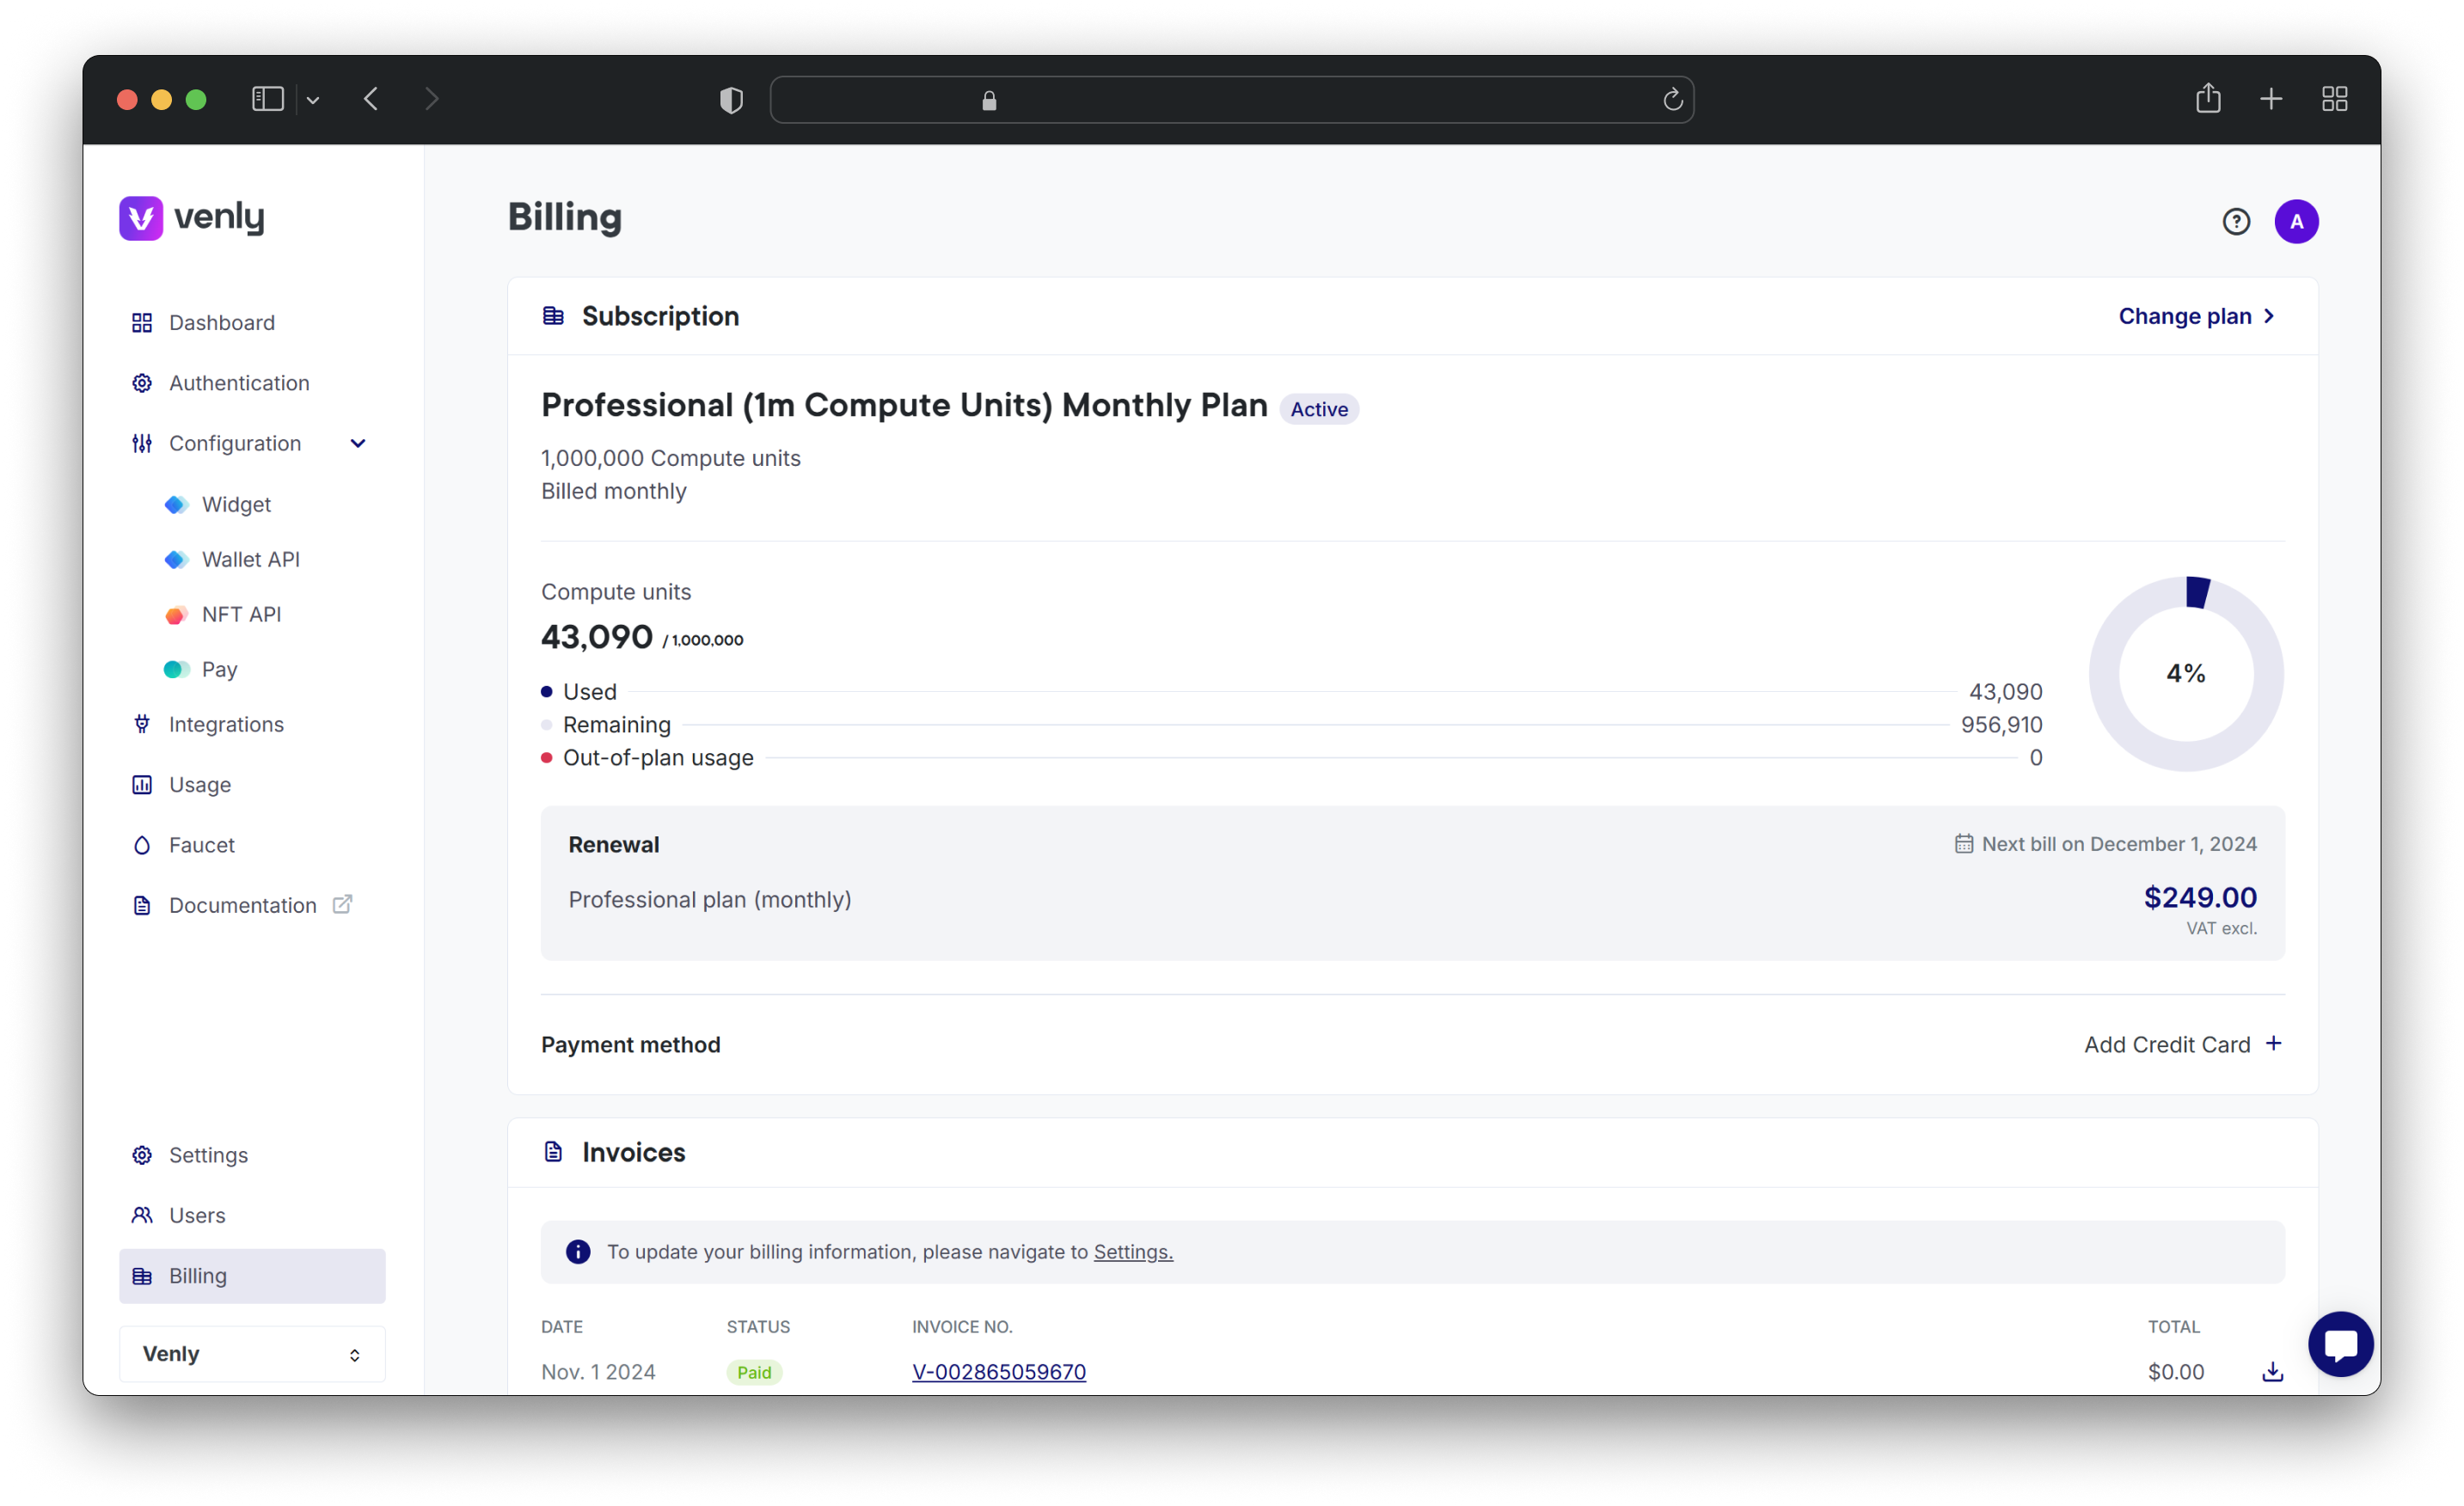
Manage billing and subscription plans
Updated 9 months ago